

Garden edging ideas help you keep soil, mulch, and gravel where they belong. They also make flower beds and paths look clean without feeling stiff.
In this post you will see edging styles that fit real homes. Think low brick borders by a cottage bed, simple gravel lines for a renter-friendly yard, and thin steel edging for a modern side yard.
Each section explains what the edging is best for, how to style it with plants and outdoor details, and how to keep it practical for families. You will also get a pro design tip and a budget note for every idea.
If you came from Pinterest, use this as a shopping and planning guide. Pick one edging type, copy the layout, then adjust the size to your own garden path, veggie beds, or front yard.
1 Cottage Garden Brick Edging

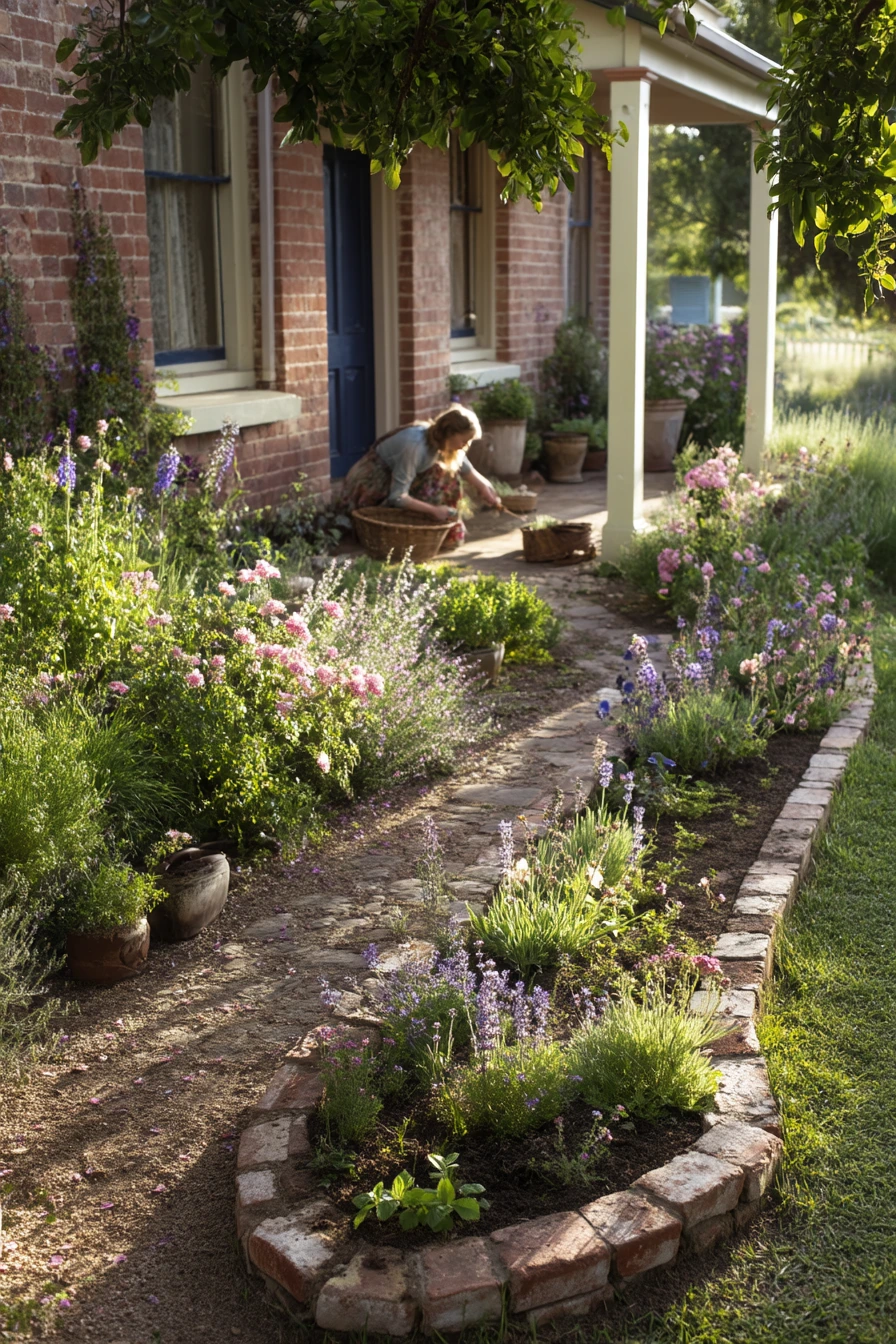
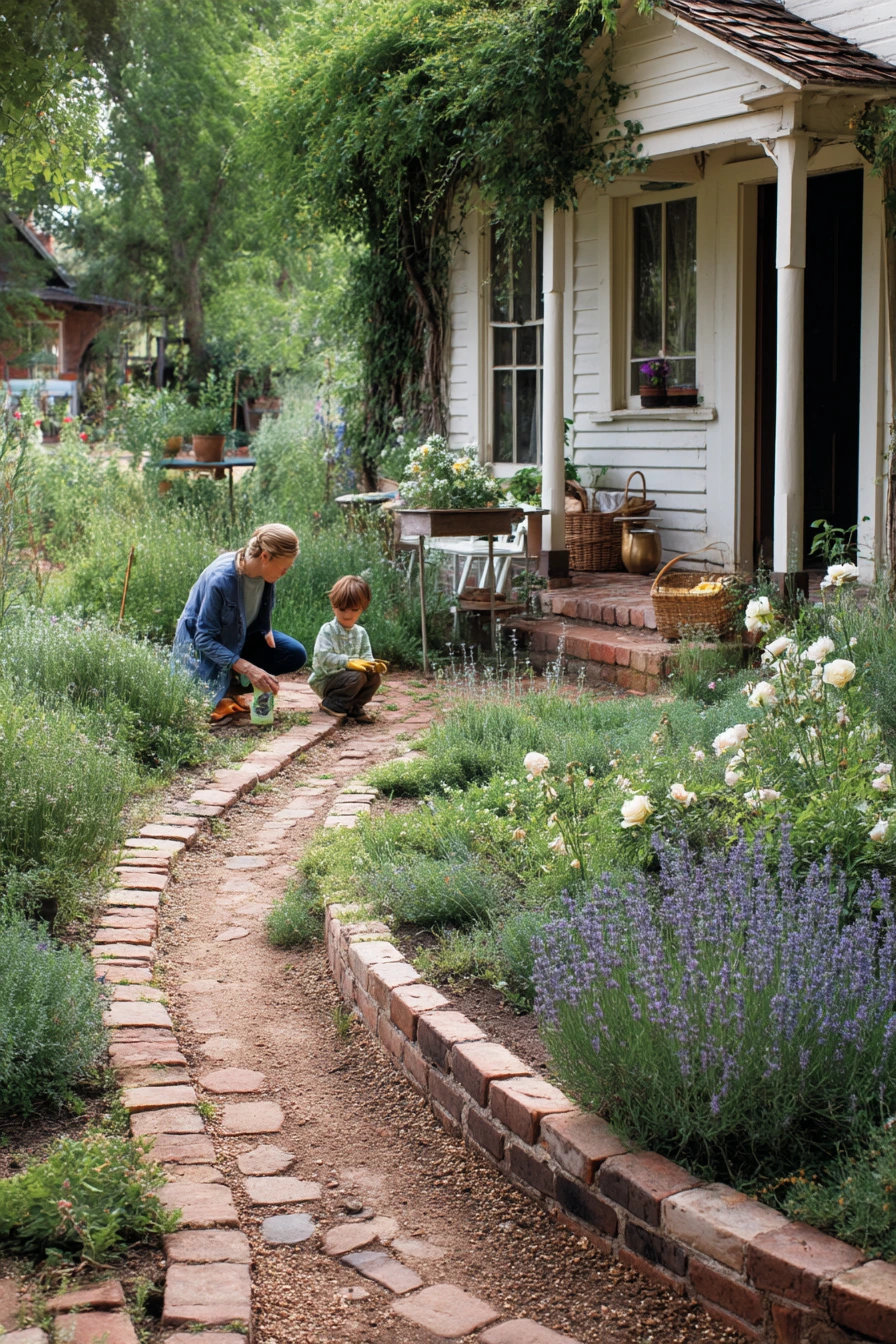
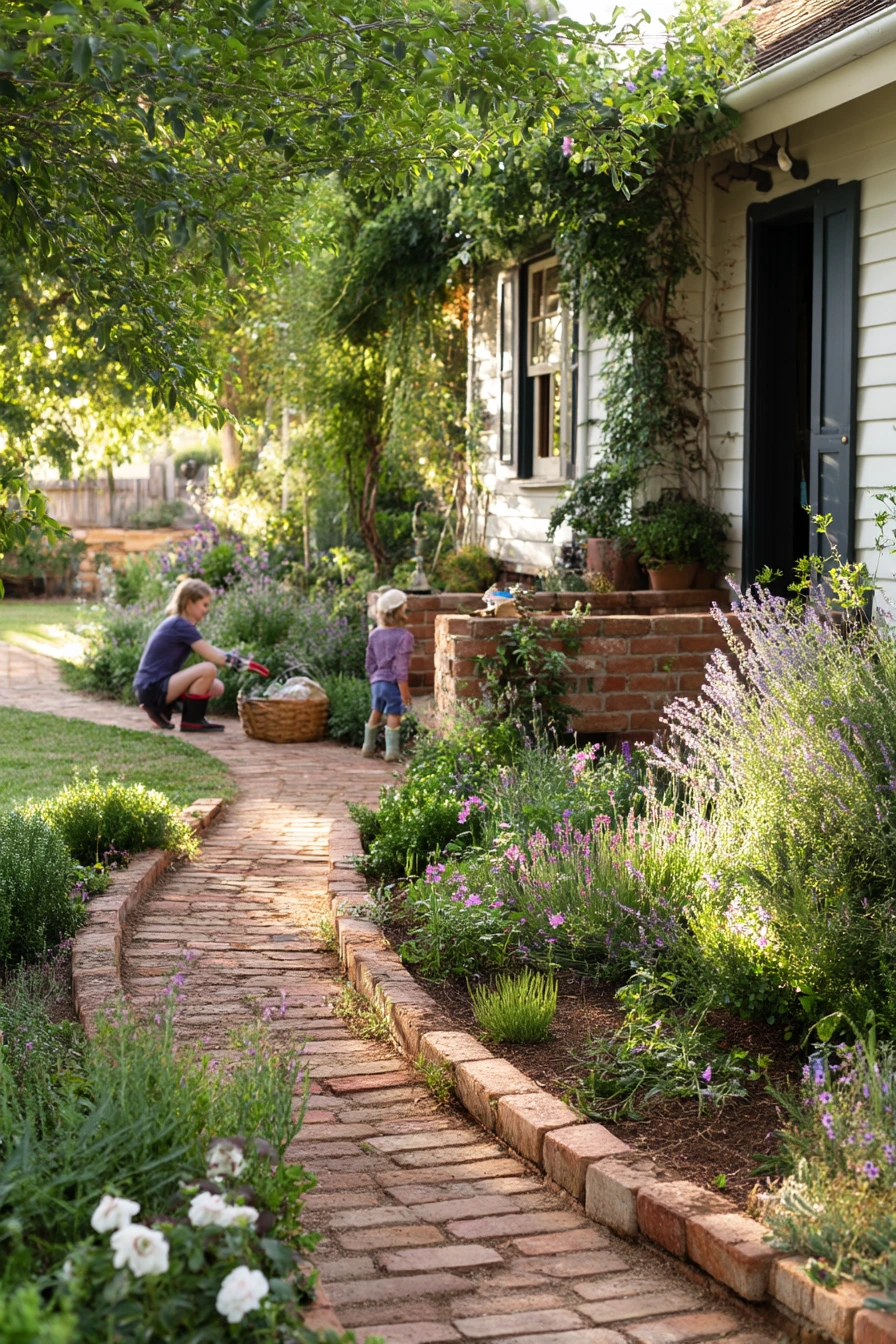
Low brick garden edging is a classic way to frame cottage-style flower beds. It works well along a family garden path because it is sturdy, easy to see, and tall enough to hold mulch while still letting plants spill over. In a lived-in yard, you can picture heirloom roses, clipped lavender, and salvias leaning softly over the border while someone kneels to pull weeds near the porch steps.
For a natural look, set the bricks low and keep the line slightly relaxed instead of perfectly straight. This helps the edging match informal planting. If your path gets muddy, brick also makes a clean edge that keeps soil from sliding into walking areas. It is a good fit near the door where garden gloves, a half-full water glass on the step, and slightly muddy boots are part of normal life.
How to style it: repeat the brick color in small details like terracotta pots or a warm-toned doormat. Plant taller blooms toward the back, then use softer edges in front, like catmint or creeping thyme, so the border looks full but not messy. If kids play near the porch, leave a small “parking spot” for a toy basket so the path stays clear.
- Use soldier-course bricks (standing upright) if you need a slightly taller edge.
- Lay bricks flat for a lower, softer border that plants can drape over.
- Keep the bed 2 to 3 inches below the top of the brick to reduce spillover.
- Refresh the line each spring by tapping bricks back into place.
- Mulch lightly so the brick edge stays visible.
Pro Design Tip: Use a mason line and step back often to check the curve from eye level; a gentle, consistent bend looks better than a tight zigzag.
Budget Considerations: New brick costs more, so check local salvage yards or online listings for reclaimed bricks. Mixing small batches is fine if you repeat colors evenly.
2 Budget Gravel Border for a Small Yard
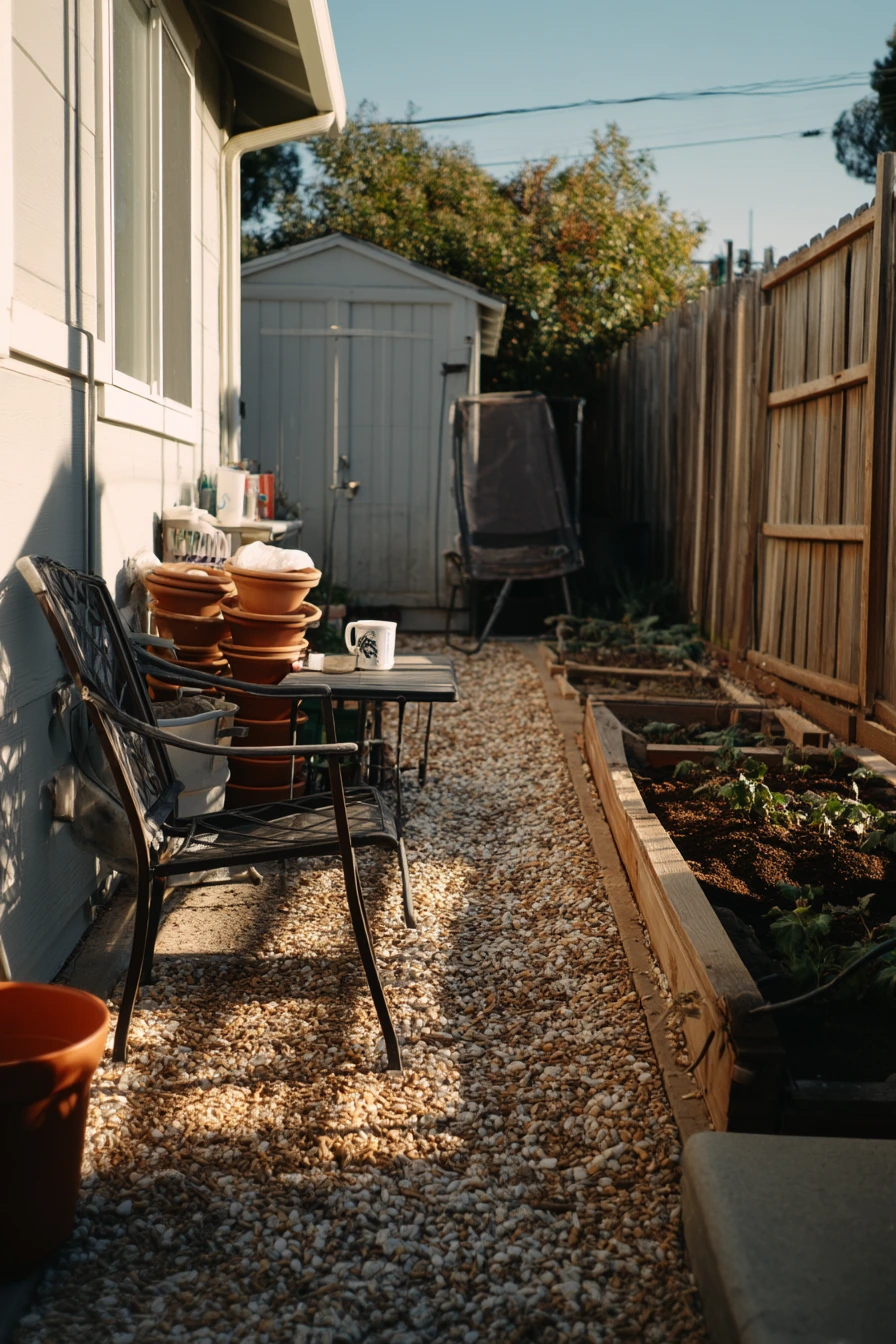
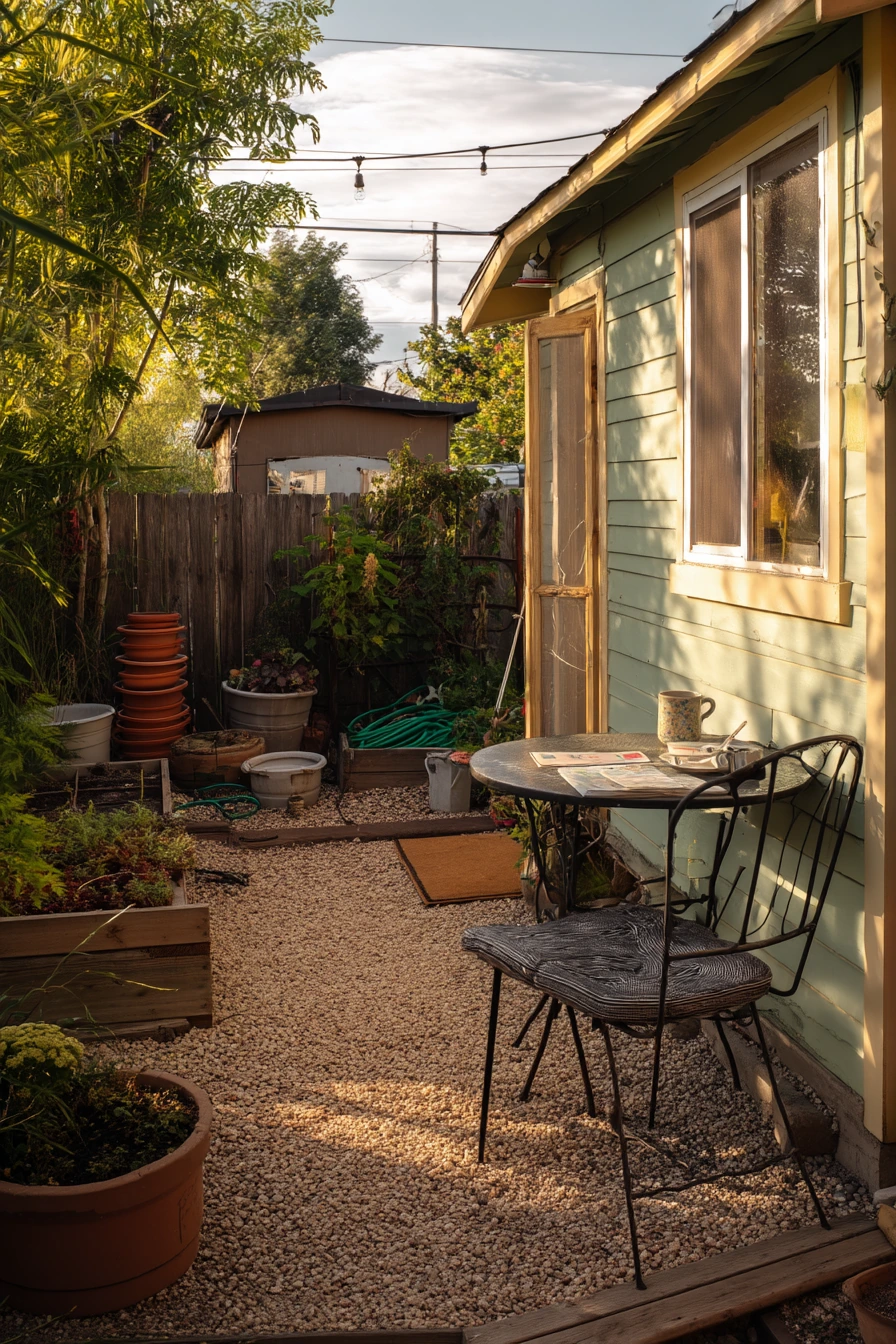
Simple gravel garden edging is one of the easiest ways to define space in a compact suburban backyard. It can outline a narrow lawn, create clean lines around raised veggie beds, and improve drainage in spots that stay soggy. This setup fits renters because gravel can be removed later, and it does not require permanent digging or concrete.
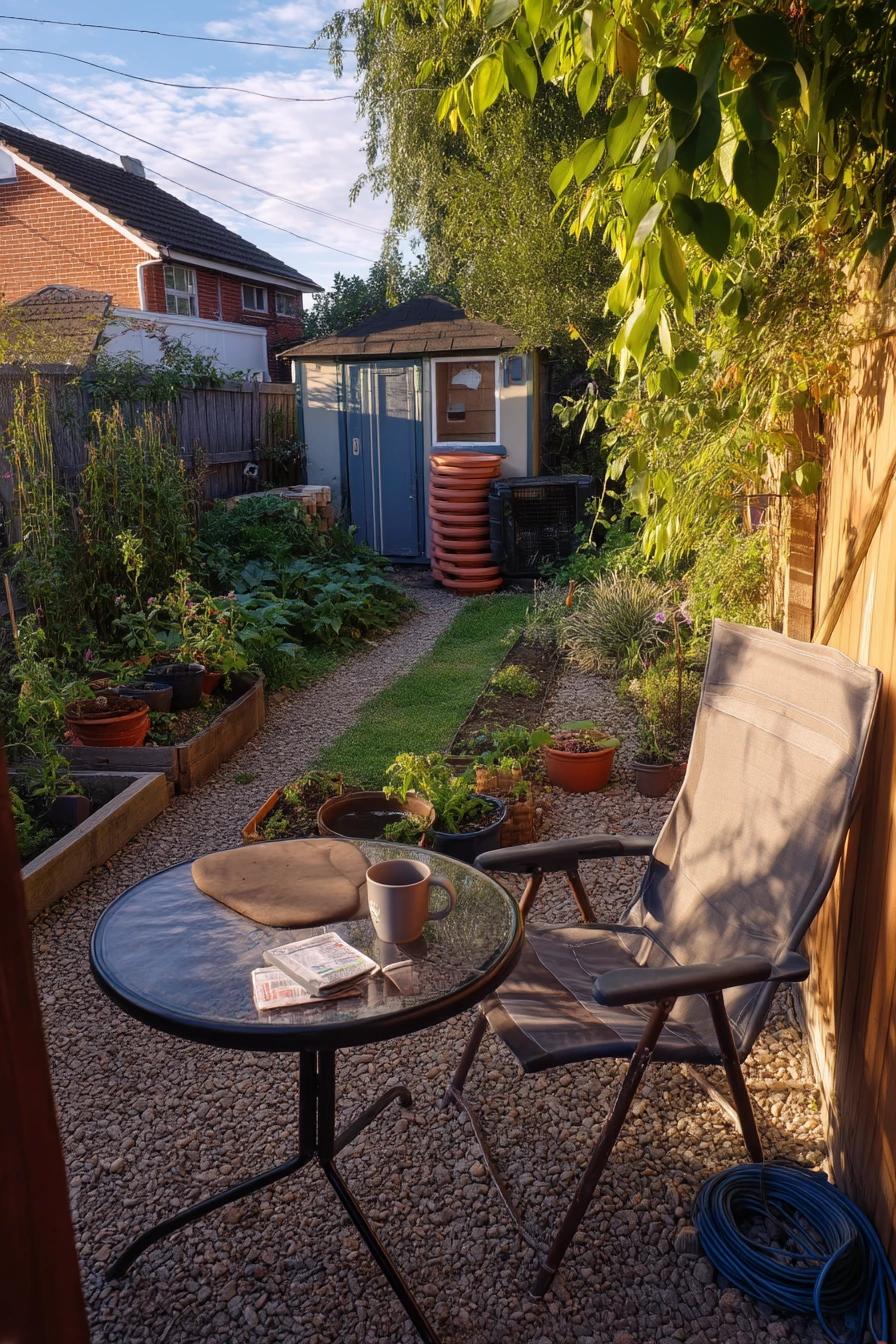
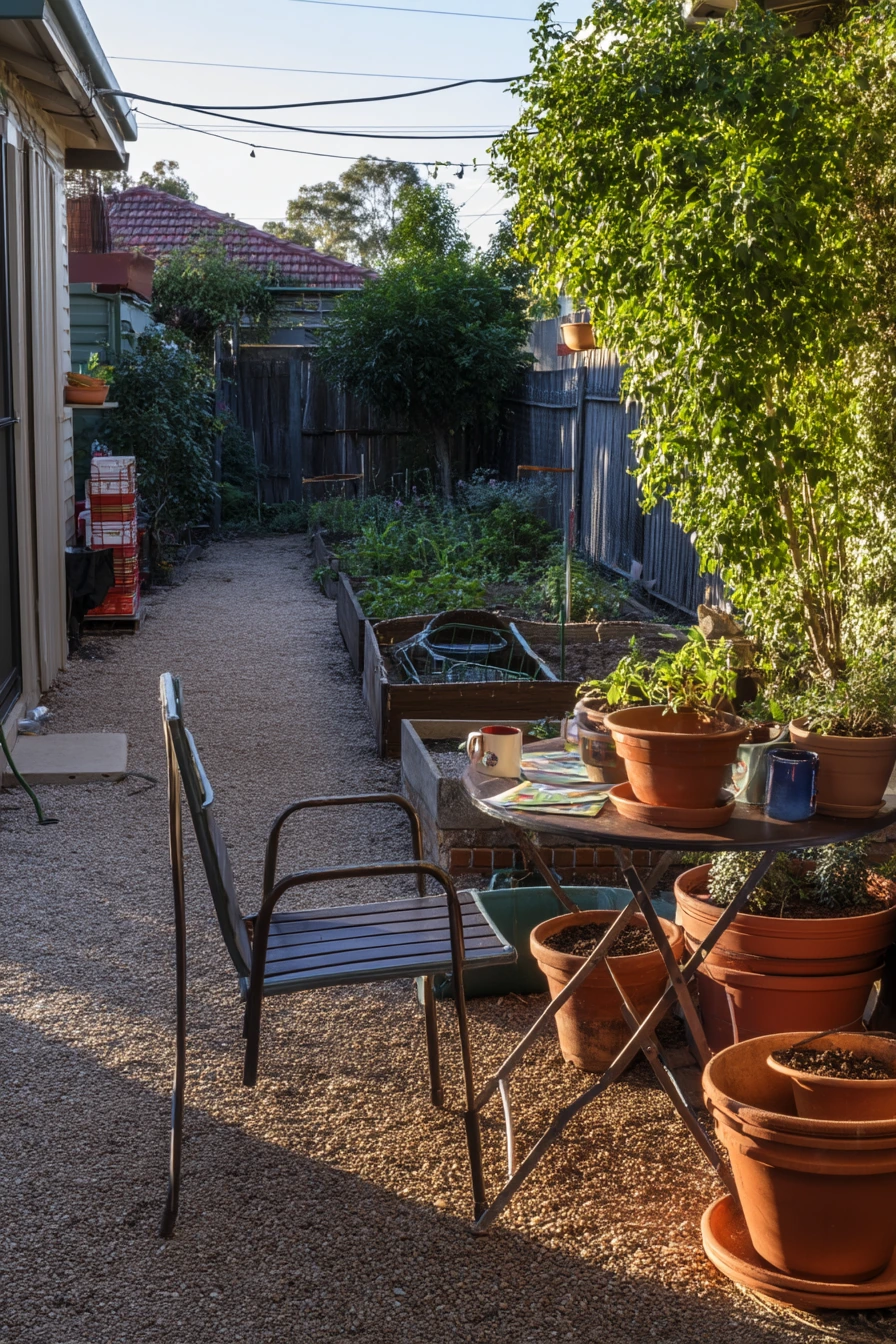
To make it look intentional, pick one gravel size and color and use it in more than one place. For example, run a slim gravel band along the lawn edge, then repeat it around stacked terracotta pots by the shed. Keep tools practical and close by, like a hose coiled neatly and seed packets on a folding table. Little “real life” items, like a chipped mug on a patio chair, still look tidy when the edges are clear.
How to style it: frame veggie beds with gravel, then add one simple feature for warmth, like a small bench or a folding chair. If you have a charging cable on the patio, route it behind a pot so it is less visible. Use low herbs along the gravel edge to soften the border without making it hard to mow or sweep.
- Install a weed barrier under the gravel to slow weeds.
- Add metal or plastic edging strips to keep stones from migrating into the lawn.
- Choose 3/8 inch pea gravel for comfort underfoot.
- Use a leaf blower on low to clean gravel without scattering it.
- Keep a small rake nearby for quick touch-ups.
Pro Design Tip: Make the gravel band the same width everywhere, even in corners, so the yard looks larger and calmer.
Budget Considerations: Gravel is usually affordable, but delivery can add cost. If you are on a budget, buy in smaller loads and edge only the key areas first.
3 Modern Metal Edging Along a Side Yard
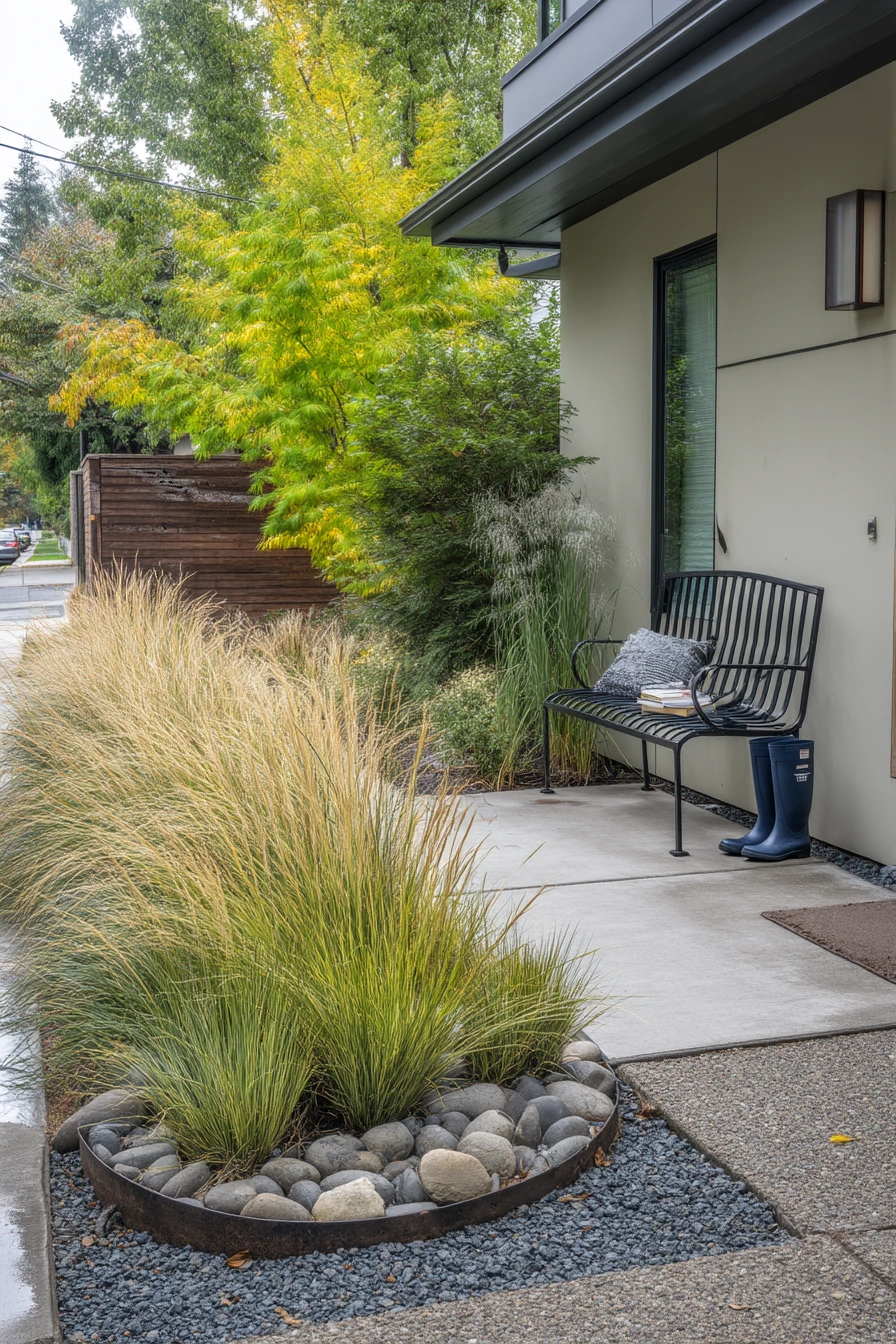
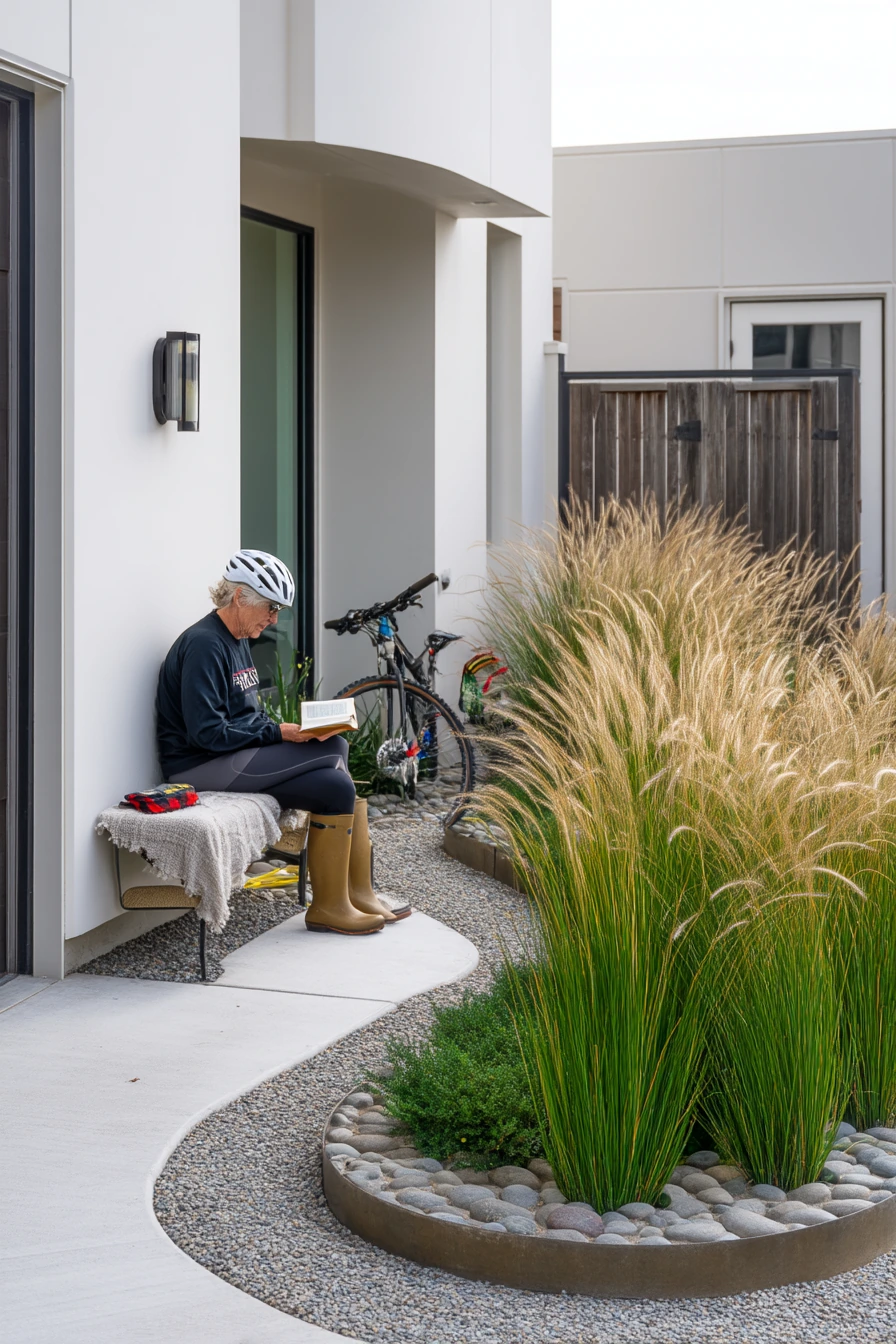
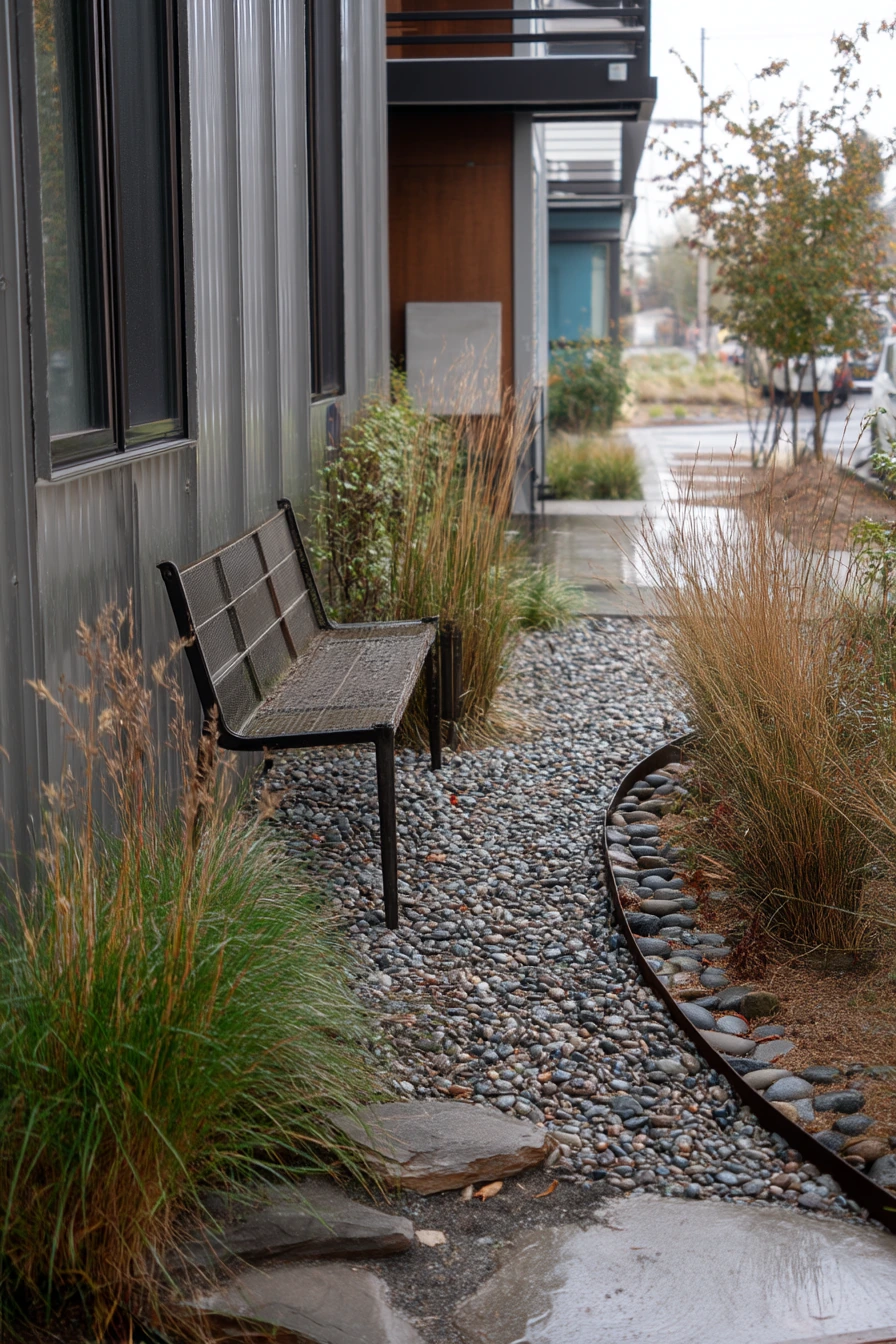
Thin steel edging gives a modern side-yard garden a crisp outline without looking bulky. It is ideal for clean curves around ornamental grasses and river stones, especially in narrow spaces where every inch matters. The slim profile keeps attention on the plants, while still holding gravel, mulch, or stone in place.
This style fits busy homeowners because it stays put once installed. Pair it with low-maintenance plant choices like feather reed grass, blue fescue, or sedge. In a real home, the space still feels lived-in, with pruning shears in hand, a bike helmet on a bench, and rain boots by the gate. Steel edging can handle those high-traffic moments because it does not crack like some plastics.
How to style it: repeat the dark line of steel in other details, like a black bench, simple gate hardware, or a charcoal planter. Use two textures inside the curve, such as river stones plus fine gravel, then keep plants in small groups for a tidy look. Add one comfort element, like a folded throw and a library book on an outdoor seat, so the side yard feels like a stop, not a hallway.
- Plan the curve with a garden hose before digging.
- Set edging deep enough so only 1 to 2 inches shows above ground.
- Use stakes every 3 to 4 feet to prevent shifting.
- Keep stones 1 inch below the top edge to avoid spillover.
- Check for sharp corners and cap ends for safety.
Pro Design Tip: Combine one bold curve with simple straight lines elsewhere; the contrast feels designed, not busy.
Budget Considerations: Steel edging can cost more up front. If needed, use it only on the most visible curve and use gravel bands or plastic edging in hidden sections.

4 DIY Timber Edging Near the Patio
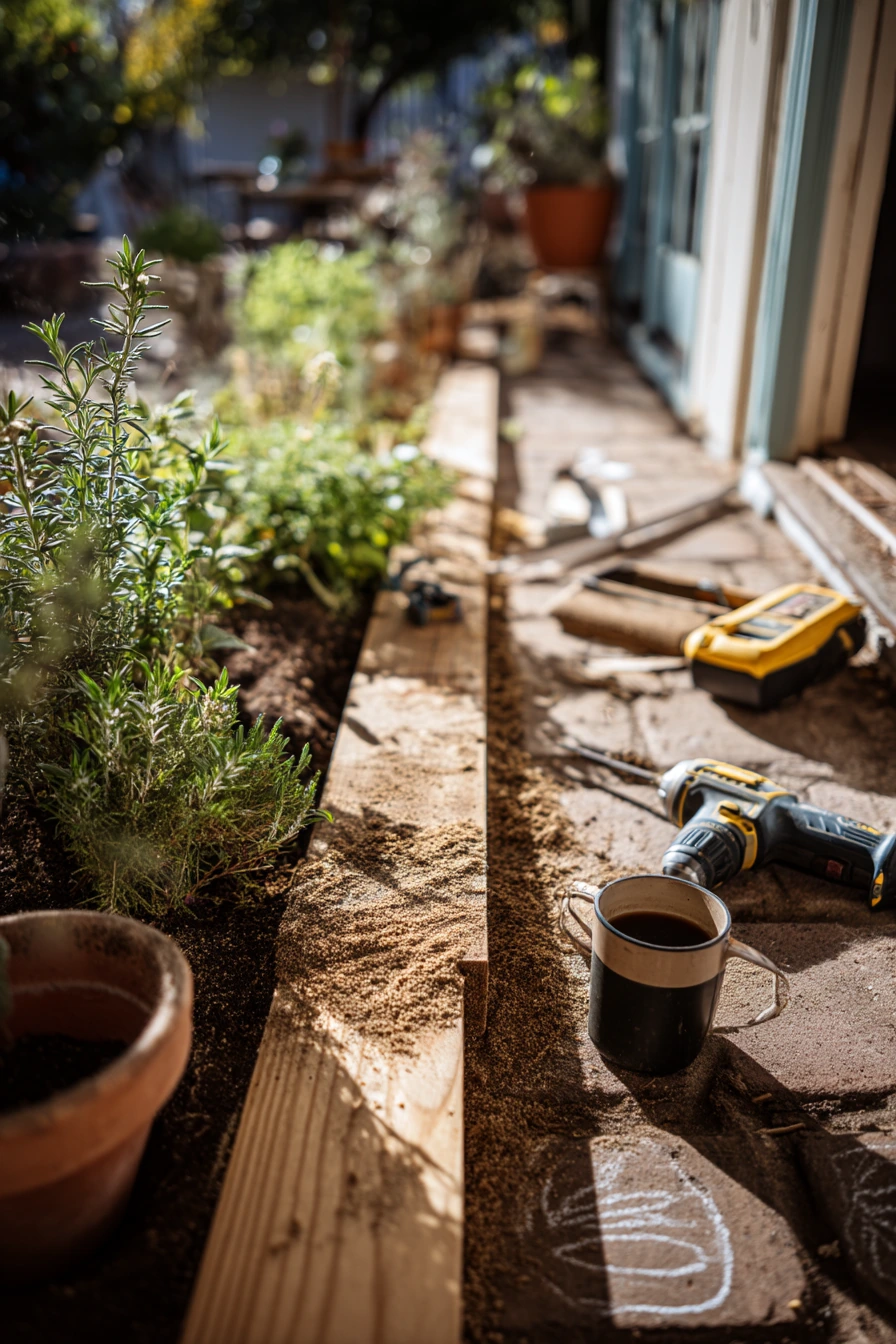
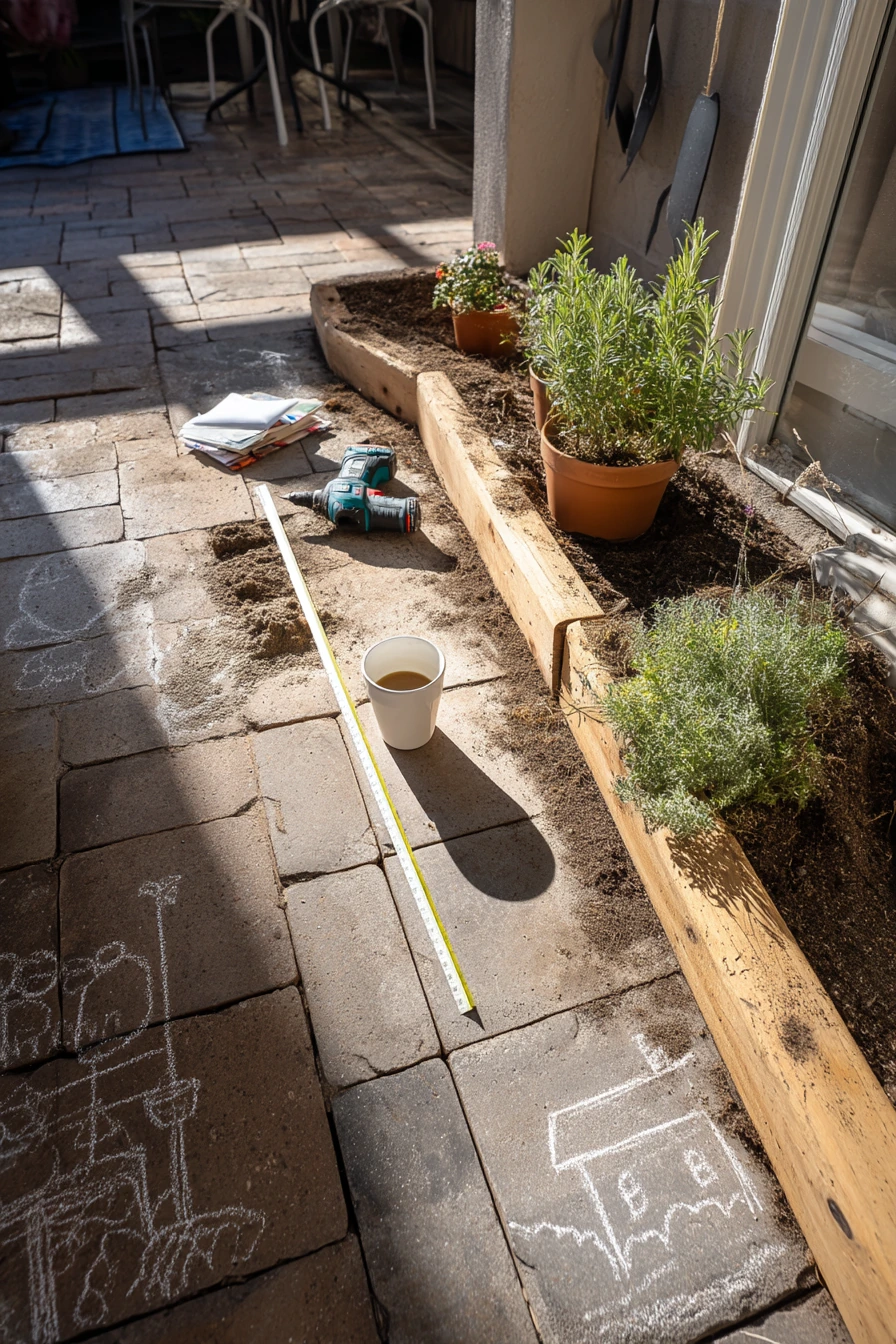
Cedar timber edging is a warm, simple choice for a weekend DIY project. It works well around a small herb border because it lifts the bed just enough to keep soil contained and makes it easy to water without washing dirt onto the patio. Cedar also handles moisture better than many soft woods, which is helpful near a kitchen door.
This style looks great in a family patio zone where real tools show up. You might have a drill on the ground, a measuring tape stretched across the bed, sawdust on the pavers, and a coffee cup nearby. Herbs like basil, thyme, and rosemary look neat when the edge is straight and the bed shape is clear. The border becomes a “frame” that makes the planting look fuller.
How to style it: keep the timber height low so it feels casual, then use repeated herbs in small clusters for a clean pattern. Add a narrow gravel strip between the timber and patio if you want less mess when you harvest. If kids draw with chalk on the pavers, pick a timber stain that hides scuffs and blends with outdoor furniture.
- Choose straight boards and check for warping before buying.
- Pre-drill holes to prevent wood splitting.
- Line the inside with landscape fabric to slow weeds.
- Keep herbs 4 to 6 inches back from the edge for airflow.
- Seal the wood if it sits in constant splash zones.
Pro Design Tip: Use a simple repeating layout, like rosemary at the corners and thyme along the front, so the bed looks ordered even when herbs grow fast.
Budget Considerations: Cedar costs more than pine. For a lower price, use untreated pine and plan to replace boards sooner, or use cedar only on the front edge you see most.


5 Curved Stone Edging for Front Yard Curb Appeal
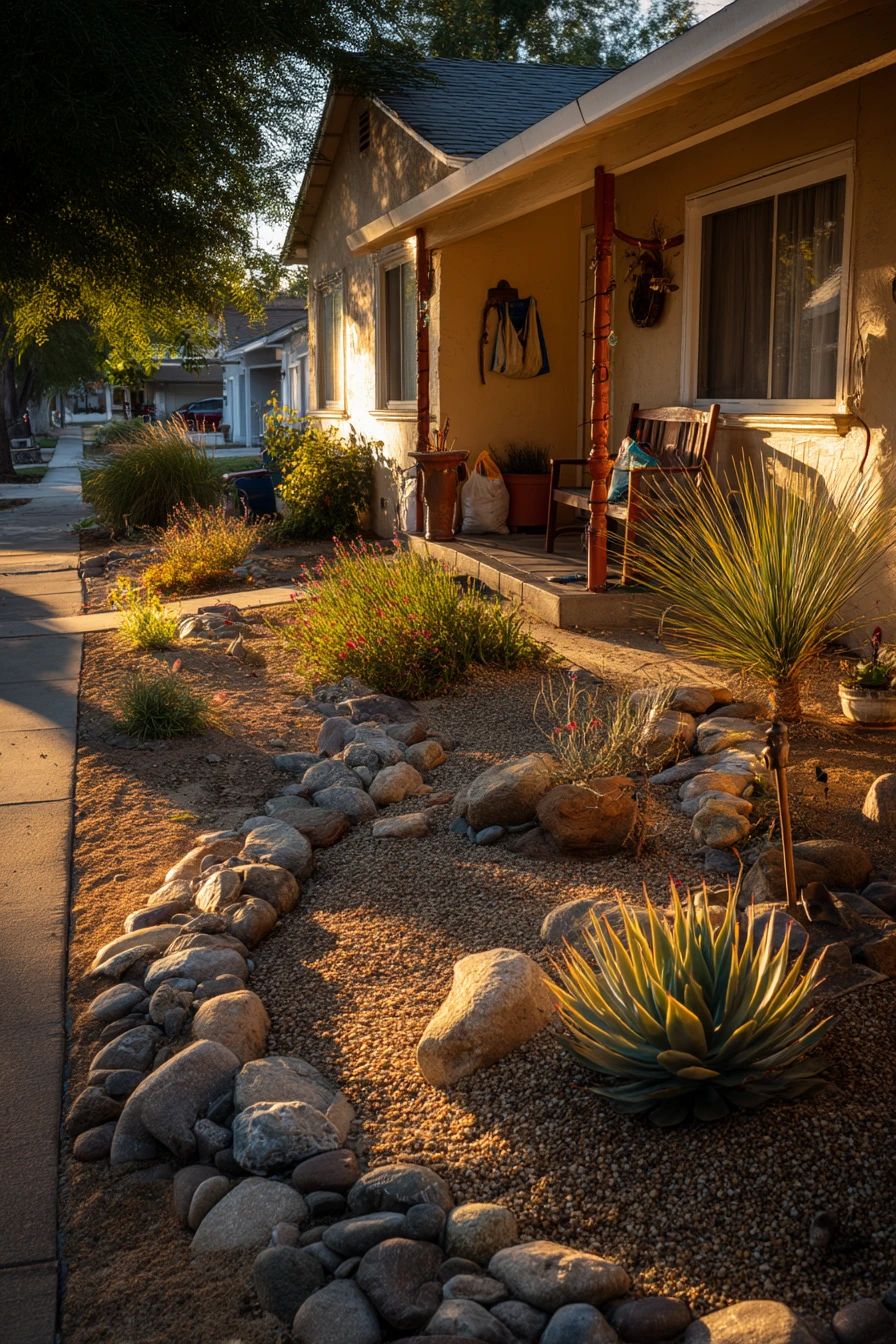
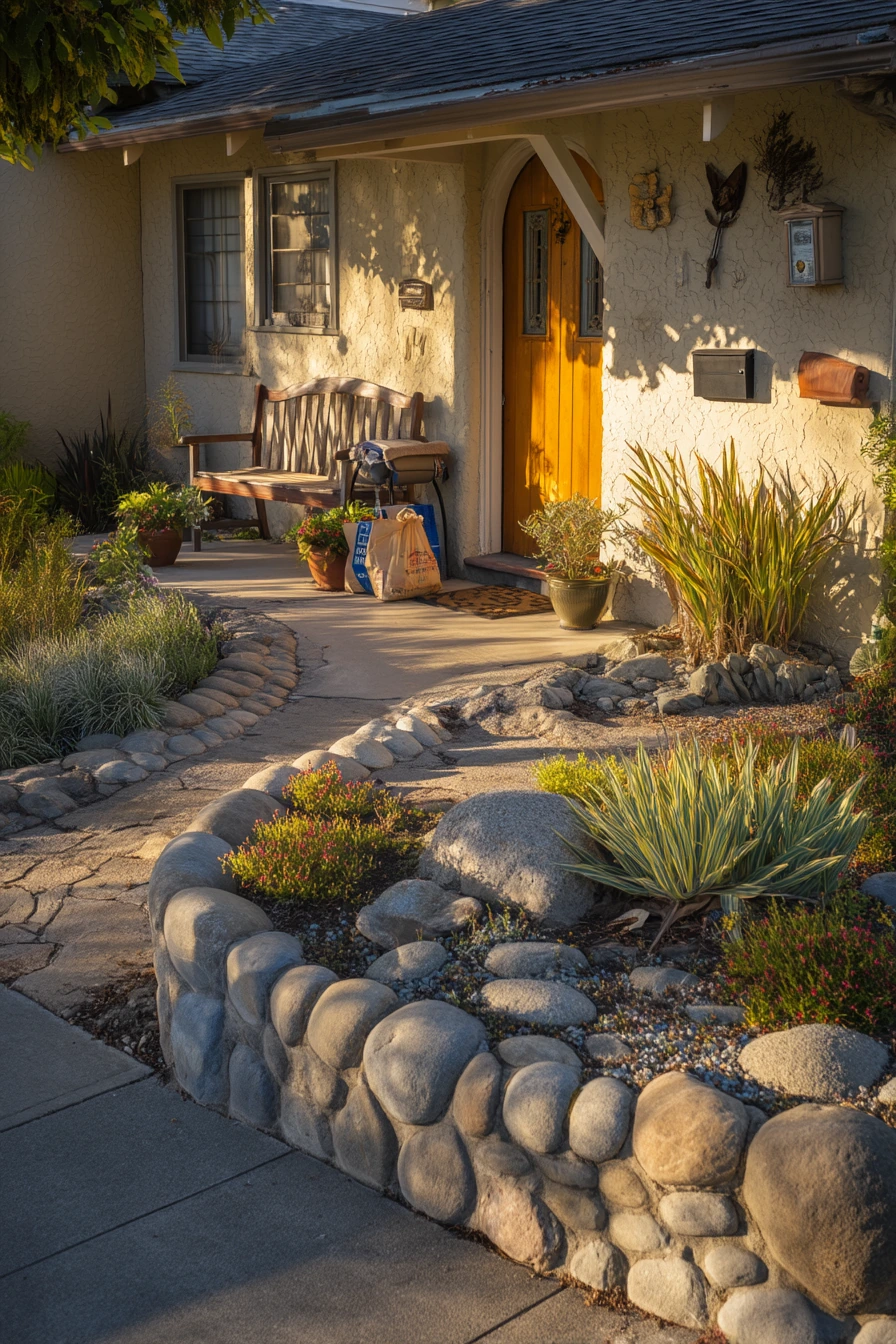
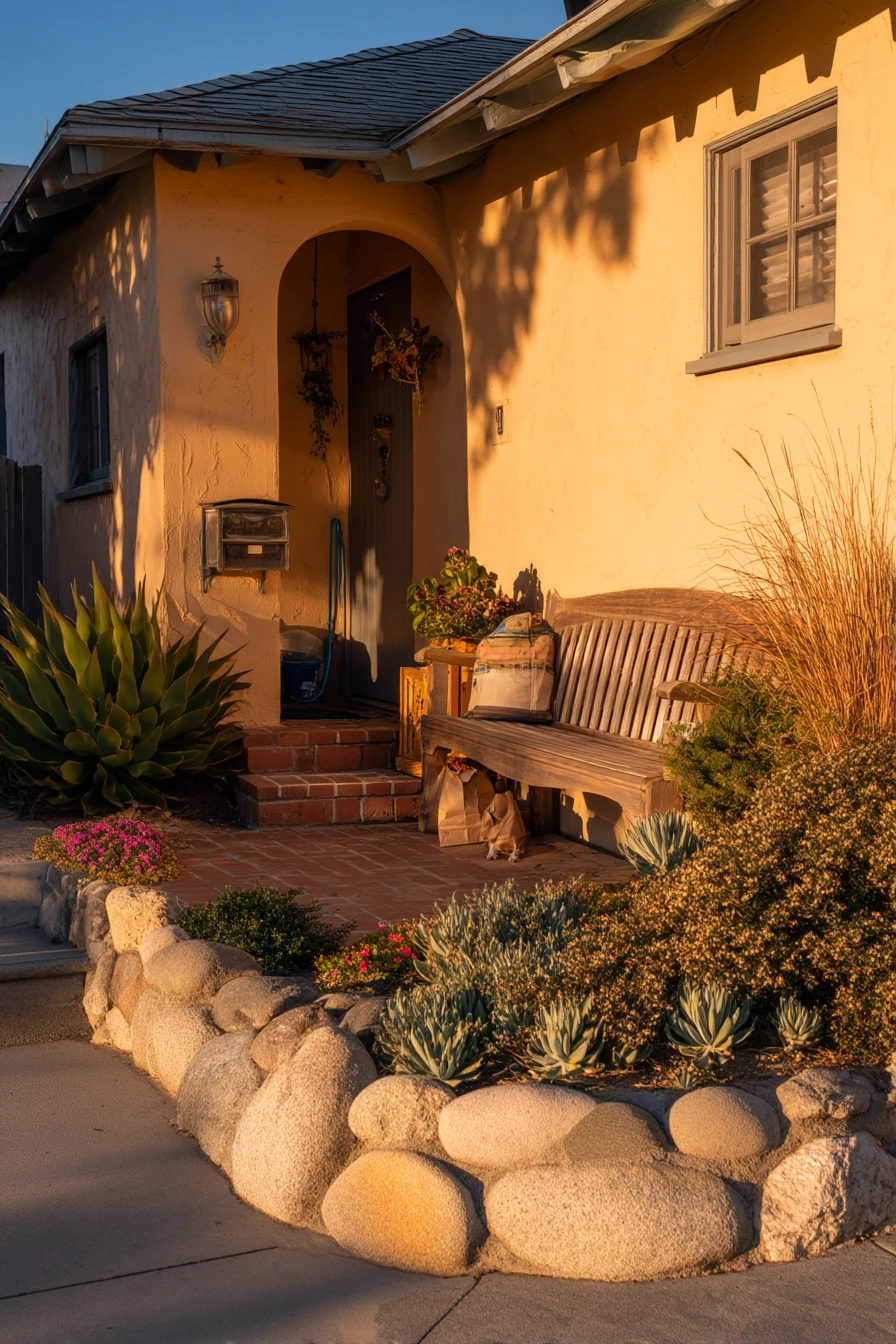
Rounded stone edging adds a welcoming, finished look to a front yard, especially with drought-tolerant planting. The soft curves work well with agave, dianthus, and low shrubs because they echo natural shapes. This is a good option near a mailbox and entry walk where you want curb appeal without daily upkeep.
Stone edging is also forgiving. If the yard gets busy, with grocery bags on the stoop, sunglasses on a bench, and a dog leash hanging nearby, the border still holds the space together. Rounded stone looks polished in golden-hour light and hides minor dirt better than bright pavers. It also helps keep mulch from drifting into the driveway or sidewalk.
How to style it: keep the stone height consistent and follow the curve of the planting bed. Add one or two larger boulders inside the bed to match the edge and make the design feel intentional. Use a simple planting plan: one sculptural plant like agave, then smaller repeats like dianthus for color. Add wind chimes or a simple porch light for a calm entry moment.
- Dig a shallow trench so stones sit partially below grade.
- Use landscape fabric under mulch to reduce weeds.
- Keep plants spaced to show the stone edge, not hide it.
- Match stone color to your house trim or walkway for harmony.
- Refresh mulch once or twice a year to keep the line crisp.
Pro Design Tip: Use a “big to small” stone rhythm, placing larger stones at turns and smaller ones in straight stretches, so curves look smooth.
Budget Considerations: Natural stone prices vary by region. If you need to save money, use stone only along the front-facing edge and finish the back with mulch or simpler edging.
6 Child-Friendly Edging Around a Play Garden

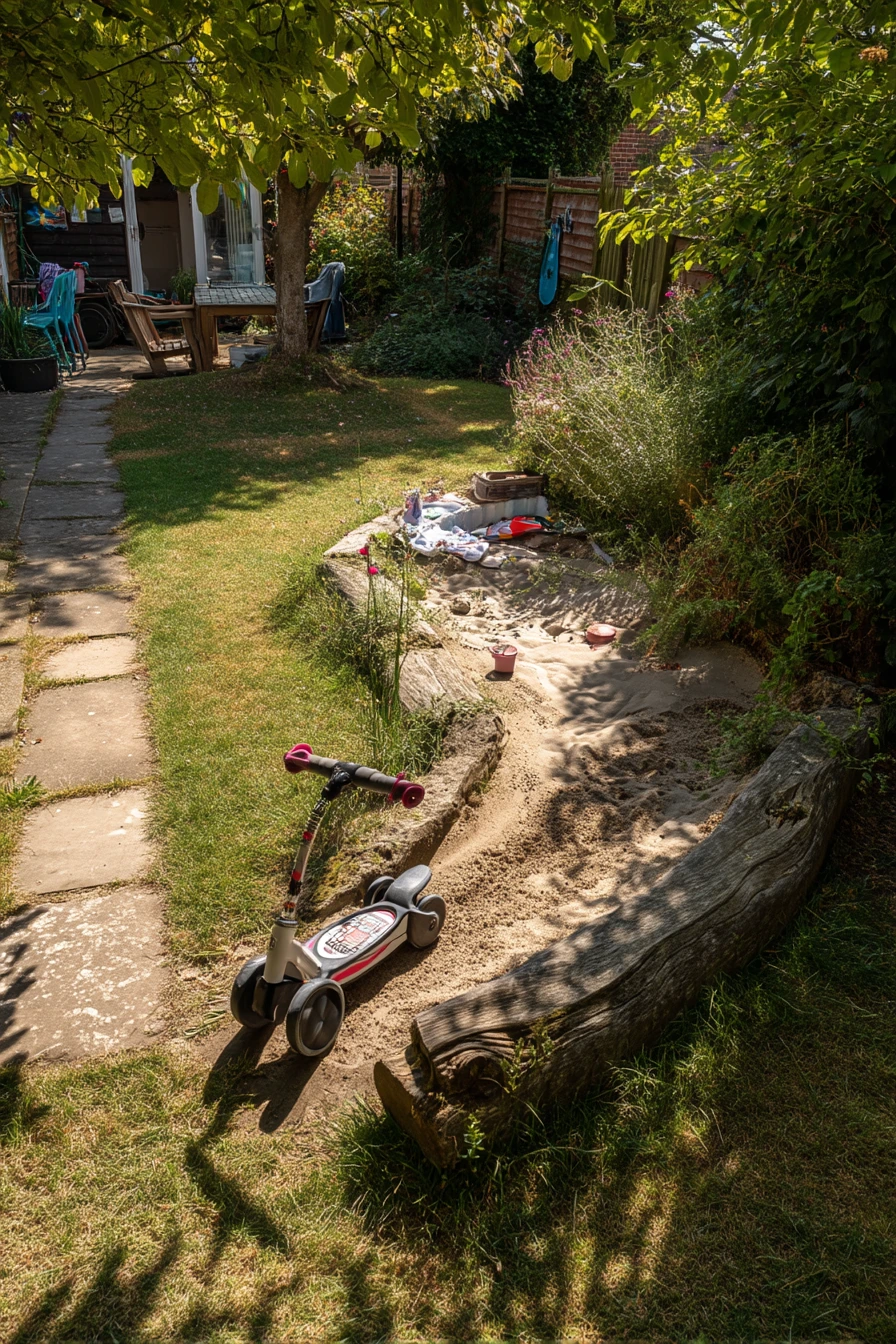
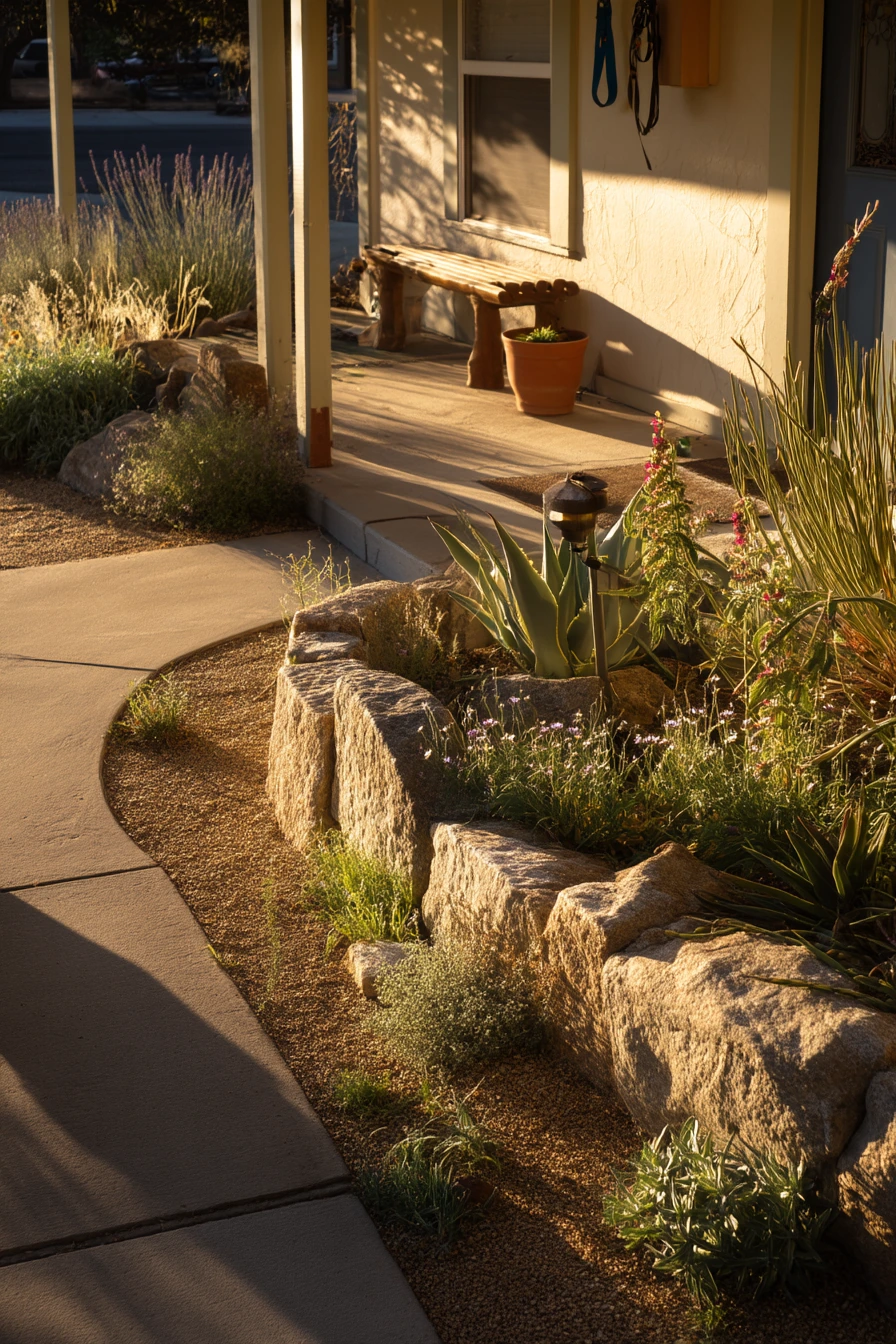
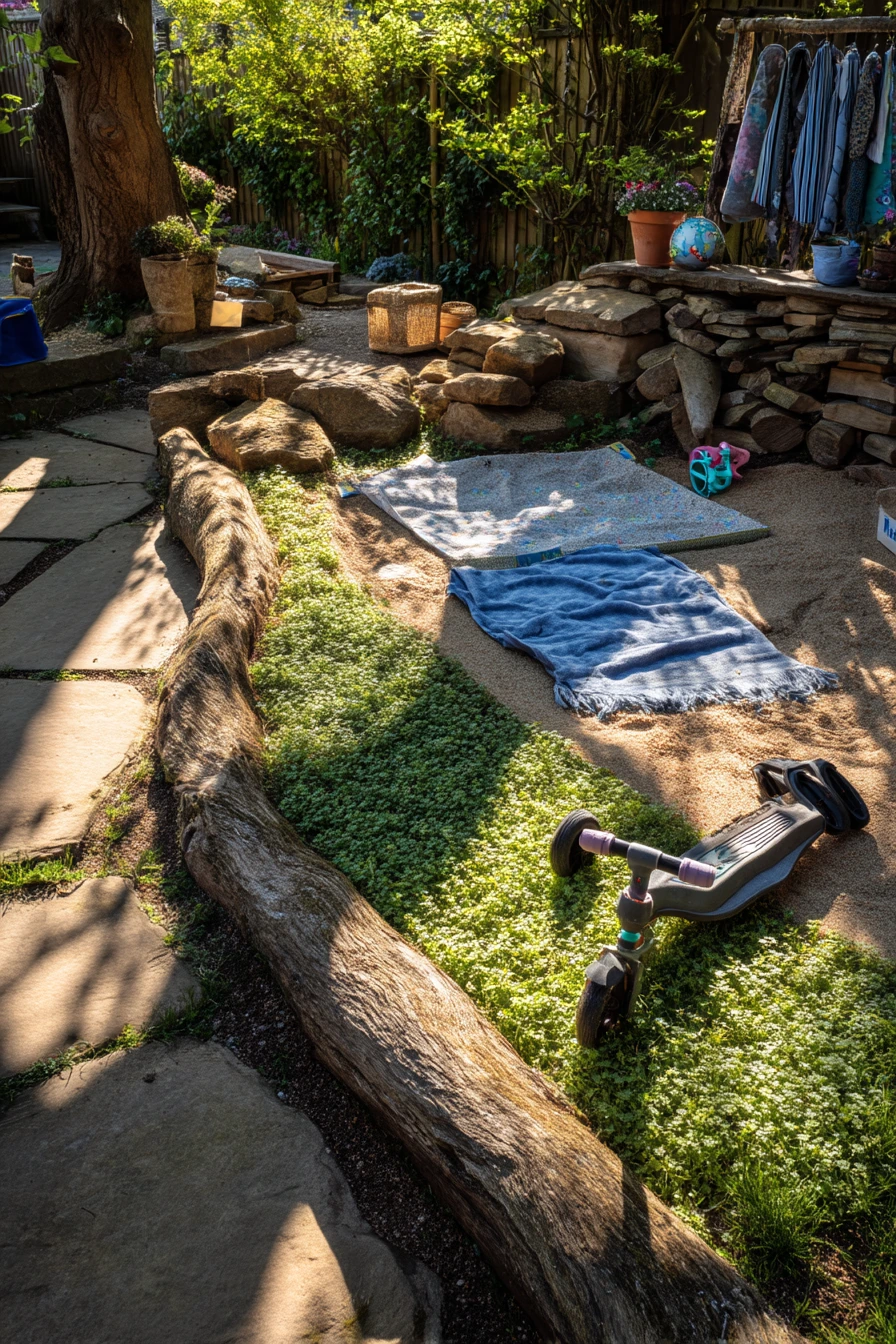
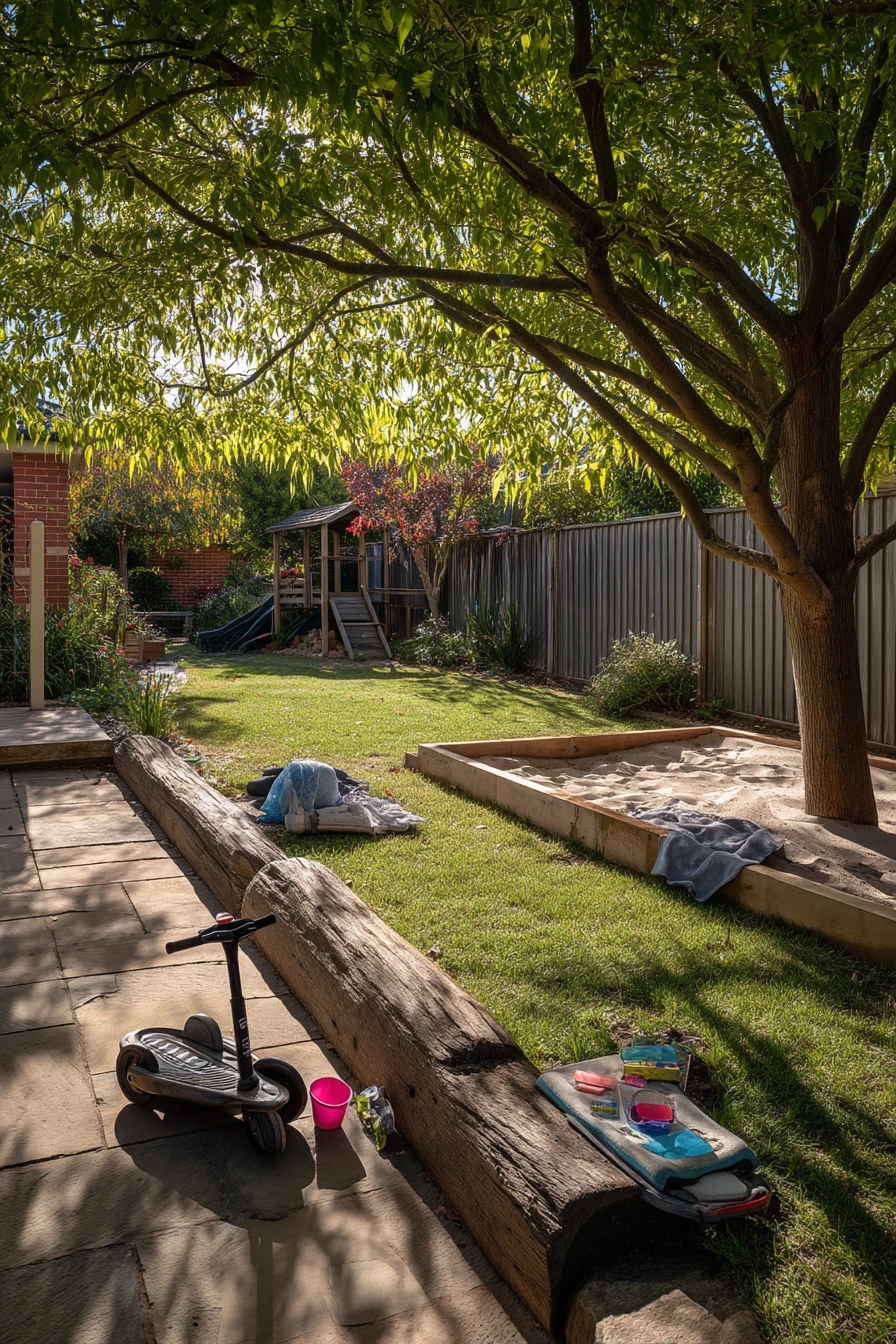
Smooth log edging is a smart choice for a backyard designed for kids. It creates a clear boundary around hardy groundcover and a small sandbox while keeping the feel soft and playful. Rounded logs are easier on little hands and knees than sharp stone or metal, and they look natural next to grass.
This edging style works best when you want “neat but not fussy.” You might have a toddler’s scooter tipped on its side, outdoor blankets on the lawn, a juice cup near the path, and chalk dust on the stone. The log border still helps the yard look organized. It also keeps groundcover from creeping into the sandbox and makes cleanup easier after playtime.
How to style it: choose one groundcover that can take foot traffic, like creeping thyme, dichondra, or clover. Keep the sandbox edge level so toys do not roll away. Add a small stepping-stone path near the log border so kids have a clear route that does not trample plants. If you want a softer look, tuck a few low flowers at the corners and keep the center simple.
- Pick smooth, rot-resistant logs and avoid splintery pieces.
- Set logs into the soil so they do not roll or shift.
- Use a weed barrier under the groundcover area.
- Leave a small gap for drainage so water does not pool.
- Check the border each season for soft spots or pests.
Pro Design Tip: Repeat the log shape in other kid zones, like a small log stool or a simple wood balance beam, so the yard feels planned.
Budget Considerations: Buying new landscape logs can add up. For a lower cost, look for locally milled logs or reclaimed timber, but make sure it is safe and untreated.
7 Low-Cost Cinder Block Border for Raised Beds
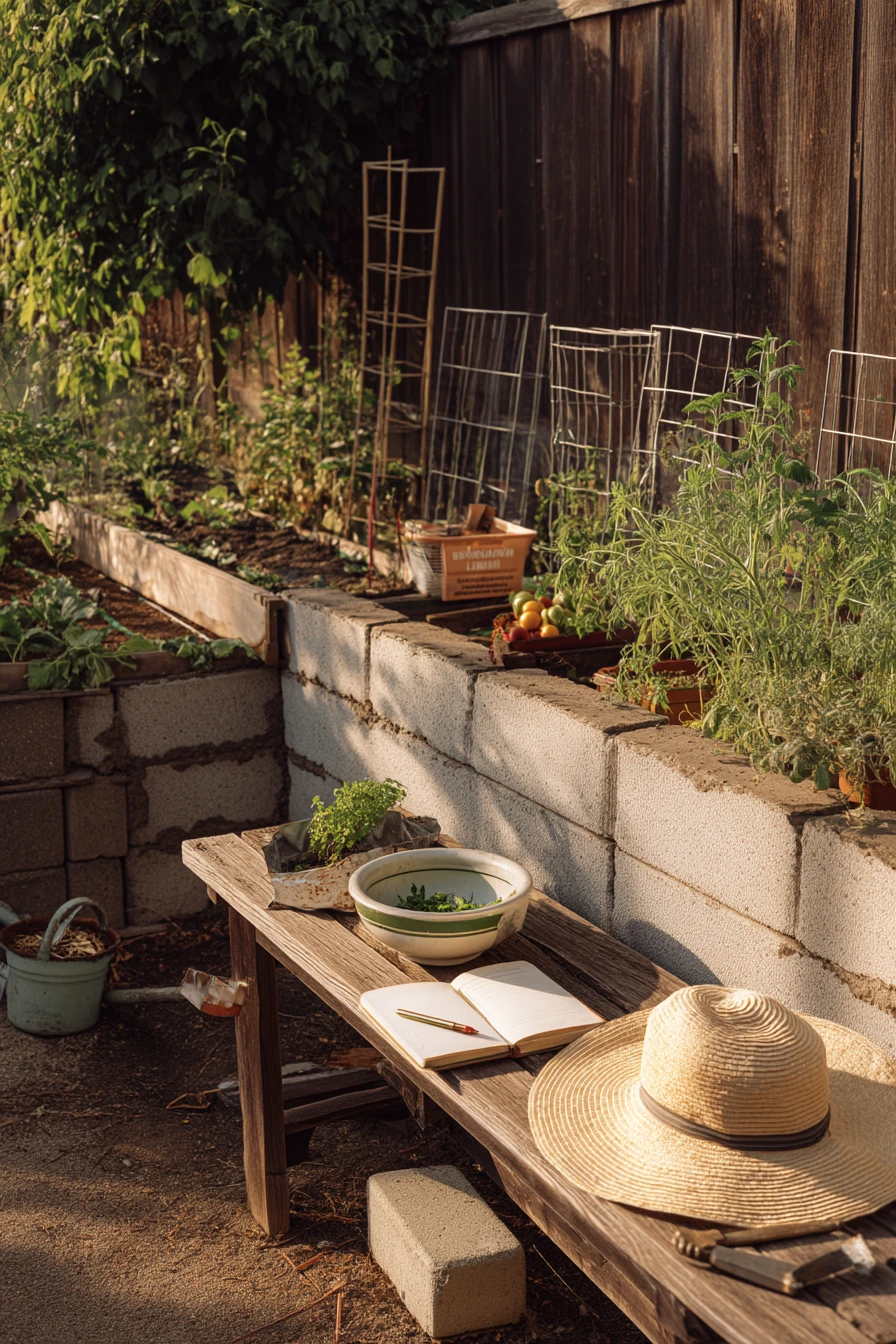
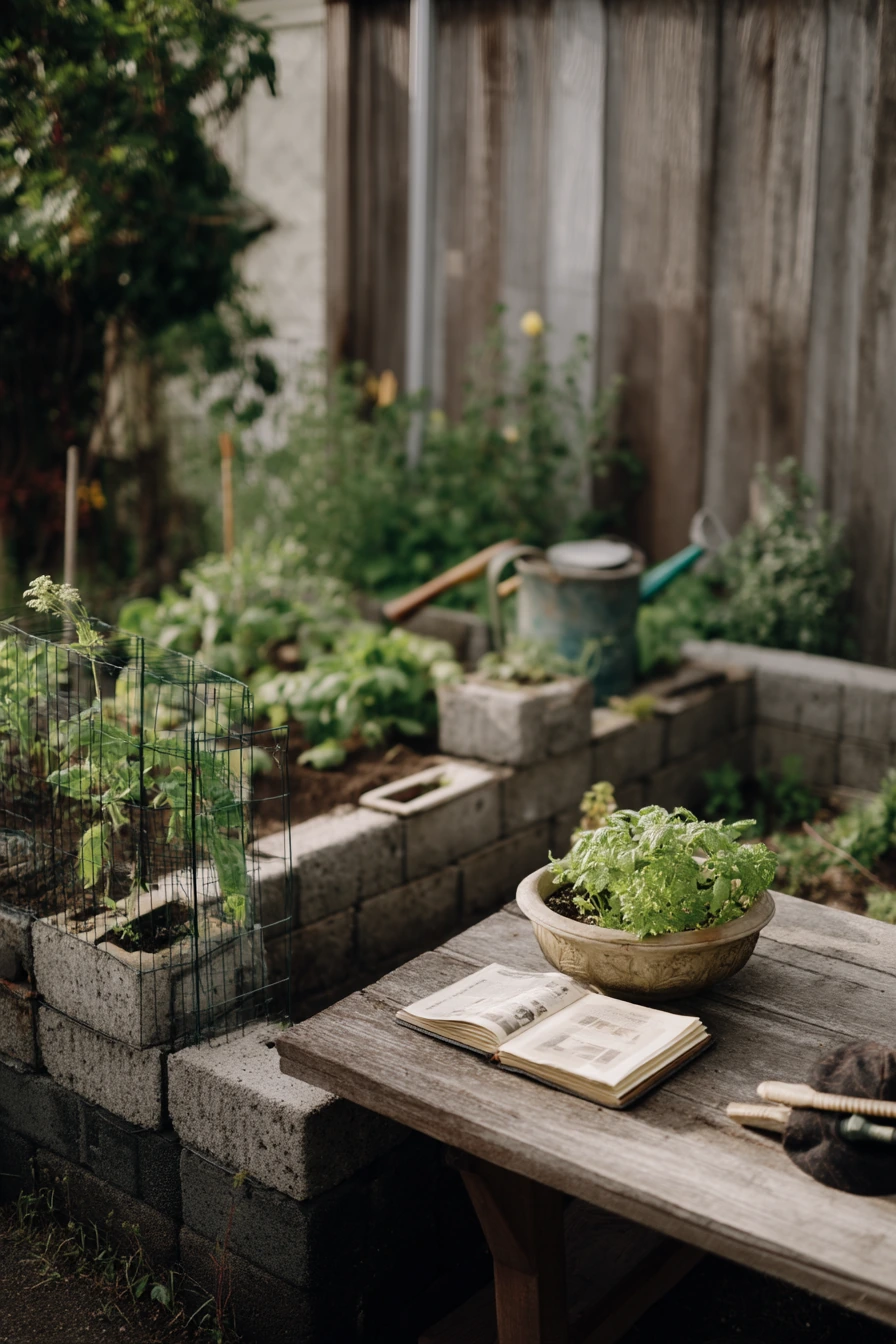
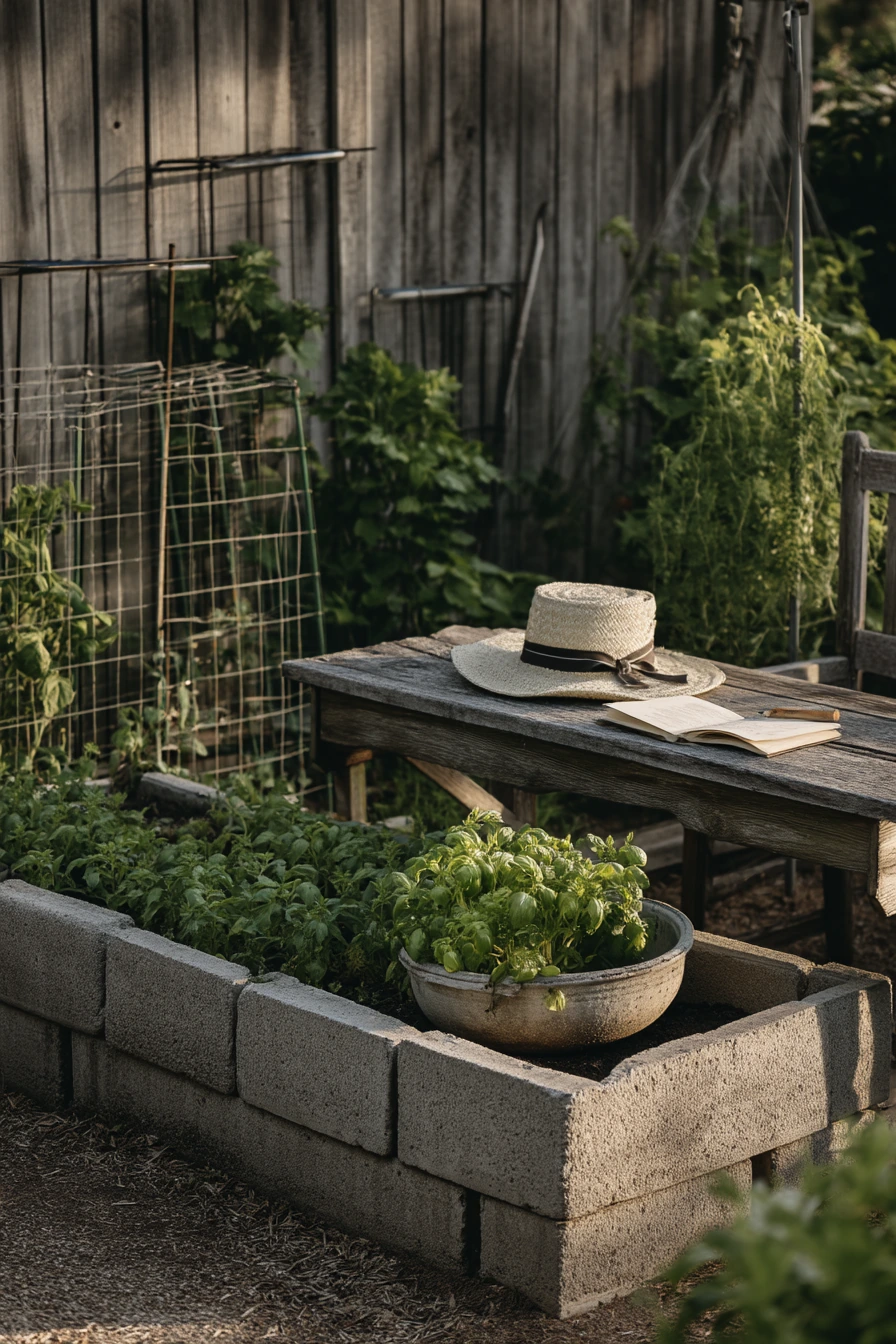
Cinder block garden edging is practical for a kitchen garden with raised vegetable beds. It creates a strong border that can handle tools, hoses, and heavy watering. Along a weathered fence, the simple gray blocks feel honest and hardworking, and they pair well with tomato cages, a watering can, and a gardening notebook on a bench.
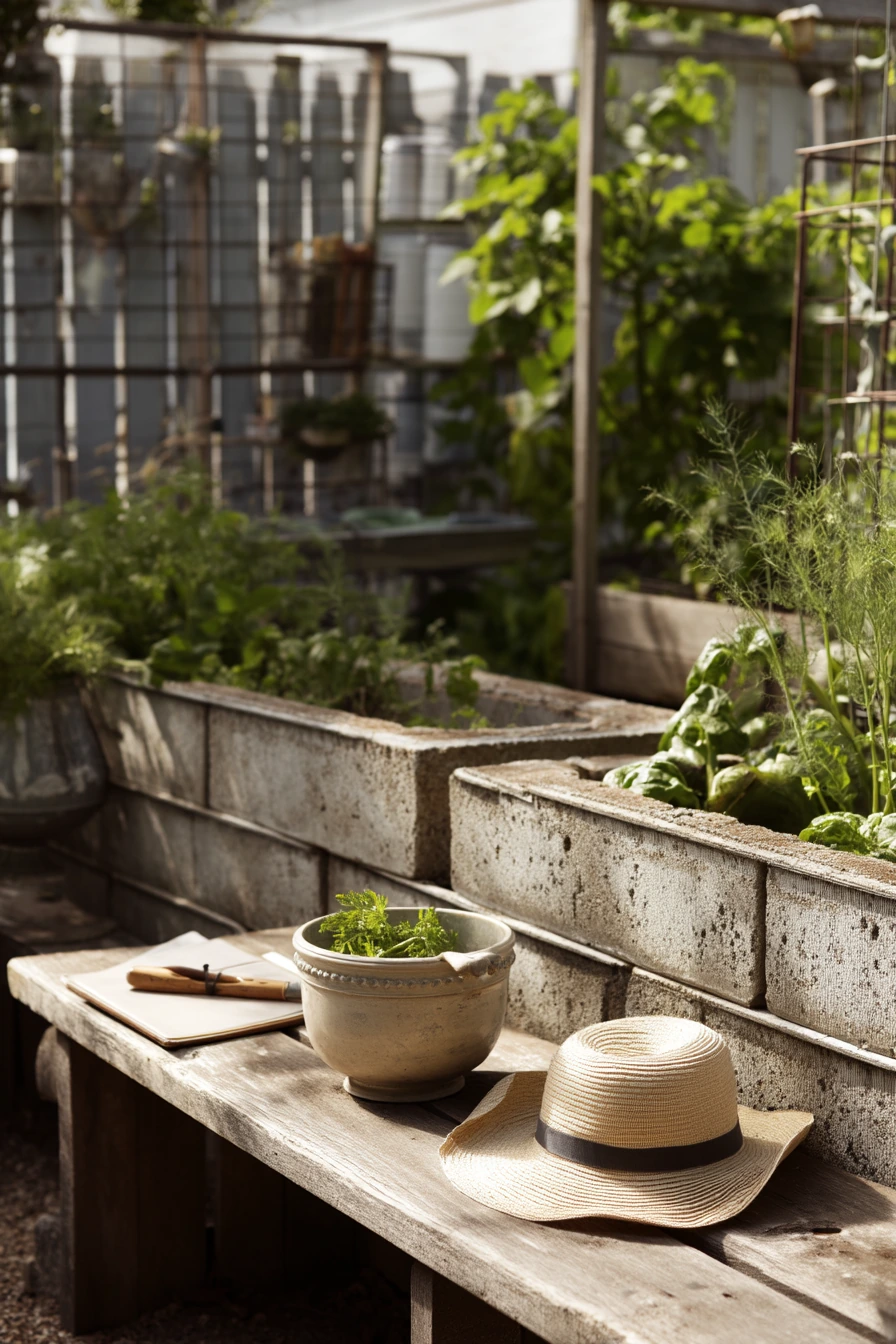
One reason people like cinder blocks is that they are multi-use. The holes can hold small herbs or flowers, which adds color near vegetables. They also create a clear edge so you do not step into the bed when harvesting. If you keep a ceramic bowl of fresh herbs on the table, the edging supports that “pick and cook” routine because beds stay tidy and easy to reach.
How to style it: keep the layout square and simple, then soften the look with plants. Paint the blocks a warm white or a deep charcoal if you want a cleaner finish, and match that color to your shed or fence. Add a narrow path of mulch or gravel between beds so the garden feels like a small room. Use one or two repeating pots to reduce visual clutter.
- Level the first row carefully so blocks do not wobble.
- Fill gaps under blocks with crushed stone for stability.
- Plant herbs in block holes for easy access.
- Keep bed height comfortable for your back and knees.
- Use drip irrigation to reduce splash and weeds.
Pro Design Tip: Paint or limewash the blocks in one solid color, then let the plants add the variety; it makes even a busy veggie bed look calm.
Budget Considerations: Cinder blocks are often low cost, but paint and soil add expenses. If you are saving money, skip paint and focus on clean paths and strong plant spacing.
8 Elegant Paver Edging Beside a Courtyard
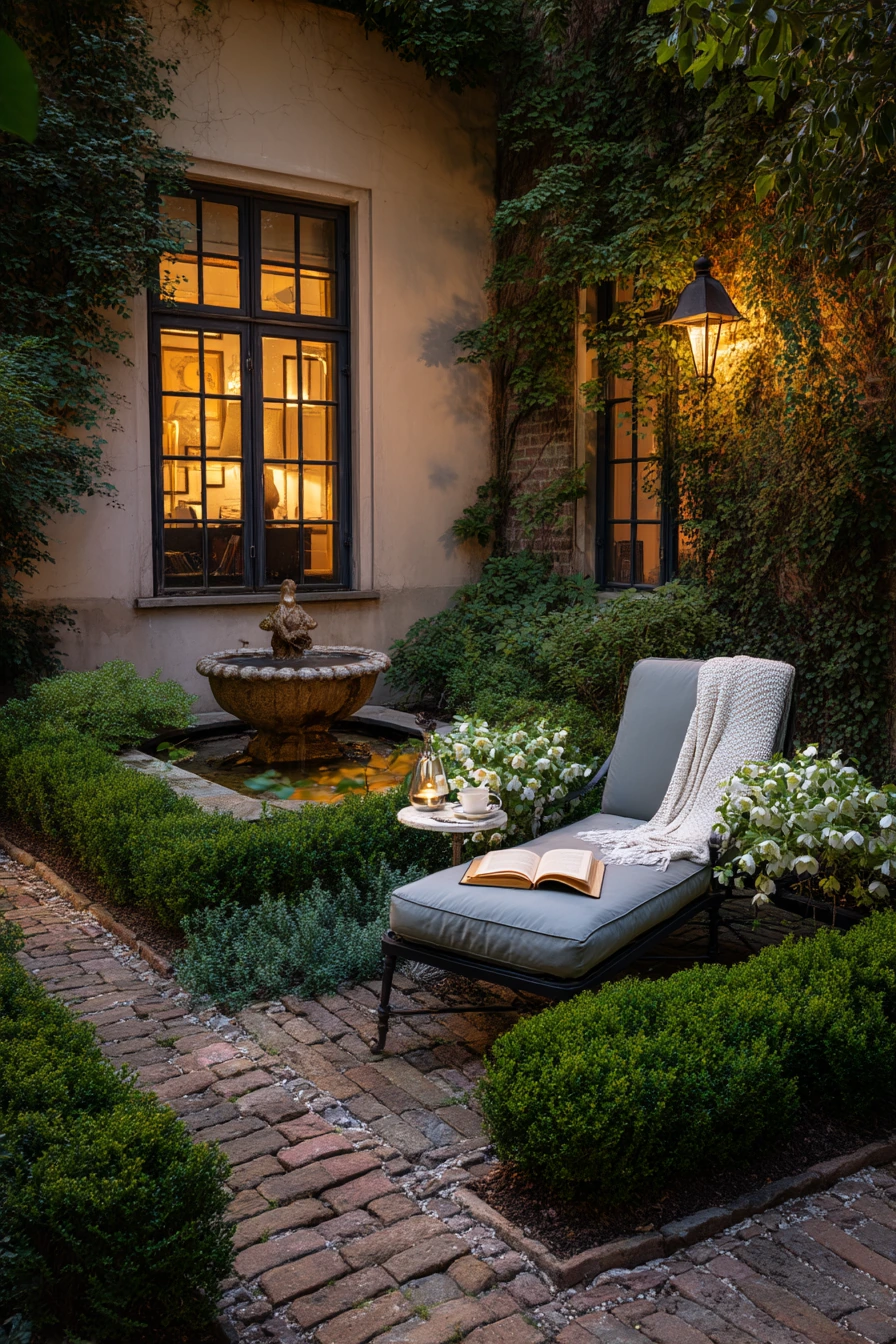
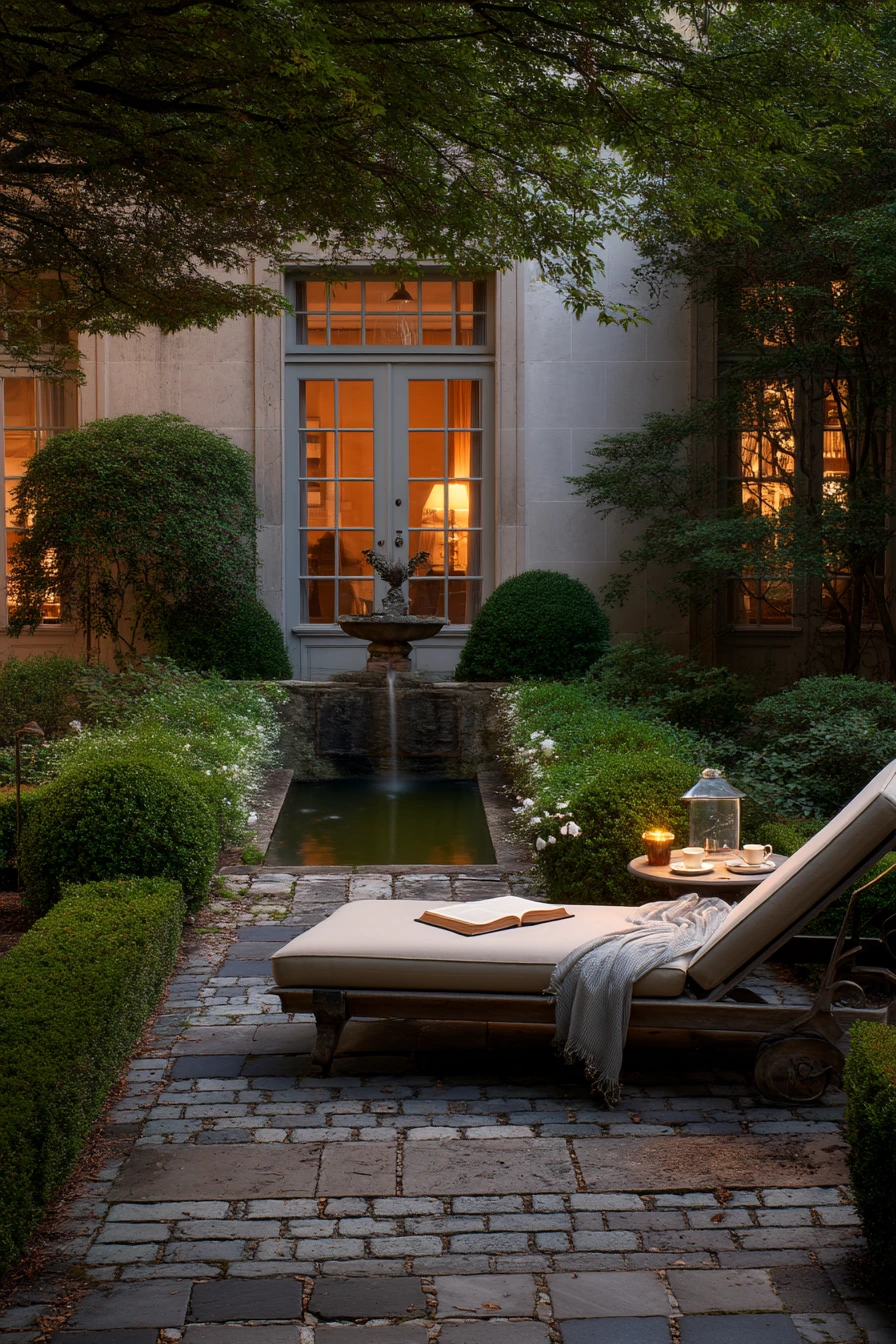
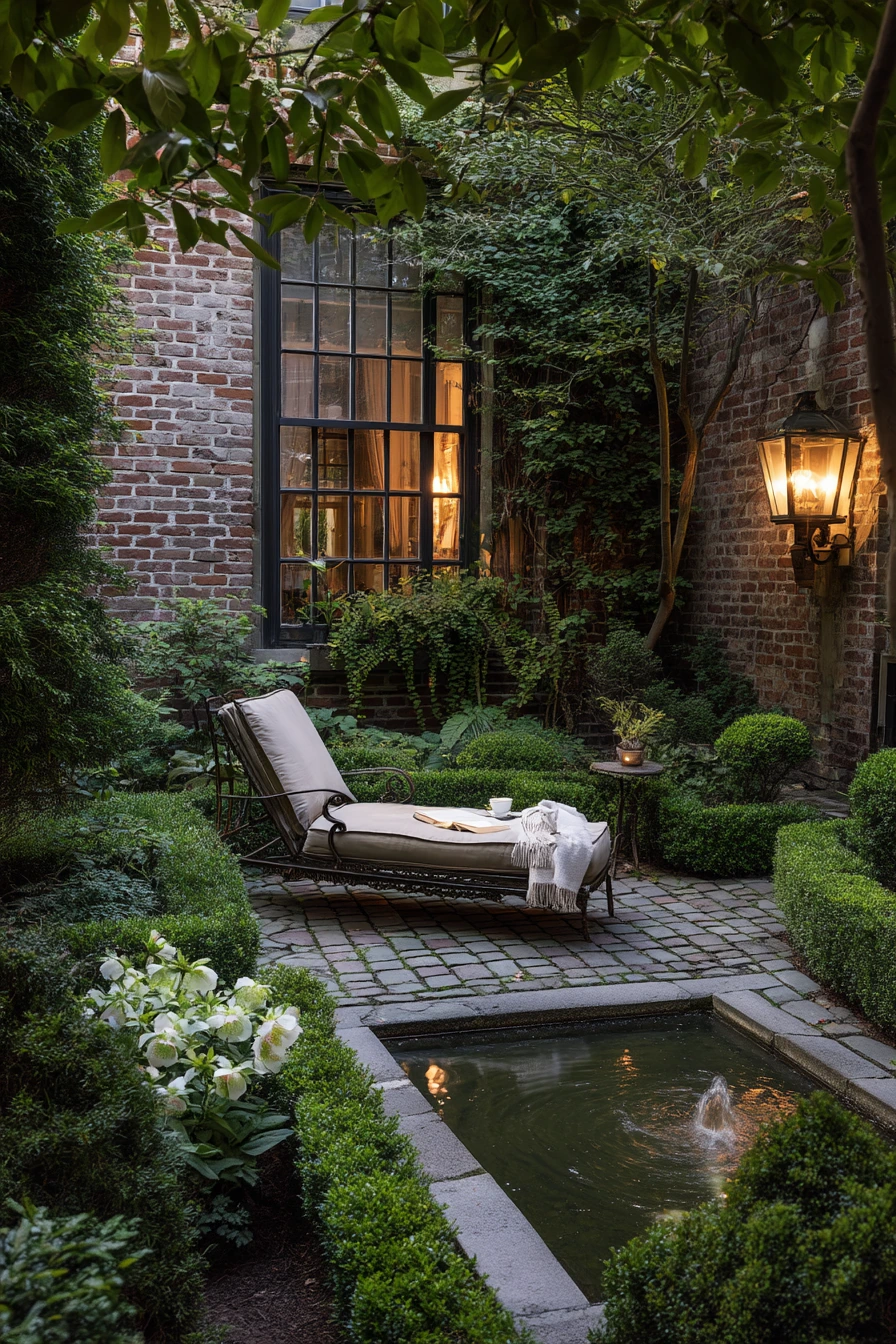
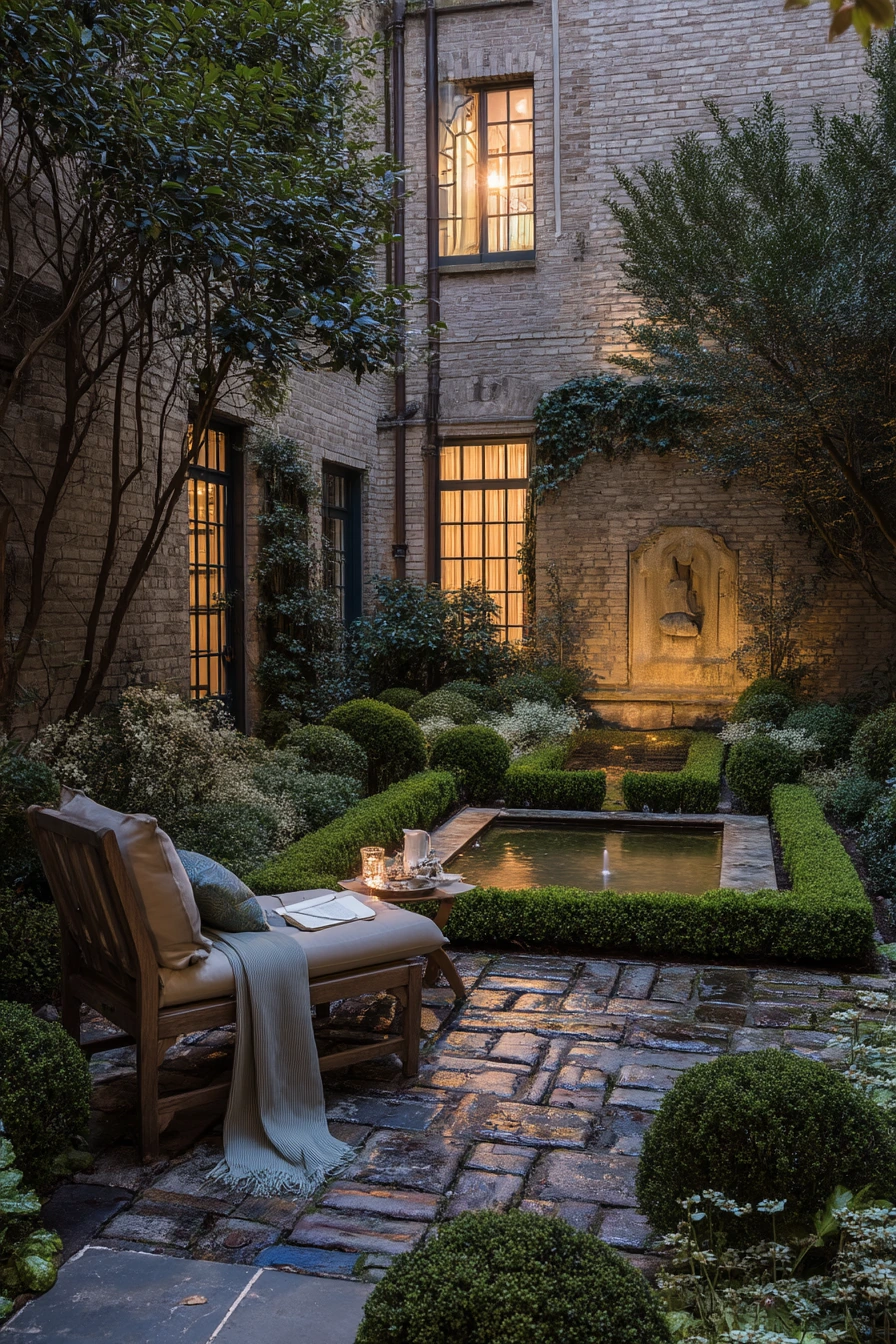
Narrow paver edging gives a courtyard garden a clean outline and a quiet, finished feel. It is perfect for shaping clipped boxwood, white hellebores, and a small fountain because it creates crisp lines without a tall border. In a calm courtyard, details matter, like an open book on a lounge chair, reading glasses, a tea cup, and a folded linen throw nearby.
Pavers are also stable underfoot. If you walk out at dusk, the edging still feels safe and easy to follow. This is helpful in small spaces where paths are close to planting. Warm lamplight and cool window light can make stone surfaces look rich, so keeping the edges straight and clean helps the whole area feel more polished.
How to style it: pick pavers that match your main patio stone, then use the edging as a thin “picture frame” around planting. Keep the plant palette limited. One evergreen shape, one flowering plant, and one texture plant is often enough. Add a small tray for tea and a simple outdoor pillow so the space reads like an outdoor living room.
- Set pavers on a compacted base for a level edge.
- Use polymeric sand in joints to reduce weeds.
- Keep boxwood trimmed slightly inside the paver line.
- Place lighting low so it grazes the edging at night.
- Rinse pavers seasonally to prevent algae or stains.
Pro Design Tip: Align the paver edge with one strong line from the house, like a window or door frame, to make the courtyard feel larger and more ordered.
Budget Considerations: Stone pavers can be pricey. To cut costs, use simple concrete pavers and upgrade the look with better joint sand and a tighter layout.
9 Natural Log Edging in a Woodland Yard
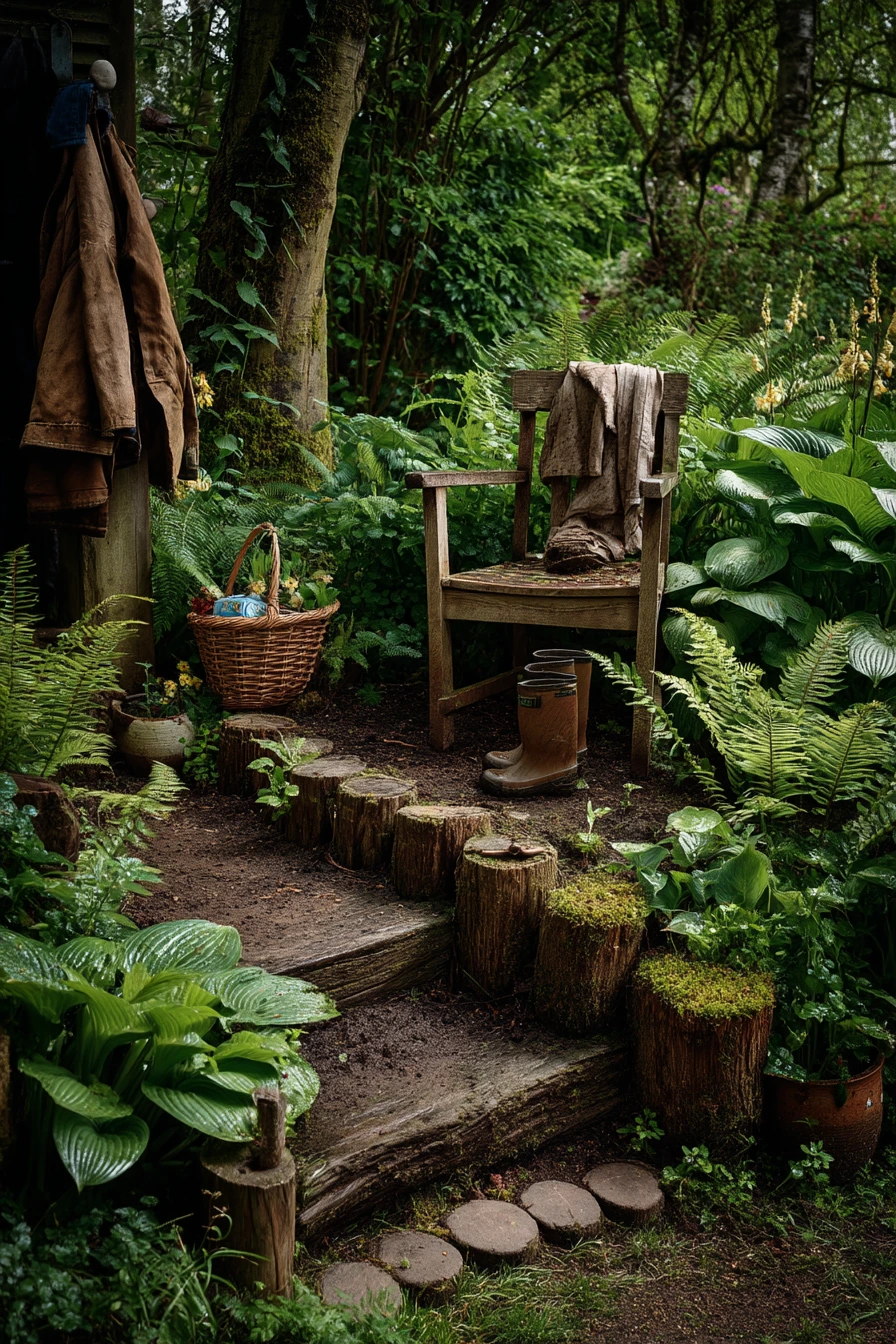
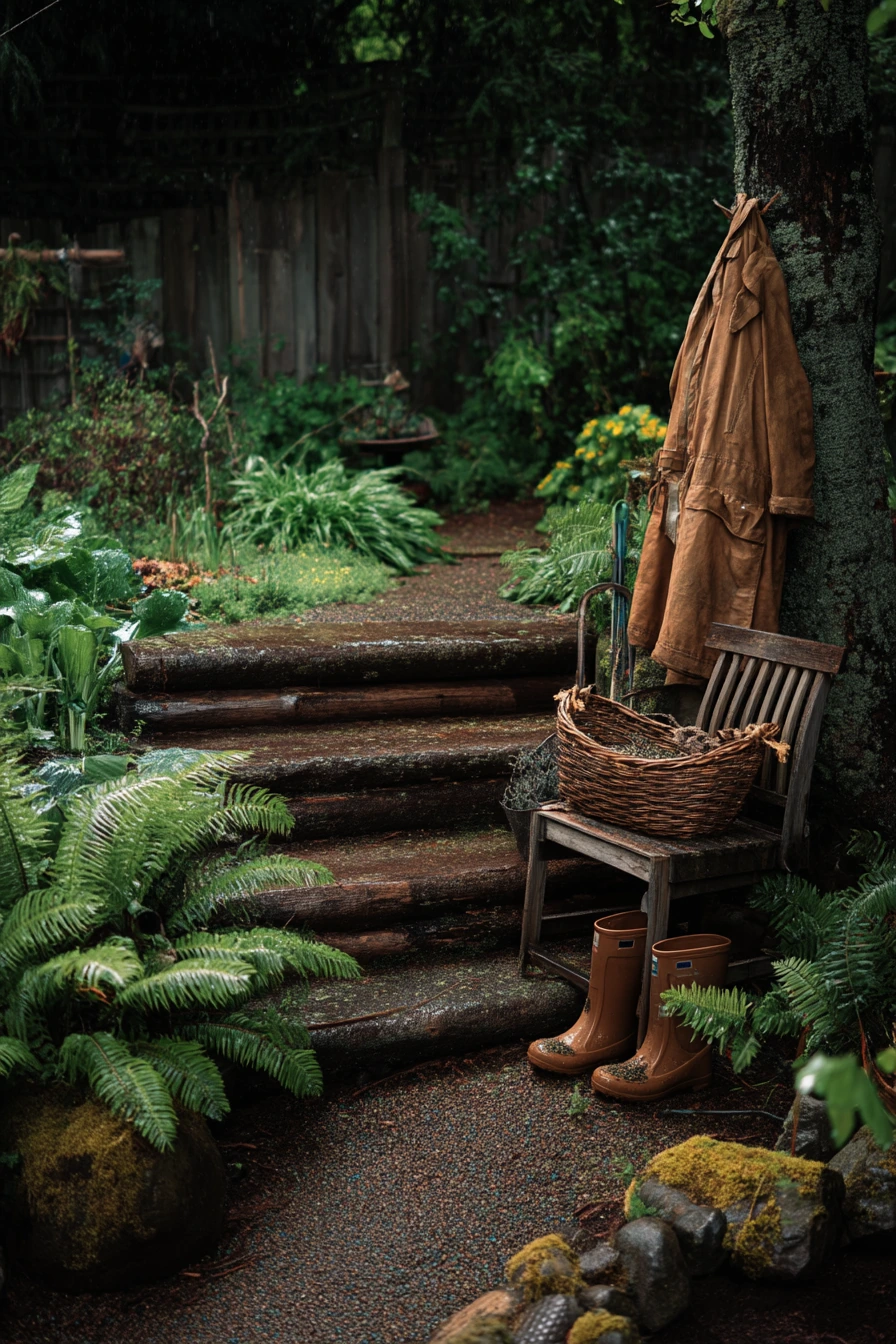
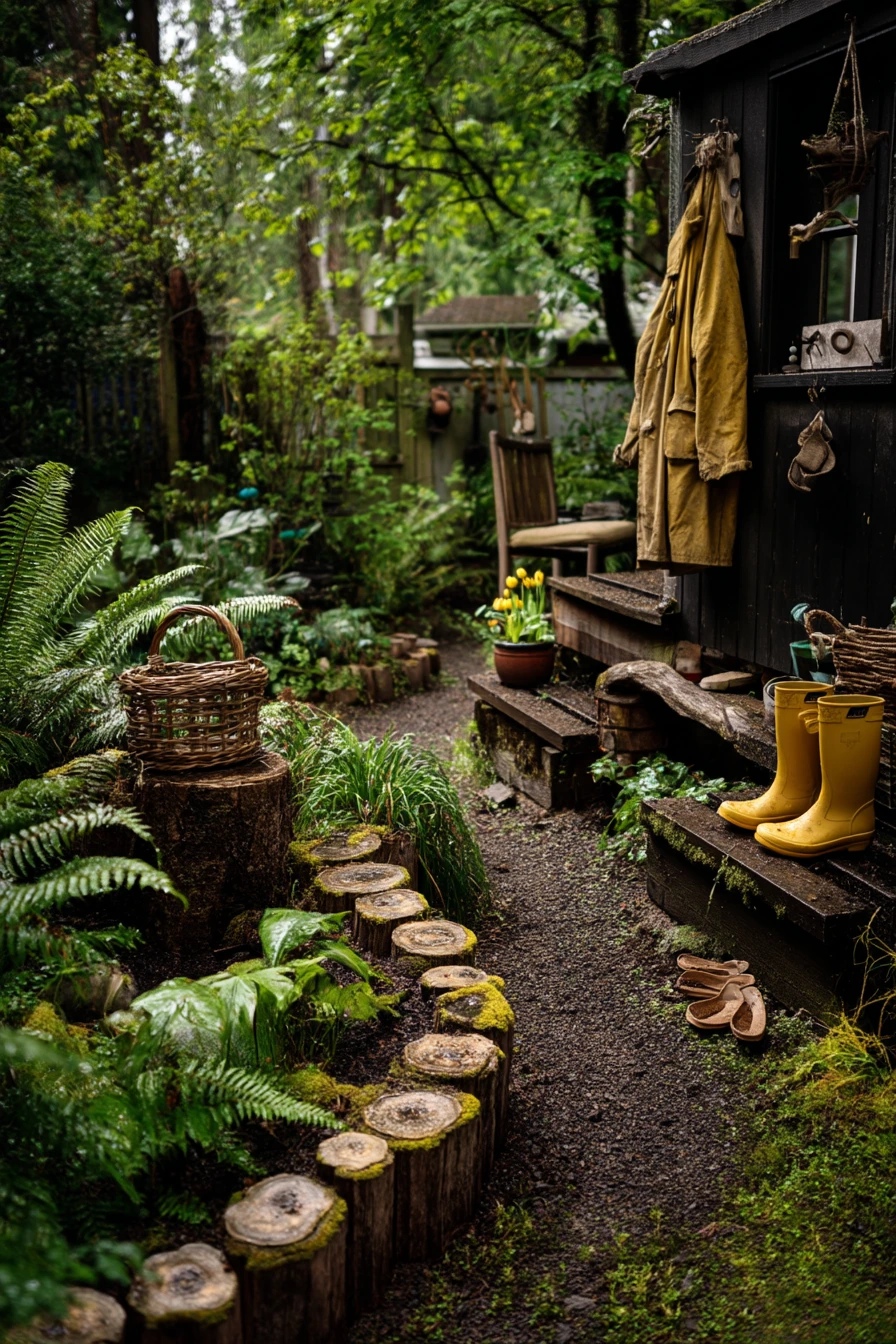
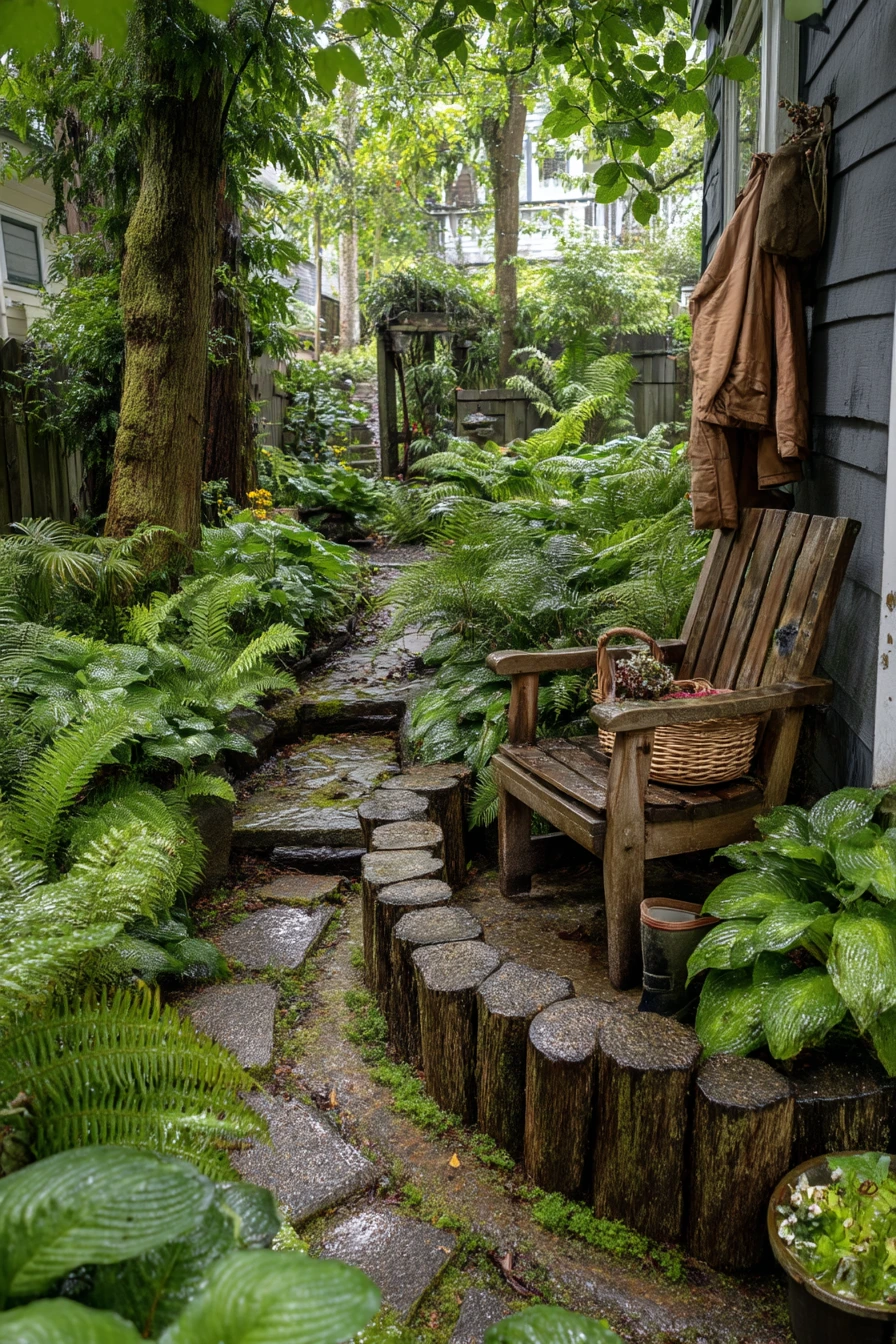
Rustic log edging fits a woodland-style backyard where planting is lush and a little wild. It looks right next to ferns, hostas, and mossy ground, and it blends into damp, earthy conditions. This edging style helps define beds under trees, where grass struggles and mulch needs a clear stopping point.
In a real backyard, woodland gardens often include messy moments. A rain jacket may be draped over a chair, muddy garden clogs by the steps, and a basket of bulbs waiting to be planted. Log edging keeps the space from looking scattered, even when you are mid-project. It also guides the eye along the garden, which is helpful when shade beds can feel busy.
How to style it: use logs to create gentle curves, then repeat plants in small groups so the bed reads as one design. Add a bird feeder or simple water dish nearby to match the nature theme. If your yard is wet, raise the planting bed slightly behind the logs and use leaf mulch or fine bark so it settles well and does not wash away.
- Use rot-resistant wood and avoid treated lumber near edible areas.
- Anchor logs with stakes so they do not shift in soft soil.
- Leave small gaps so water can drain out of the bed.
- Mix textures: ferns, broad hosta leaves, and low moss.
- Top-dress with leaf mold to keep the woodland look natural.
Pro Design Tip: Keep the log height low and consistent, then let taller plants rise behind it; this creates a clean edge without fighting the natural style.
Budget Considerations: If you have downed branches or extra firewood, you may be able to source logs for free. Just choose pieces that are solid and not already rotting.
10 Gravel and Steel Edging for a Low-Maintenance Backyard
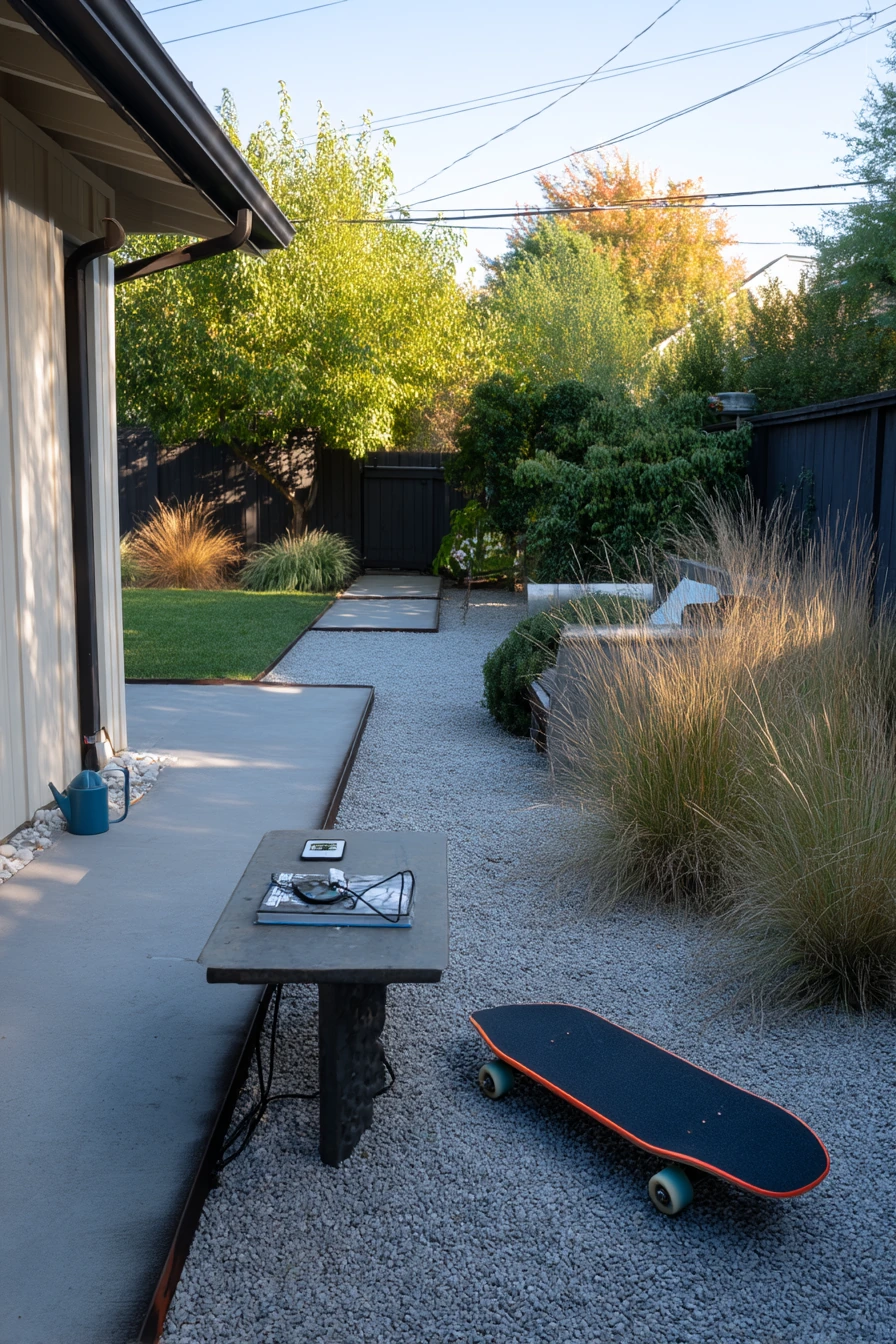

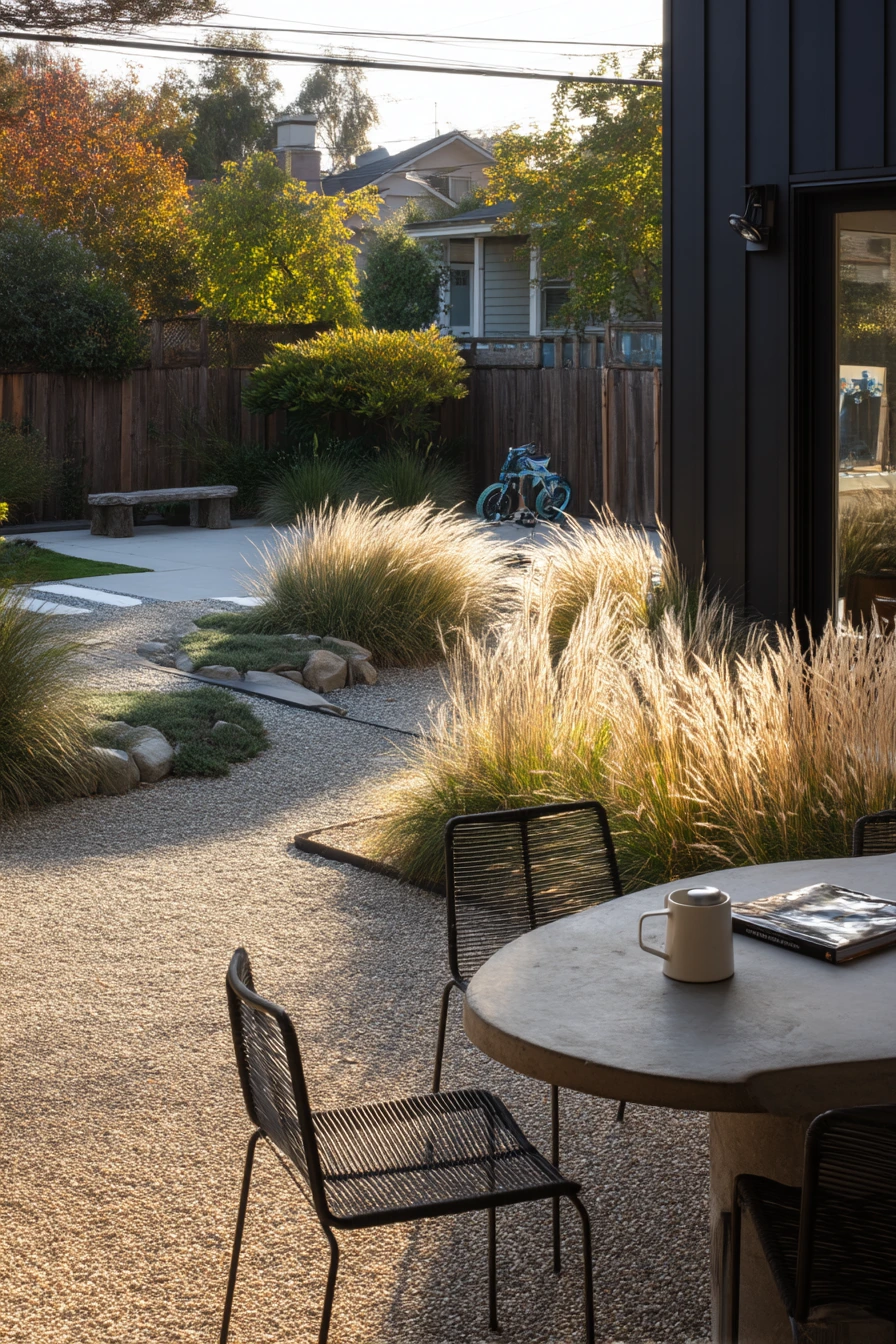
Black steel edging is a strong, low-maintenance way to divide gravel paths, ornamental grasses, and a few sculptural shrubs. It looks clean in a family backyard because it creates clear zones while staying slim and simple. Even with real-life items around, like a skateboard by the fence, a half-read magazine on the table, and a watering can left out, the yard still feels organized.
This edging is great for busy people who want a modern look without constant trimming. It holds gravel in place and keeps grass from creeping into paths. In cool morning light, the dark line reads as a sharp outline that makes plants and stones look more intentional. It also pairs well with neutral outdoor furniture and simple fencing.
How to style it: use black steel to create a few main shapes, like one long path and one planting island. Choose ornamental grasses that move in the wind, then add one or two shrubs with bold form, like boxwood or dwarf pine. Hide small “life clutter,” like a charging cable, behind a planter or in a weatherproof box so the clean edge can do its job.
- Use steel edging to separate gravel from lawn for easier mowing.
- Keep gravel depth consistent so the path looks smooth.
- Choose drought-tolerant grasses to reduce watering time.
- Trim along the edge once a season to keep lines sharp.
- Check edging stakes yearly to prevent heaving in freeze zones.
Pro Design Tip: Repeat the black line in at least two places, like edging plus a black planter, so it feels like a planned color choice.
Budget Considerations: Quality steel costs more than plastic, but it lasts longer. To stay on budget, edge only the main path first, then add more sections over time.

Garden edging can be simple and still look good. Brick, gravel, steel, timber, stone, logs, blocks, and pavers all help define beds and paths, so your yard feels calmer and easier to care for.
Pick one edging idea that matches your home and how you use the space. Then copy the shape, repeat a few plants, and keep the lines clear.
FAQ
What is the cheapest garden edging that still looks nice?
Gravel bands, reclaimed bricks, and cinder blocks are often the most budget-friendly, especially if you source materials locally.
What edging is best for keeping mulch in place?
Brick, stone, timber, and steel edging all hold mulch well. Keep the mulch level slightly below the top edge to reduce spillover.
Is metal edging safe for kids and pets?
It can be, if you choose rolled-top or capped ends and avoid sharp corners. Install it deep enough so only a small amount shows.
How do I keep gravel edging from spreading into the lawn?
Use an edging strip (metal or plastic) under the gravel, and keep the gravel band a consistent width for easier cleanup.
Do I need landscape fabric under edging?
It helps under gravel and stone to reduce weeds, but it is not always needed under planted beds. Good mulch and regular weeding can be enough.
How deep should I bury bricks or stones for edging?
A common rule is to bury about one-third to one-half of the height for stability. Adjust for soil type and freeze-thaw conditions.
Start small if you need to. Even edging one visible bed near the porch or along a main path can make the whole yard look more finished.