

Kitchen organization ideas work best when they match real life. You need storage that fits your space, your habits, and the stuff you actually use each day.
In this guide, you will see simple ways to organize pantry drawers, deep drawers, open shelves, the fridge, and even the space under the sink. Each section also includes small styling ideas so your kitchen looks tidy but still lived in.
You will learn how to use clear bins, labels, baskets, dividers, and vertical shelving to cut down on clutter. These tips are renter friendly and easy to keep up with, even in a compact city kitchen or a busy family home.
Save the ideas you like, then start with one zone at a time. A few small changes can make cooking and clean up faster.
1 1. Small Apartment Pantry Drawer System
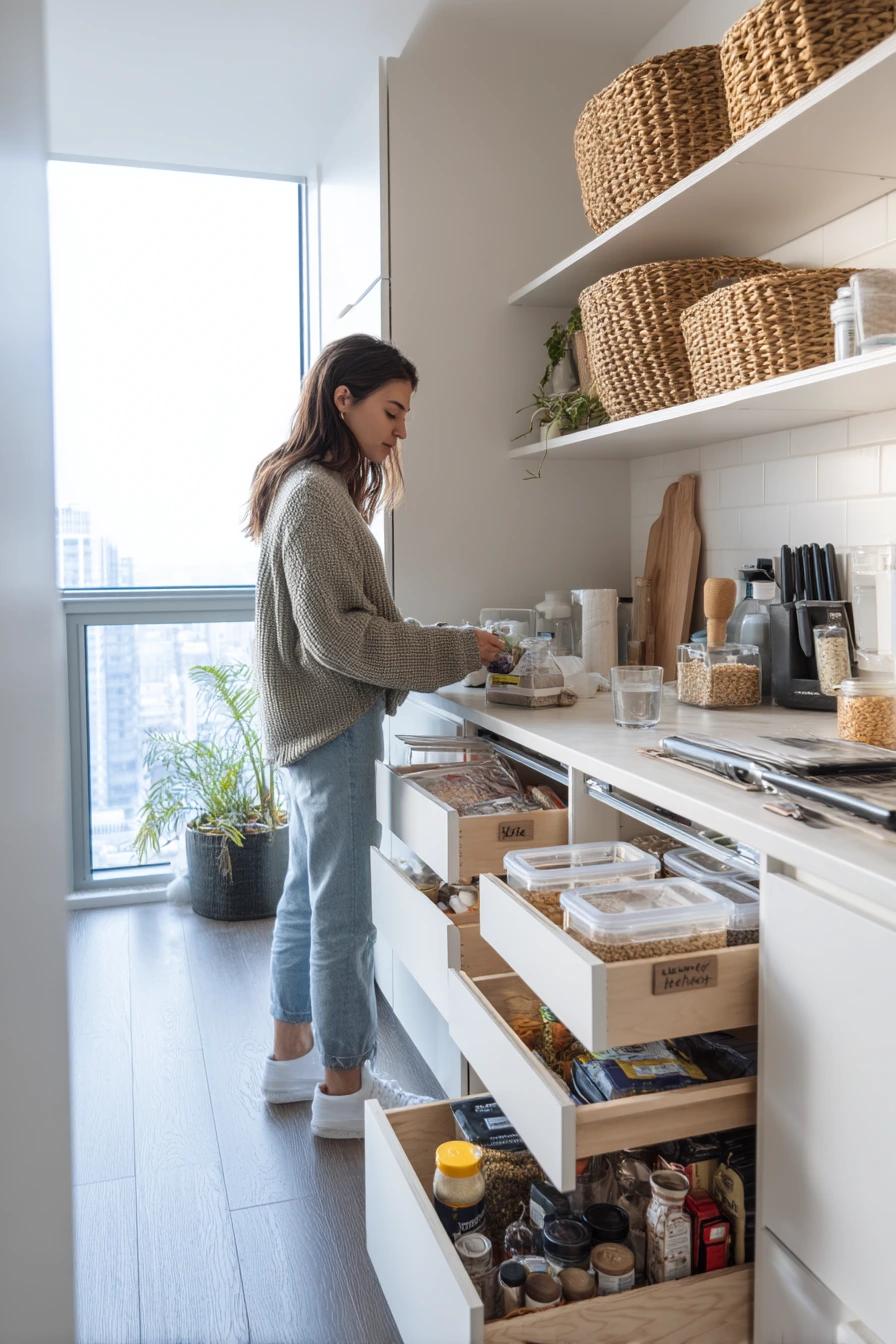

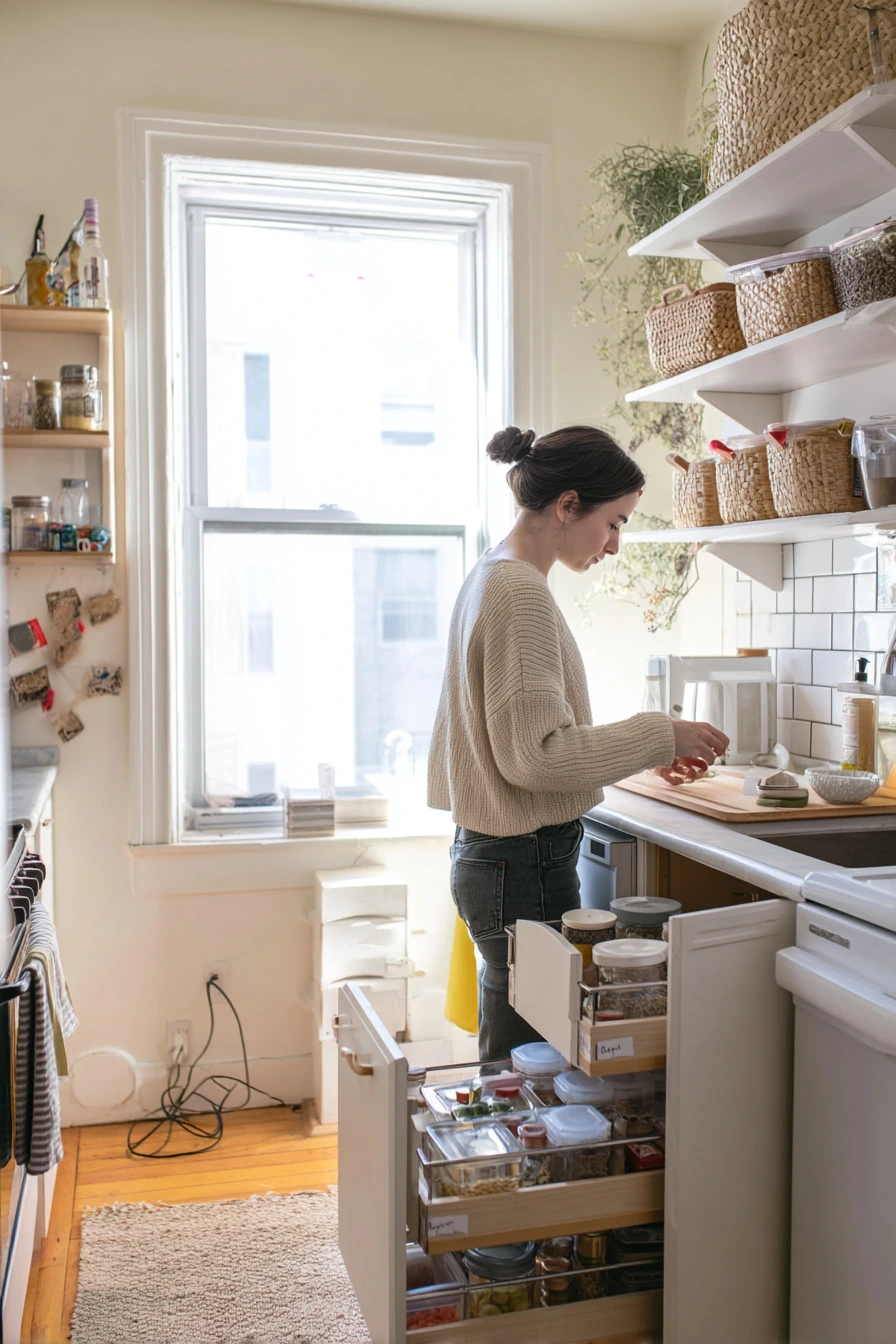
In a compact city kitchen, shallow pantry drawers can do more than a tall cabinet. Use clear cereal bins so you can see what is low, and add simple handwritten tags so everyone puts things back in the right spot. Stackable spice trays work well in shallow drawers because the jars do not hide behind each other. Keep slim cutting boards upright in a narrow divider so they are easy to grab.
Start by emptying one drawer and grouping food by use. Put breakfast items together, then snacks, then baking. Add neutral baskets for small packets, bars, and tea bags. A tiny herb pot by the sink keeps the counter feeling fresh, and it also reminds you to use herbs before they go bad. Leave a little open space so the drawer still closes smoothly and items do not jam.
To keep it realistic, plan for daily life. If you always set a water glass on the counter, give it a small tray spot. If you charge your phone in the kitchen, clip the charging cable to the side of the counter so it does not snake across your work area. This keeps the space tidy without making it feel too strict.
- Use clear bins for cereal, pasta, and rice to stop half open boxes.
- Label drawers with easy words like snacks, breakfast, baking, and spices.
- Store spices on a low tray so you can slide the whole set out.
- Stand slim cutting boards in a file style rack.
- Style with one small herb pot and one basket that matches the drawer tone.
Pro Design Tip: Pick one label style for the whole pantry, then place labels at the same height so the drawer front looks calm when it is open.
Budget Considerations: Reuse jars you already have and make labels with masking tape and a marker before buying matching bins.

2 2. Family Command Center Kitchen Wall
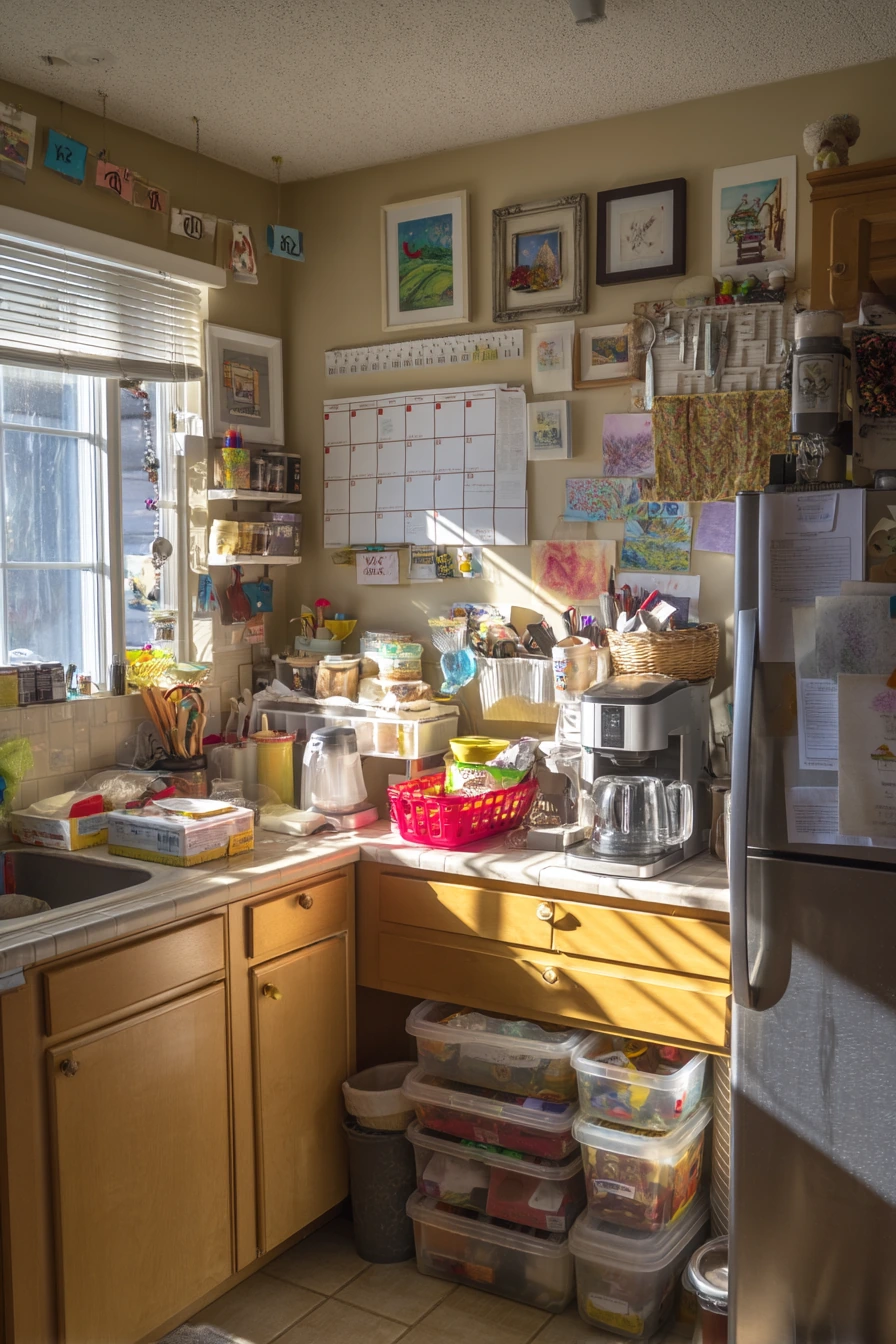
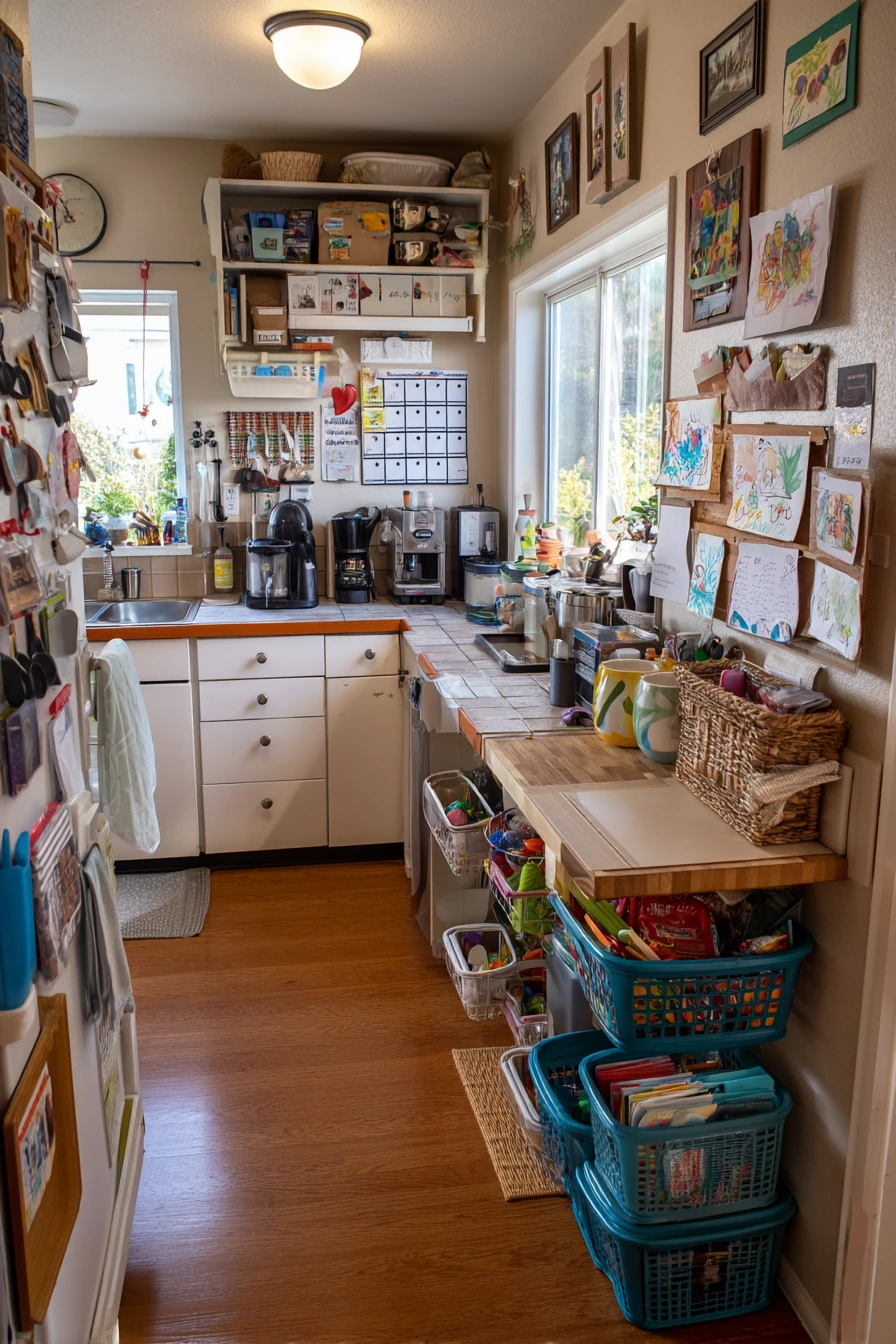
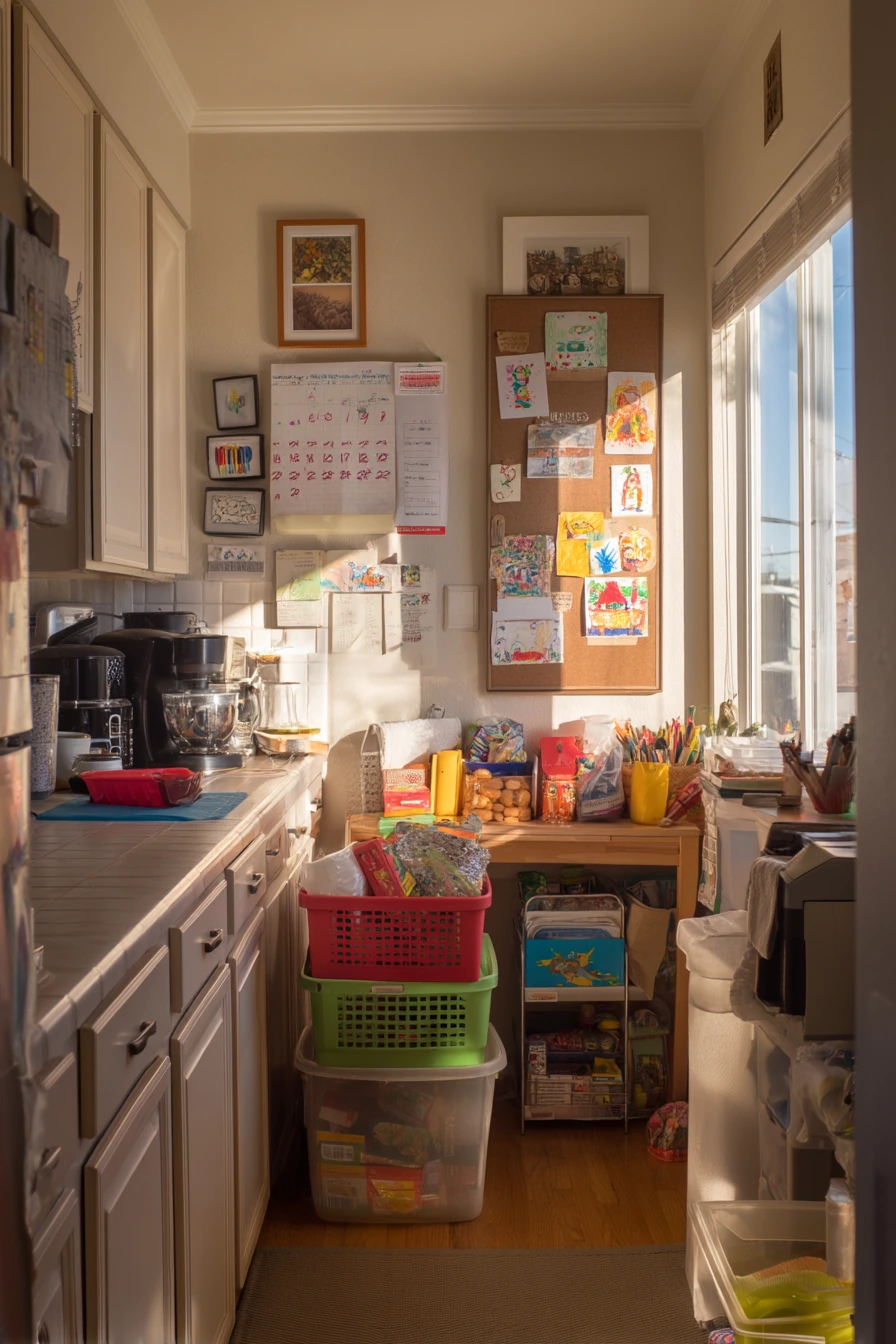
A busy family kitchen needs a simple system for sharp tools, papers, and school stuff. A magnetic knife strip saves drawer space and keeps knives easy to reach, but put it away from small kids. Add a calendar board near the fridge so the schedule is seen in one glance. A mail sorter stops piles from spreading across the counter, and a lunchbox shelf makes mornings smoother.
Keep snack baskets low for kids and higher baskets for items you want to control. If kids’ school art is pinned near the fridge, give it a small boundary, like one cork strip or one frame clip line. That keeps the warm, real home feel without making the kitchen look messy. Place mugs waiting by the coffee maker on a small tray so they do not drift.
Do not fight every piece of clutter. Plan for one crooked grocery list and one spot where papers land. Add a small toy basket in a corner so you can reset fast. Styling matters too. Use two matching baskets and one simple board color so the whole wall looks pulled together, even when life is loud.
- Set up a calendar board with a weekly section and a notes section.
- Use a mail sorter with labeled slots like bills, school, and to file.
- Create a lunchbox shelf with one bin per child for easy packing.
- Use snack baskets with clear labels so kids can help restock.
- Keep a small toy basket near the edge to clear floors fast.
Pro Design Tip: Hang the command items in a tight grid so the wall looks intentional, then leave one open hook for the random thing that shows up.
Budget Considerations: A simple cork board, a few hooks, and dollar store baskets can replace pricey wall systems.

3 3. Budget-Friendly Open Shelf Organization
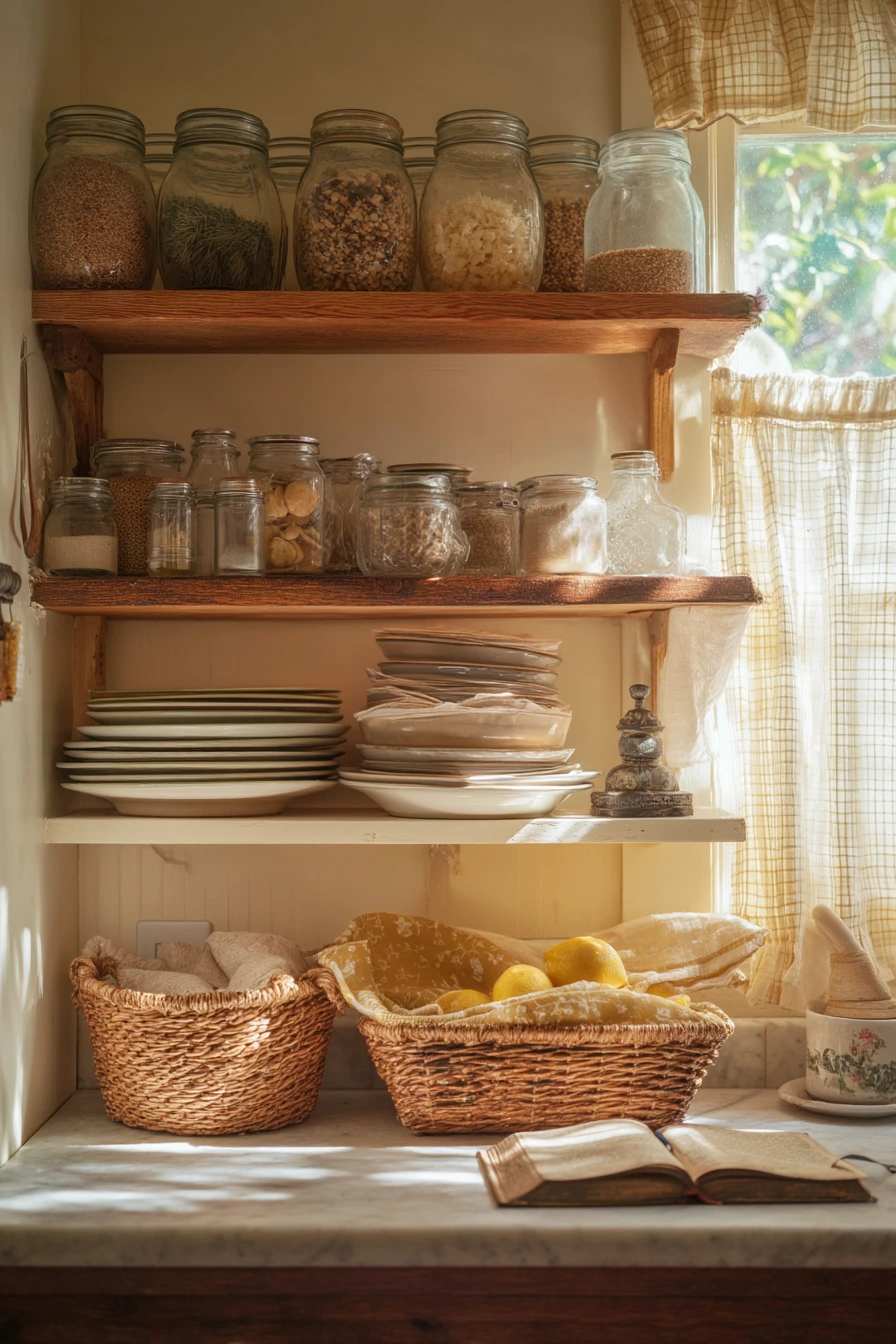

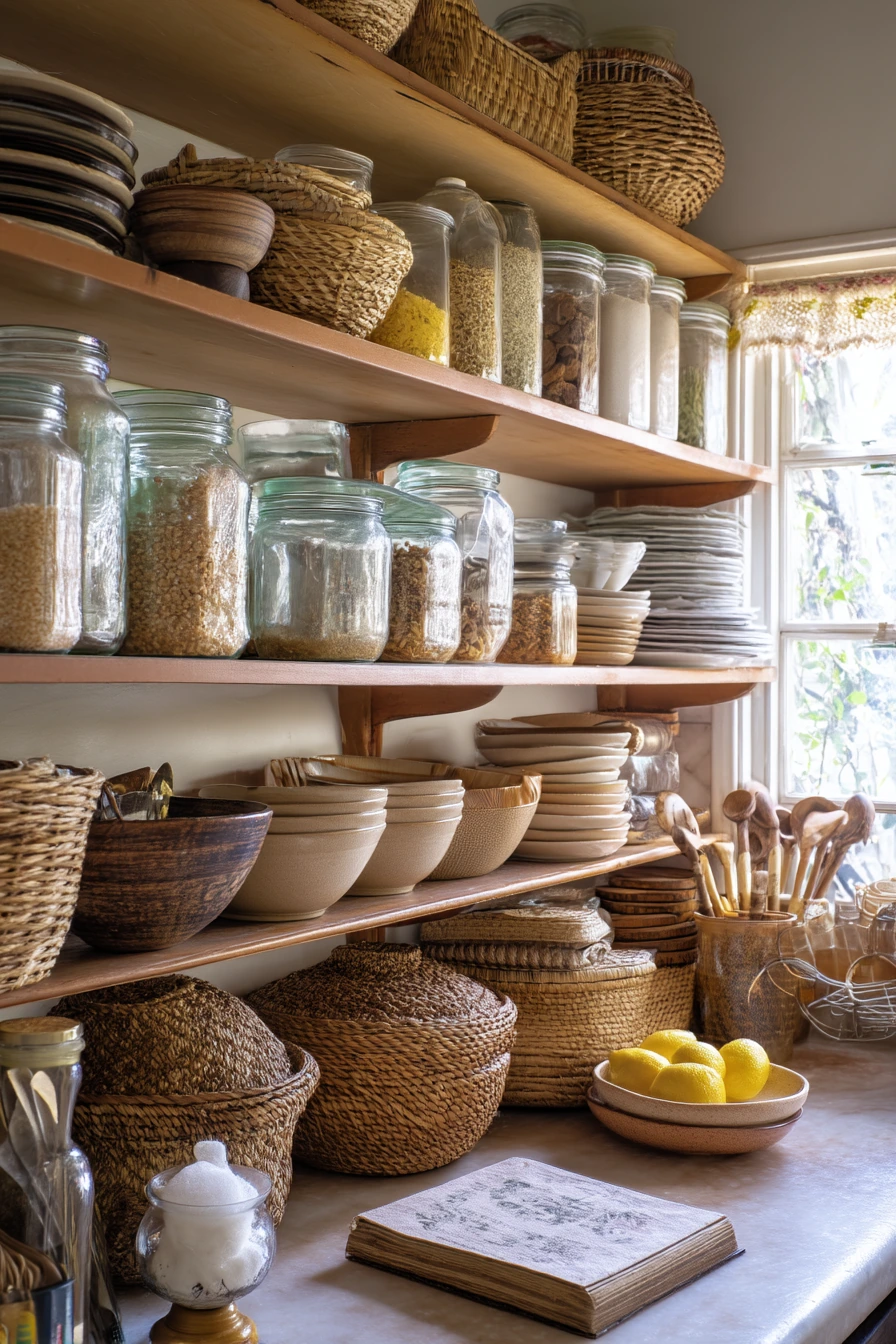
Open shelves can look messy fast, but they are easy to keep neat when you use matching glass jars and clear labels. In a starter home kitchen, store dry goods like flour, oats, and pasta in jars so you can see levels and avoid stale food. Stack plates by size and keep thrifted bowls in one tight group. Woven baskets are great for items that do not look nice on display, like chips, bread, or extra napkins.
Set shelves up like a small shop. Heavy items go lower, and daily items sit at eye level. Keep one cookbook propped open on a stand if you cook from it often. It adds charm and helps you actually use it. A slightly wrinkled tea towel and a salt cellar on the counter keep the space from feeling too staged. Add a simple lemon bowl for color, but do not crowd the shelf line.
To style it, choose two main materials and repeat them. For example, glass jars plus warm wood bowls. Then add one accent, like a woven basket. Keep label text the same size so the shelf looks calm. If you have sun faded spots, lean into it by using neutral tones and simple shapes that look good in soft window light.
- Use matching jars for the most used dry goods to cut down on visual noise.
- Label jars with the same style and short names like oats, rice, and sugar.
- Stack plates and keep one space clear to avoid a crowded shelf.
- Hide odd items in woven baskets with handles for easy pull out.
- Style with one cookbook stand and one small fruit bowl.
Pro Design Tip: Group items in threes, like three jars or three bowls, and keep a little empty space between groups so the shelf feels balanced.
Budget Considerations: Thrift store jars can look matched if you remove labels and use the same lids or tie simple tags on each jar.

4 4. Renter-Friendly Under-Sink Storage
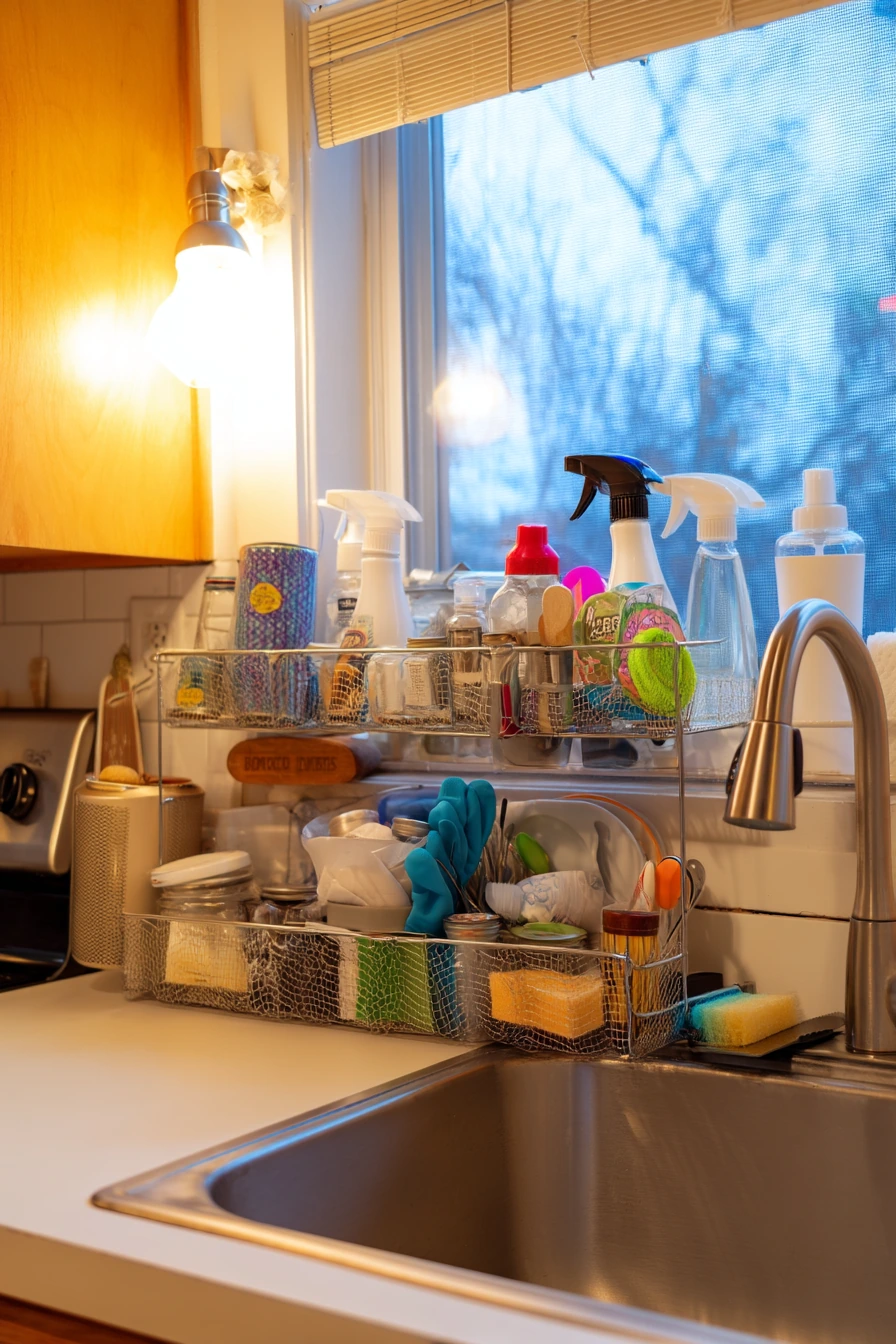
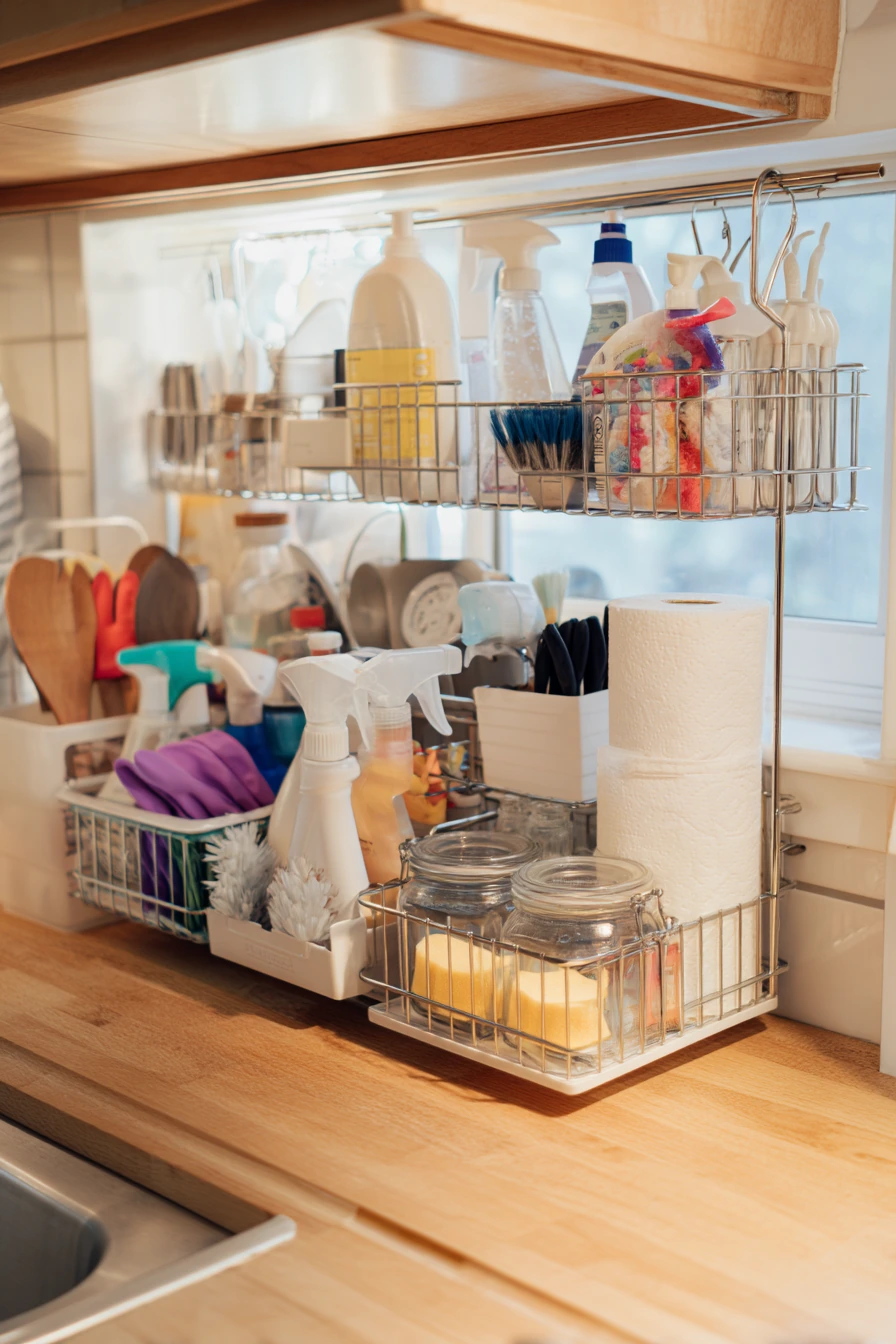
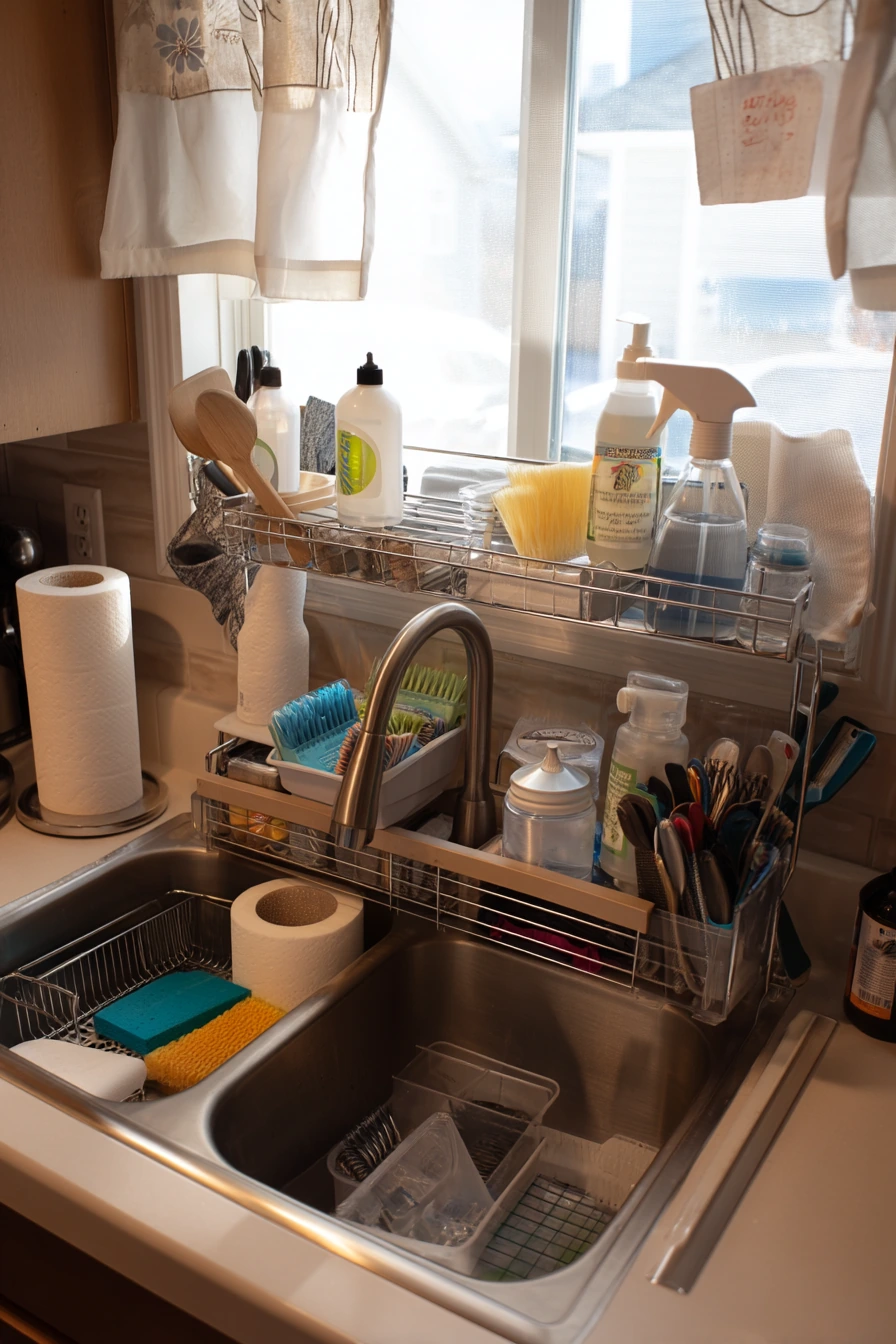
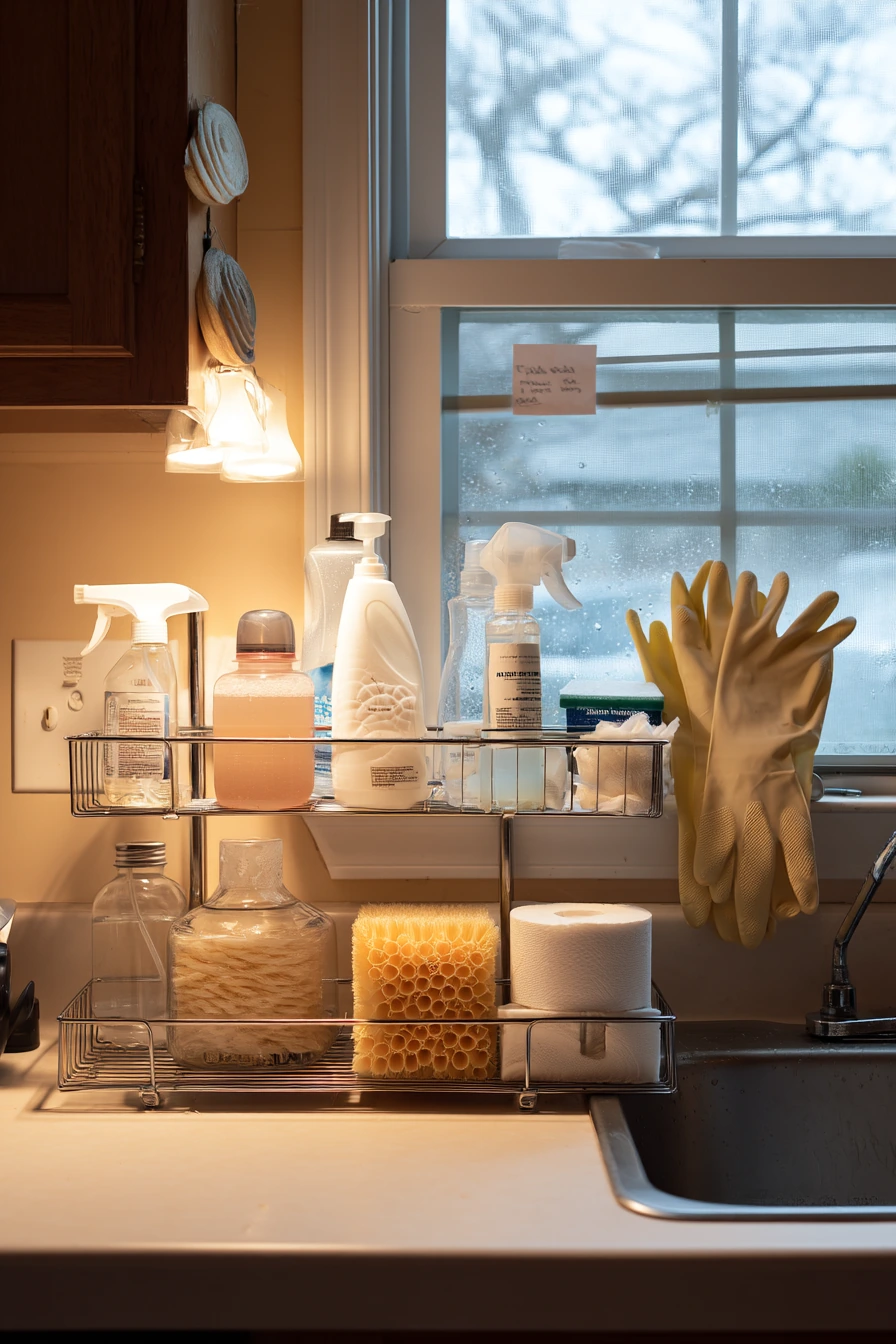
The space under the sink is often the messiest zone, especially in a renter kitchen. Use tension rods to hang spray bottles by the trigger, which frees up the bottom area for bins. Add pull out caddies so you can reach items in the back without crawling. Keep dish tabs in a clear jar so you can see when you need more. Store reusable gloves on a hook or in a small bin so they dry out.
Protect the cabinet base with a small leak mat. This is helpful even if you have never had a leak, because it makes clean up easier. Keep spare sponges in a ventilated container so they do not smell. If you store a paper towel roll under the sink, place it upright in a tall bin so it does not get wet.
Make it realistic and easy to maintain. If receipts and small papers end up on the counter above, place a small cup or tray there for loose items, then empty it once a week. For styling, choose two bin colors, like clear plus white, and keep bottle labels facing forward. It will look clean even when it is not perfect.
- Hang spray bottles on a tension rod to open up floor space.
- Use pull out caddies for backups and refills.
- Store dish tabs in a clear jar with a tight lid.
- Add a leak mat to protect the cabinet and catch drips.
- Keep sponges and brushes in a breathable bin to reduce odor.
Pro Design Tip: Measure around the pipes first, then choose narrow bins that fit like puzzle pieces so nothing blocks the plumbing access.
Budget Considerations: Tension rods and basic plastic bins cost little and are easy to remove when you move.
5 5. Minimal Fridge Zone with Meal Prep Bins
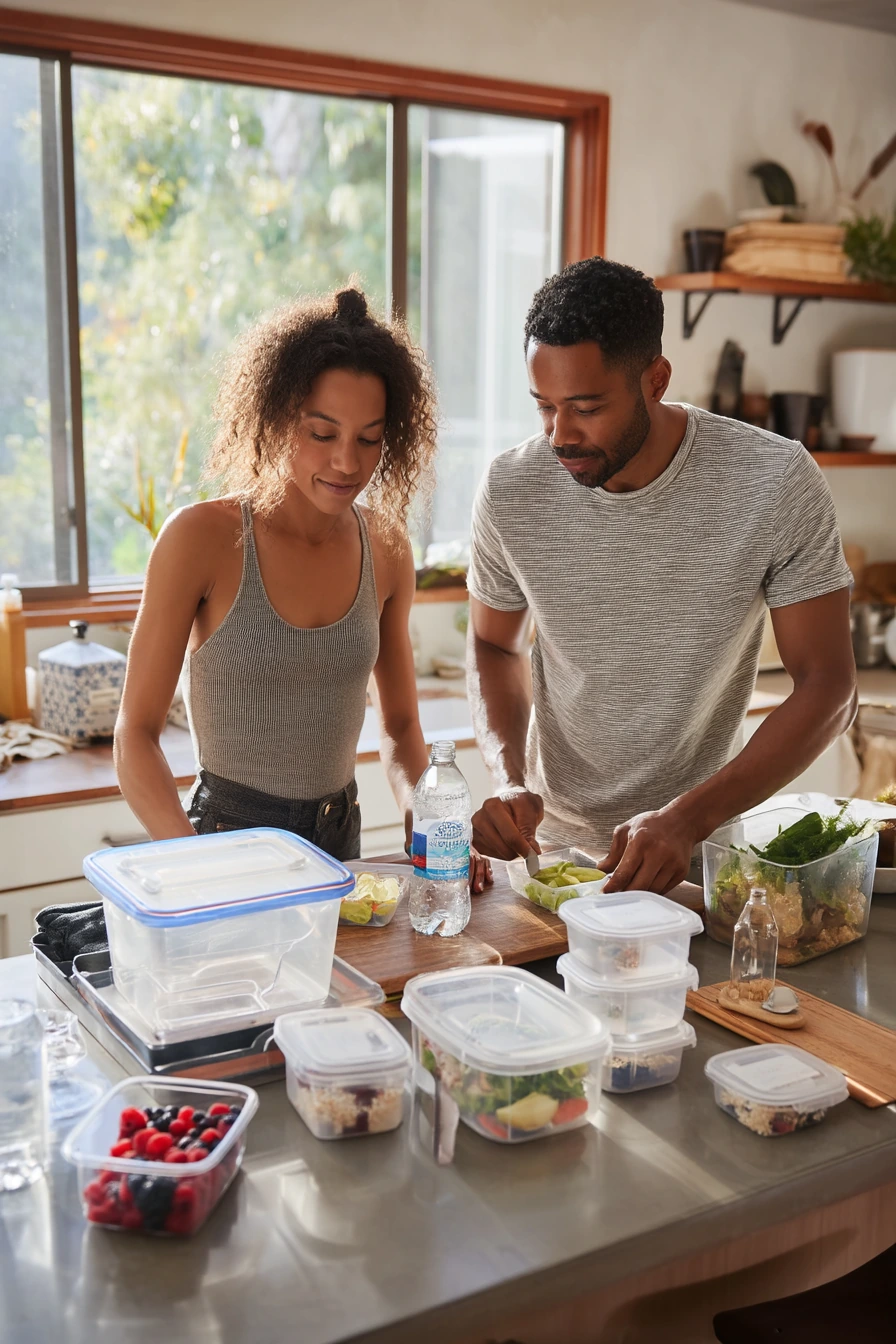
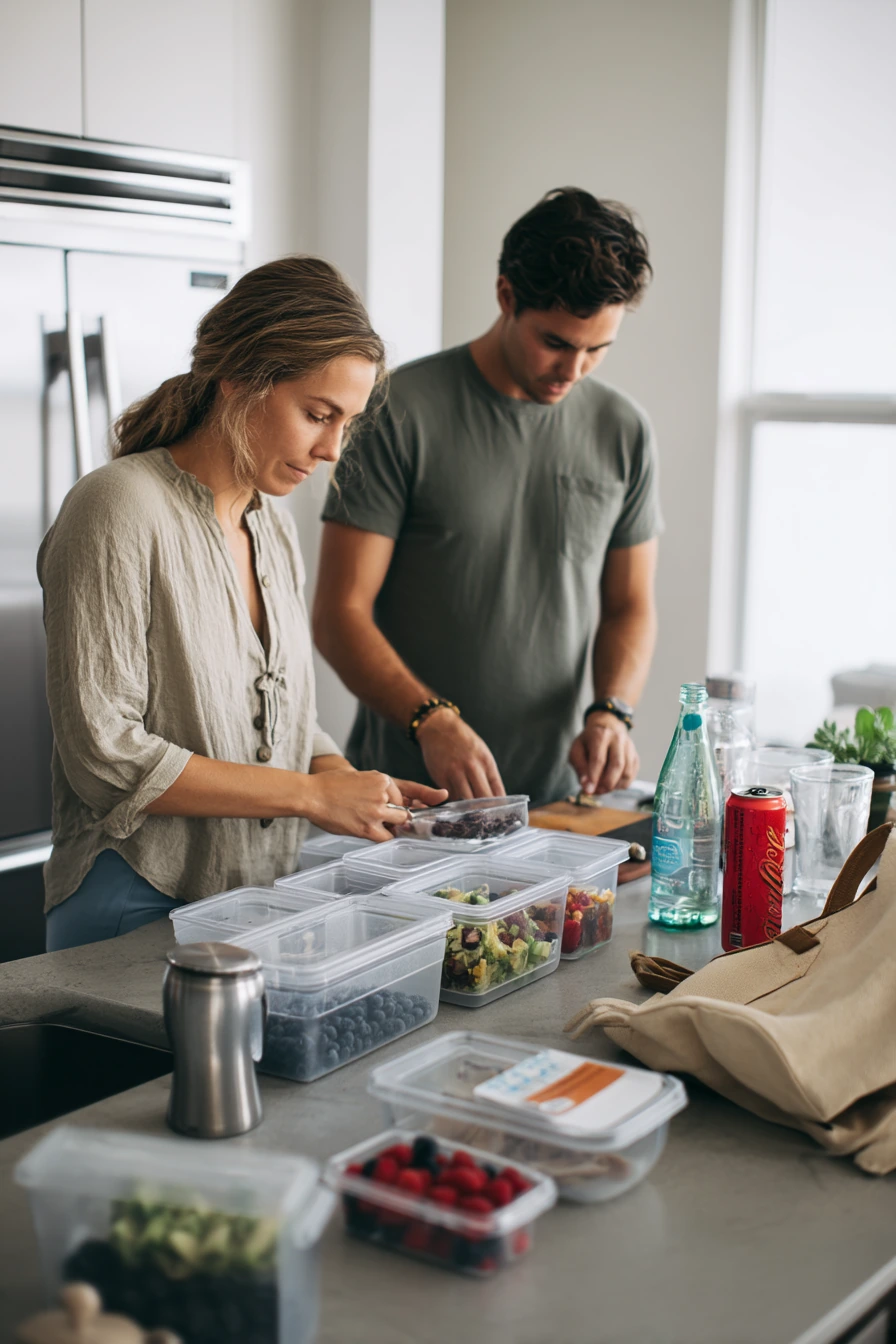
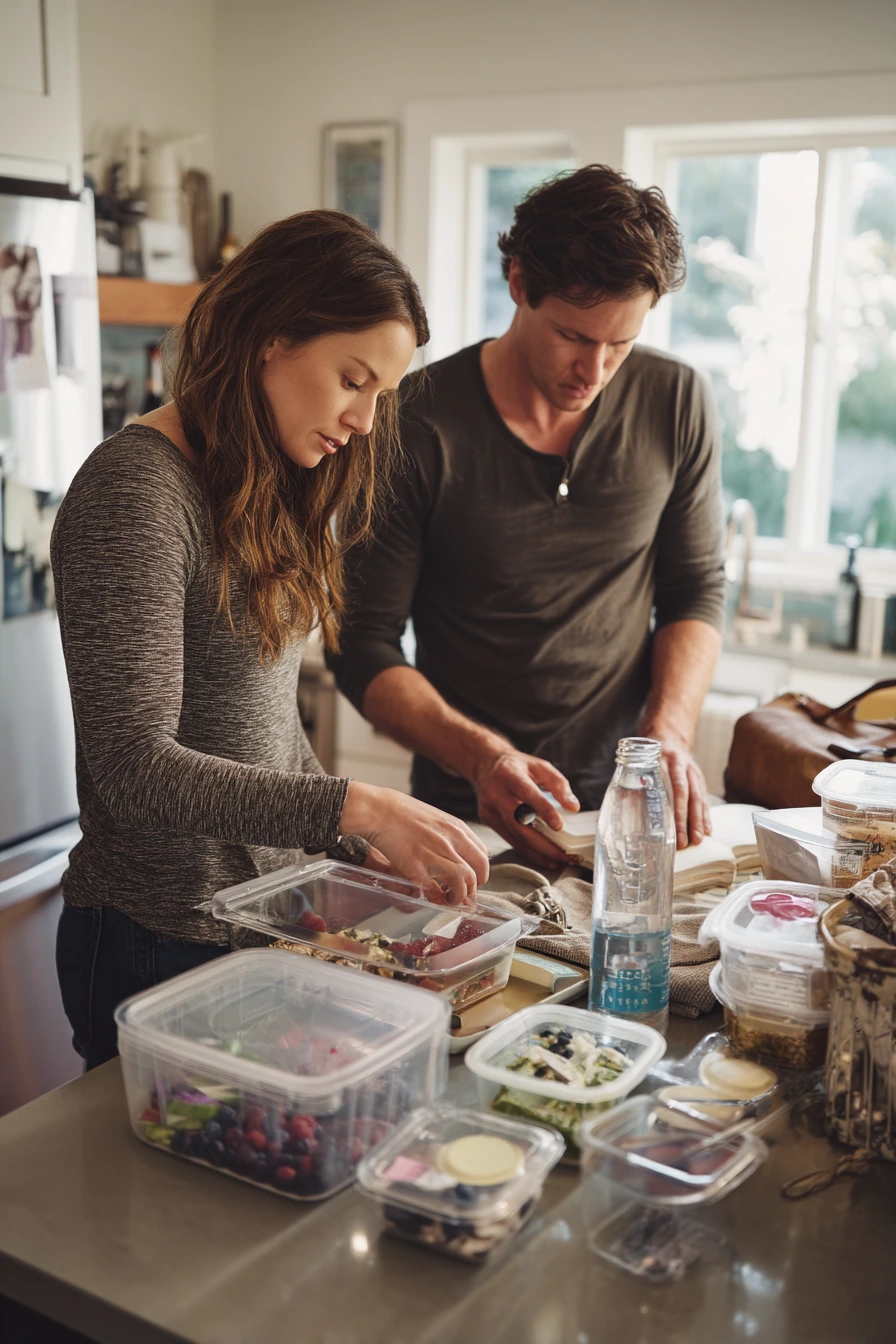
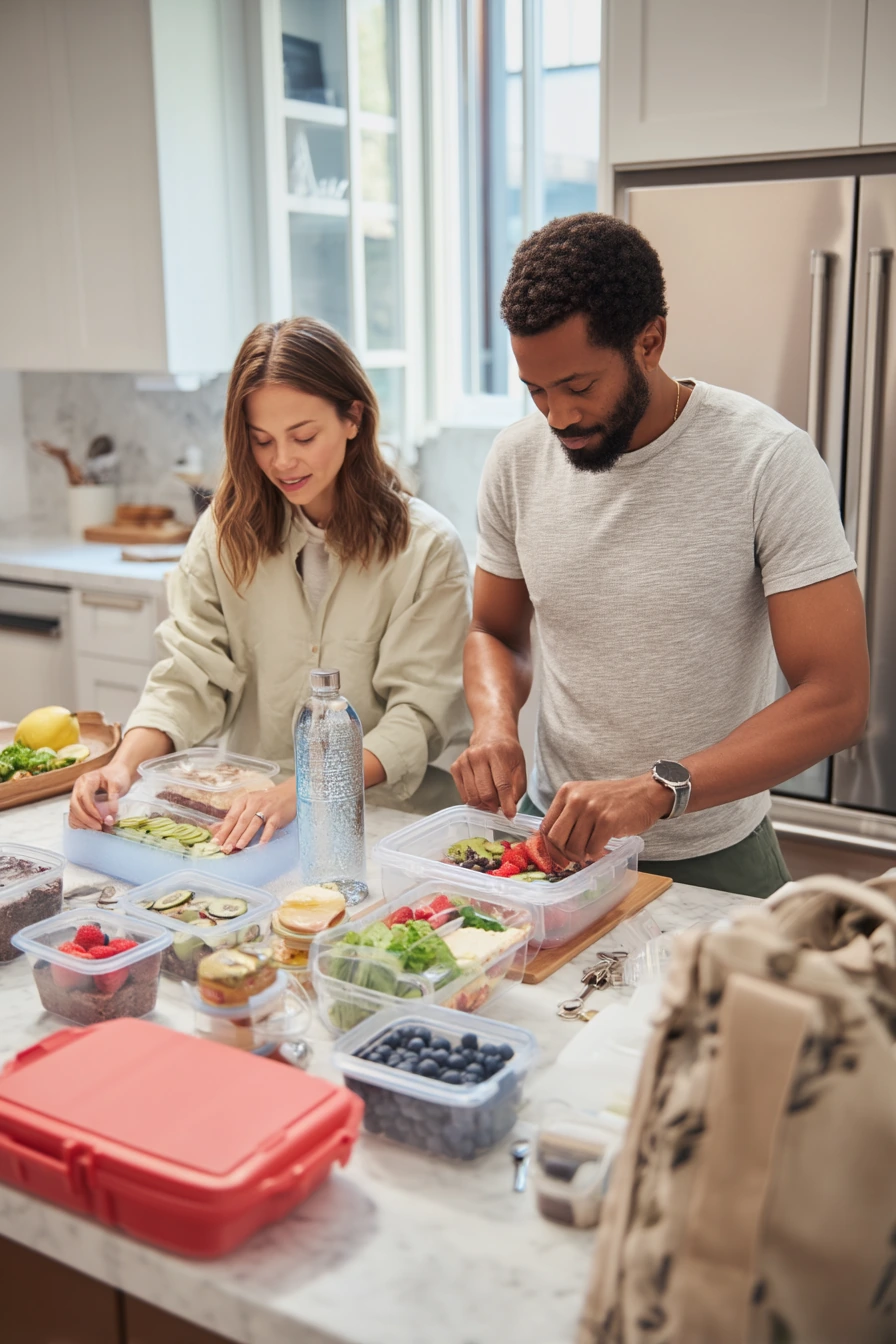
Clear fridge bins make it easier to eat what you buy, which helps health goals and cuts food waste. A calm system starts on the counter. Sort groceries into zones before they go in the fridge, like snacks, breakfast, and meal prep. Put berry boxes into one bin so they do not tip. Group yogurt cups in a small bin so they do not hide behind tall items. Keep meal prep containers stacked with lids in one place so packing lunch takes less time.
Use labels for leftovers with the date and meal name. This matters most for items in matching containers that look the same. Keep a grocery pad nearby to write what you are running low on, like eggs or greens. If you often grab sparkling water, give the bottle a clear spot so it does not knock over other things. A stainless spoon on a small dish can be your quick tool for tasting or stirring overnight oats.
To style it, choose bins with clean lines and keep the front row low so you can see the back. Place tall items like sauces in the door and keep the middle shelf for daily foods. If keys and a tote bag land on the counter, use a small bowl or hook to keep that drop zone neat.
- Sort groceries into bins by use, like snacks, breakfast, and prep.
- Keep berries and small fruit in one bin to stop rolling and spills.
- Stack meal prep containers and store lids in a slim file holder.
- Label leftovers with the date so older food gets used first.
- Keep a grocery pad in one spot to track what is running out.
Pro Design Tip: Use a simple first in, first out system by placing new items behind older ones in the same bin.
Budget Considerations: You can start with two bins and add more later; even a few dollar store bins improve visibility.
6 6. Small-Space Vertical Storage for a Studio Kitchen
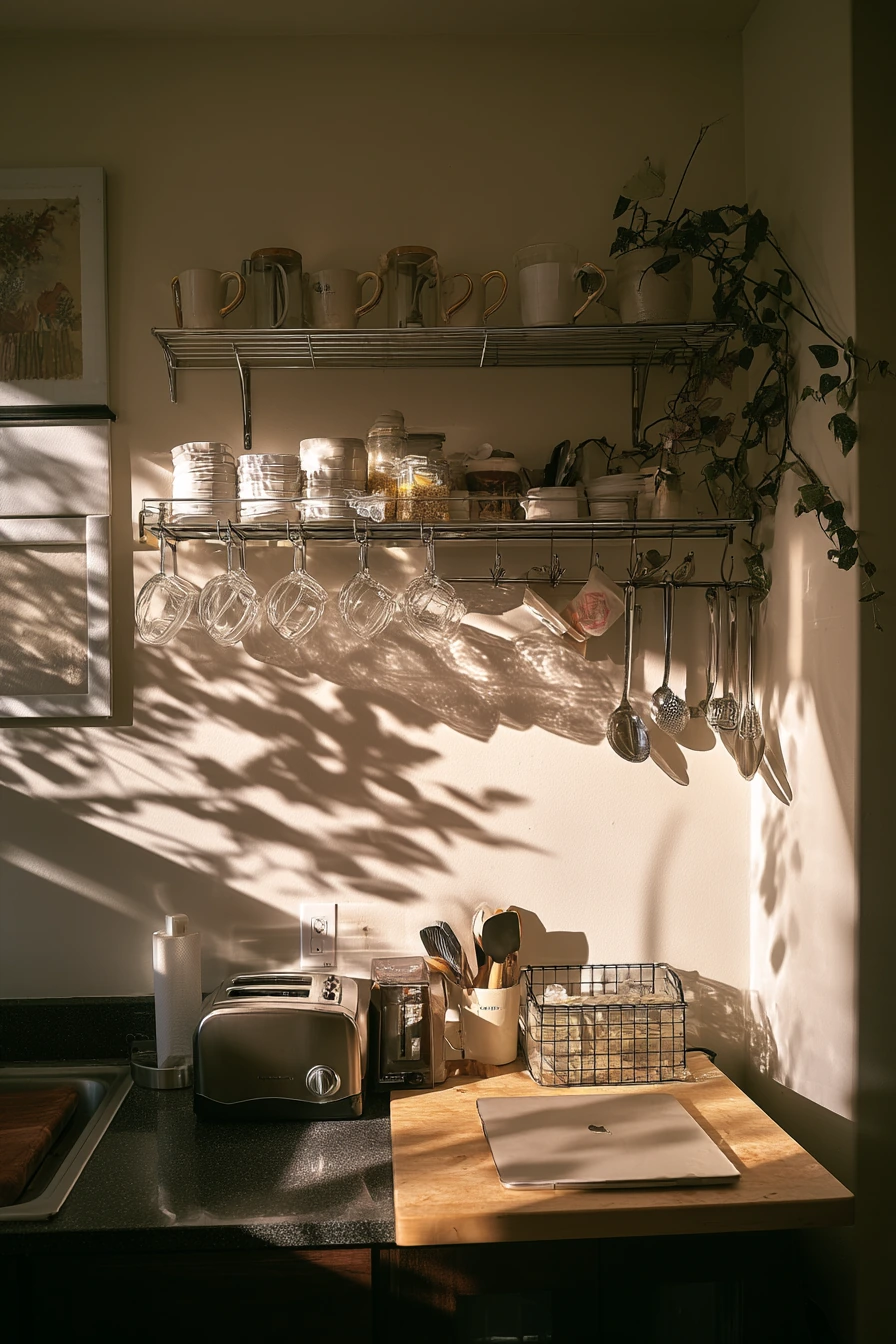
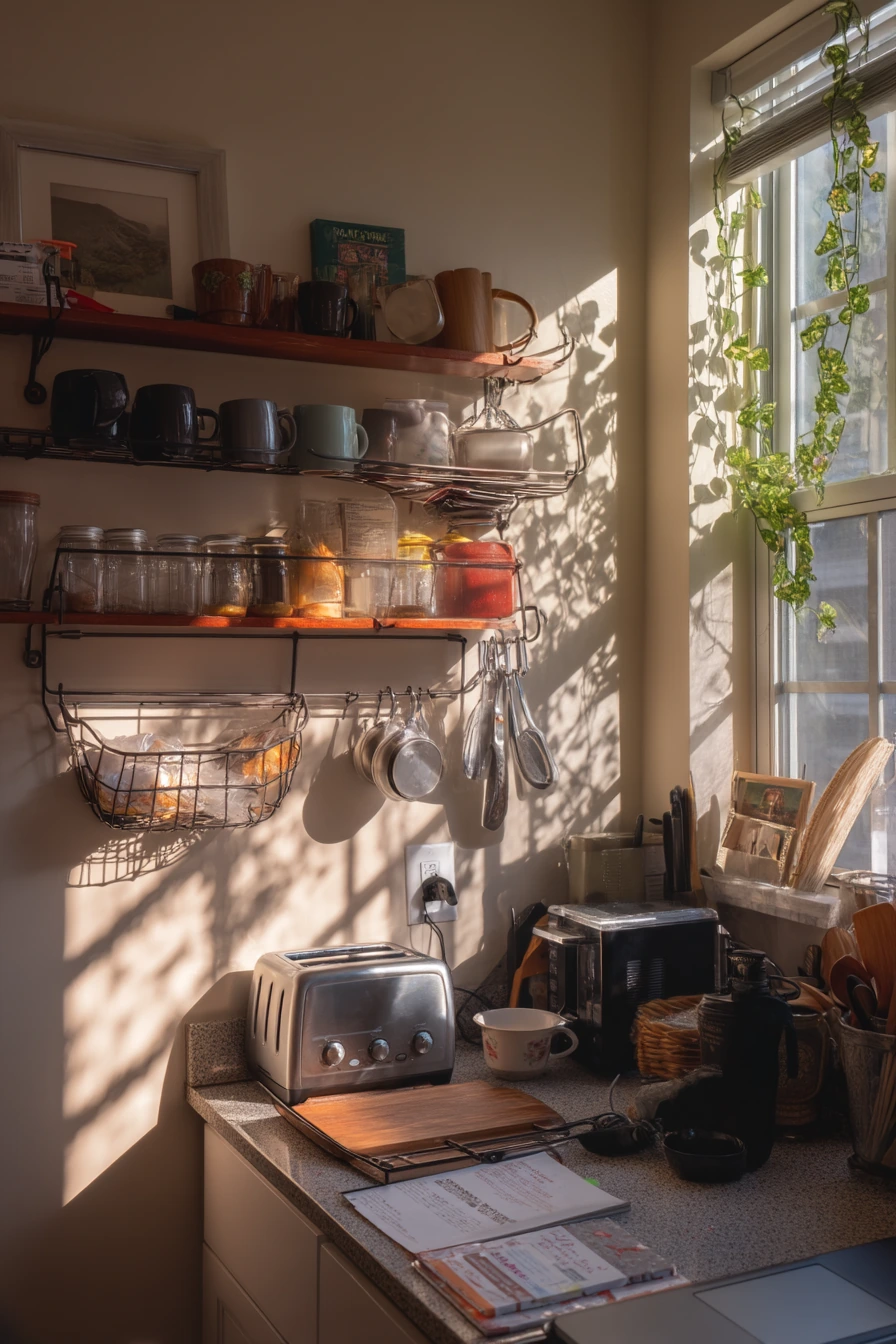
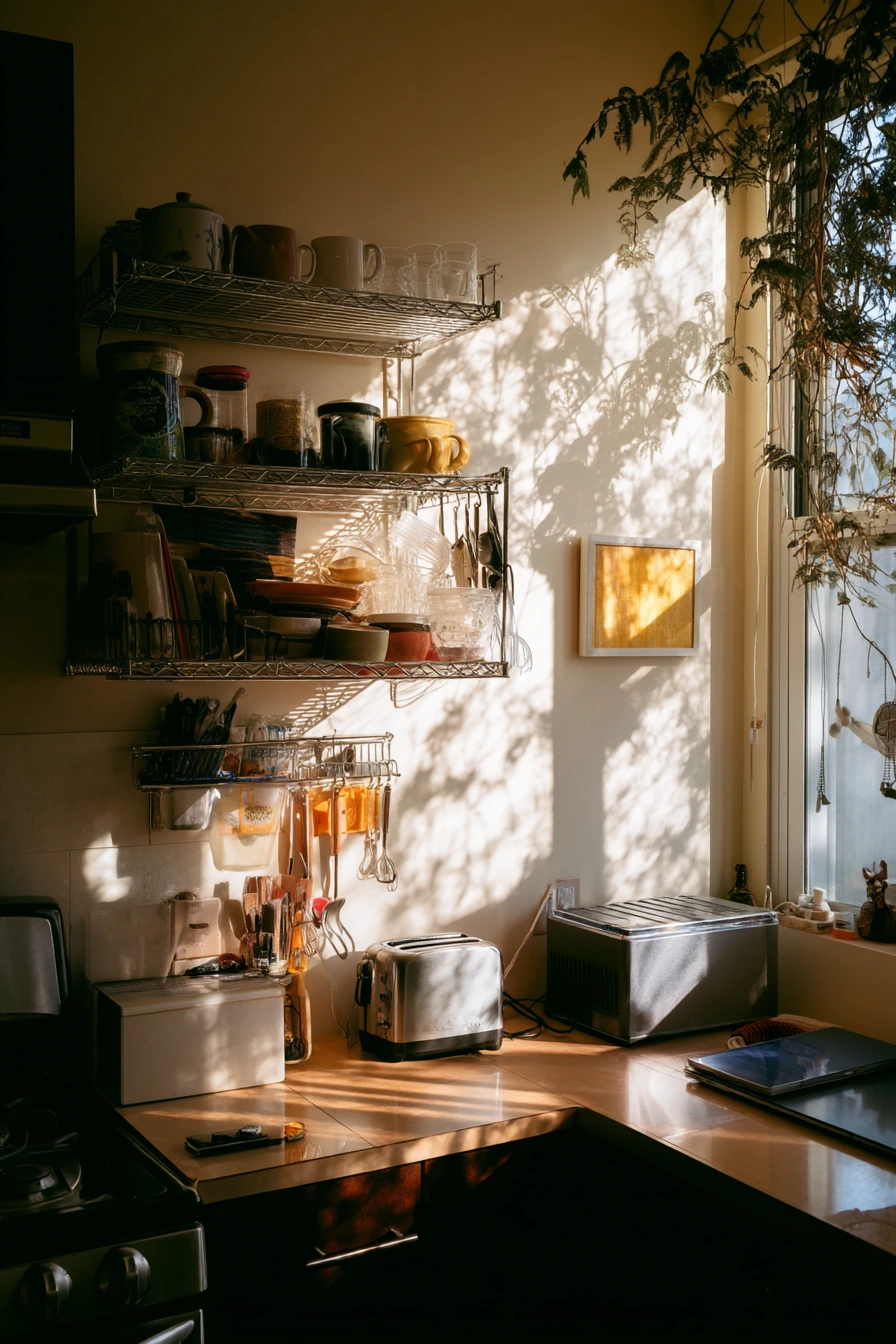
A studio apartment kitchenette needs vertical storage because counter space is limited. Tall shelving makes use of wall height for pantry items, dishes, and small appliances. Add hanging mugs on hooks or an under shelf rack to free cabinet space. A rail with hooks can hold a dish cloth, measuring cups, or a small basket for garlic and onions.
Narrow spice racks are perfect for tight walls or the side of a shelf unit. Stack trays to create layers so you can pull out what you need without digging. Keep a compact toaster in one defined spot, then leave one clear area for prep. Recipe cards tucked into a jar keep small papers neat, and they look nice too.
Plan for real life details like a laptop charging cable at the counter edge. Use a cord clip or a small box to keep it from tangling with cooking tools. To style the space, repeat one metal finish, like black hooks or stainless, and add one plant to bring soft shadows on the wall. Keep the look airy by leaving some open shelf space.
- Use tall shelving to store pantry items and dishes without crowding counters.
- Add a rail with hooks for mugs, towels, and small tools.
- Install a narrow spice rack on a wall or shelf side panel.
- Use stacked trays to organize breakfast items and snacks.
- Control cords with clips so cables stay out of the prep zone.
Pro Design Tip: Keep the most used items between waist and eye level, and store rarely used items up high to reduce daily reaching.
Budget Considerations: A basic wall rail and a set of hooks can replace extra cabinets, and many renter friendly versions use removable hardware.

7 7. Rustic Everyday Family Prep Station
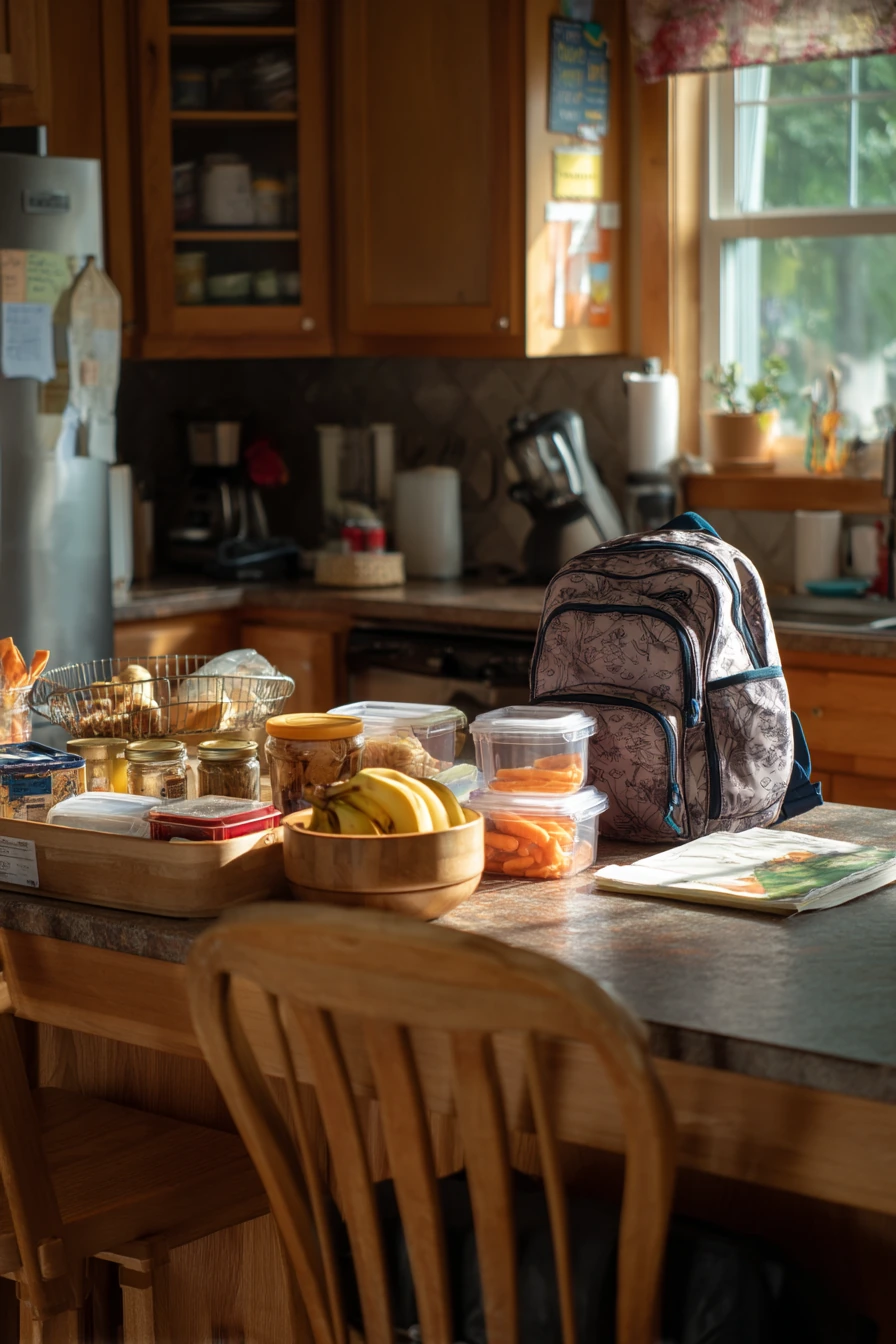

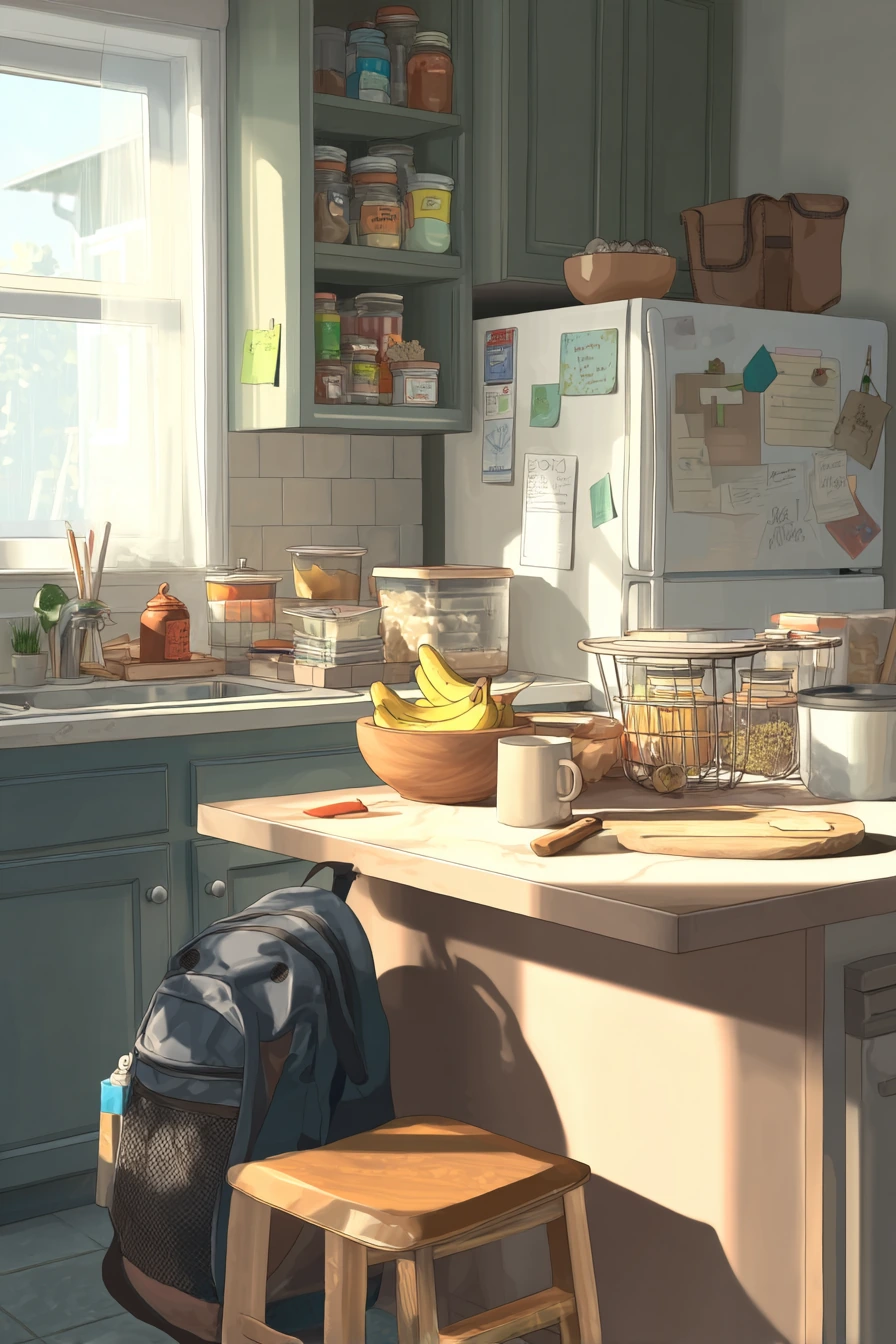
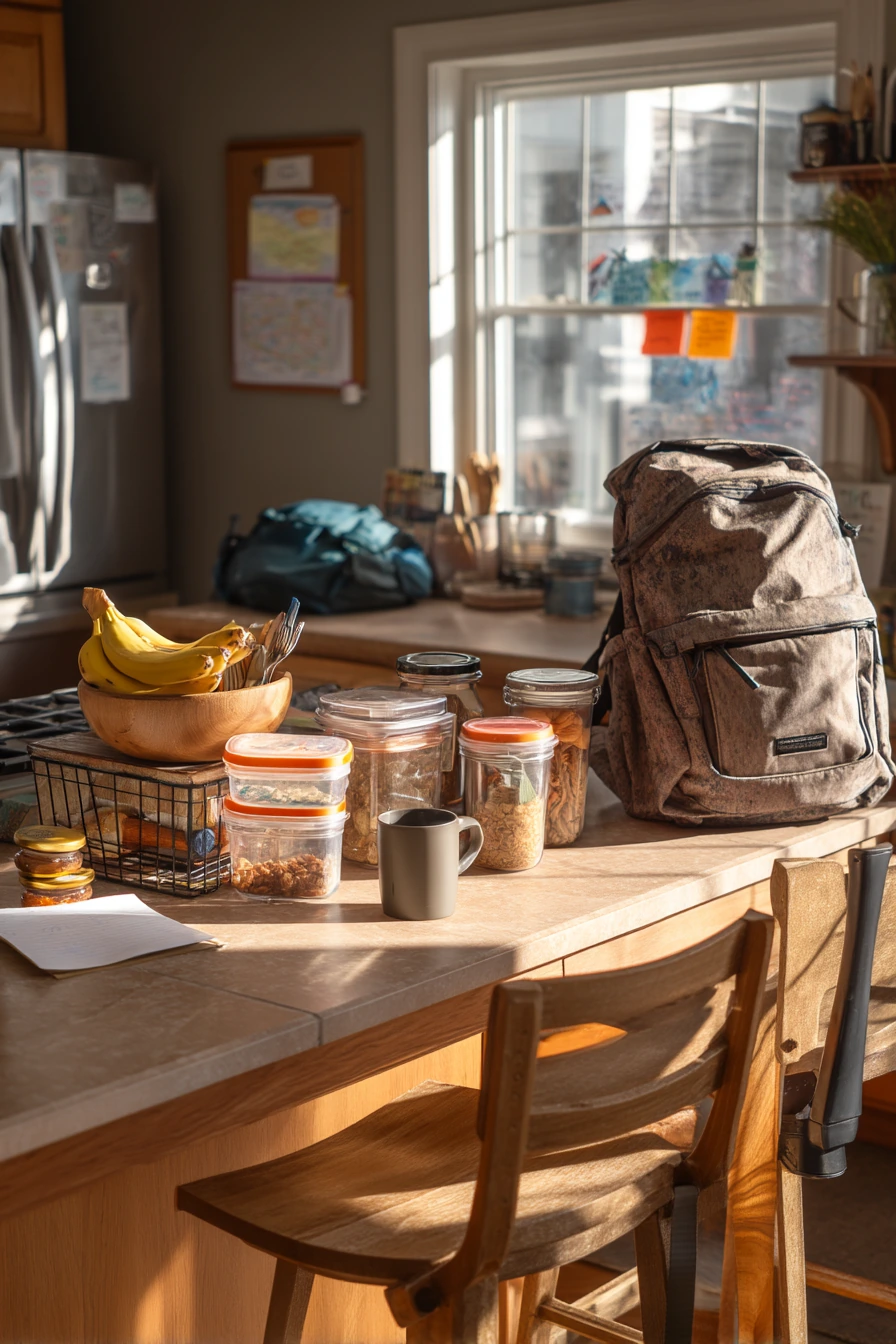
A prep station near the island helps a family kitchen run smoother. Start with one clear spot for lunch containers and food prep tools. Wooden bowls can hold fruit, and a wire basket works well for bananas because it keeps air moving. Labeled snack jars make it easy for kids to grab a portion without tearing through boxes.
Build a small routine around the station. After school, backpacks can go on one chair or hook so they do not land on the counter. A sticky note on the fridge can hold the one thing you need to remember, like bring snacks or sign a paper. A half finished coffee mug and a peeled carrot are normal, so plan for them by keeping a small tray and a compost bowl nearby.
To style it, keep the containers in the same color family and choose labels that match your kitchen. Use one simple mat or tray under the snack jars so crumbs stay in one place. Make the station feel grounded by mixing warm materials like wood and woven pieces, but keep the surface mostly open so you can prep fast.
- Set one shelf or drawer for lunch containers and matching lids.
- Use labeled snack jars for easy grab and go portions.
- Keep a fruit bowl plus a wire basket for items that ripen fast.
- Add a small compost bowl to handle peels and scraps.
- Create one backpack spot so school items stay off the counters.
Pro Design Tip: Place the snack zone on the outer edge of the kitchen so kids can help themselves without walking through the main cooking path.
Budget Considerations: Reuse pasta jars for snacks, and make labels with a paint pen or simple tape to keep costs low.
8 8. Modern Drawer Dividers and Utensil Sorter

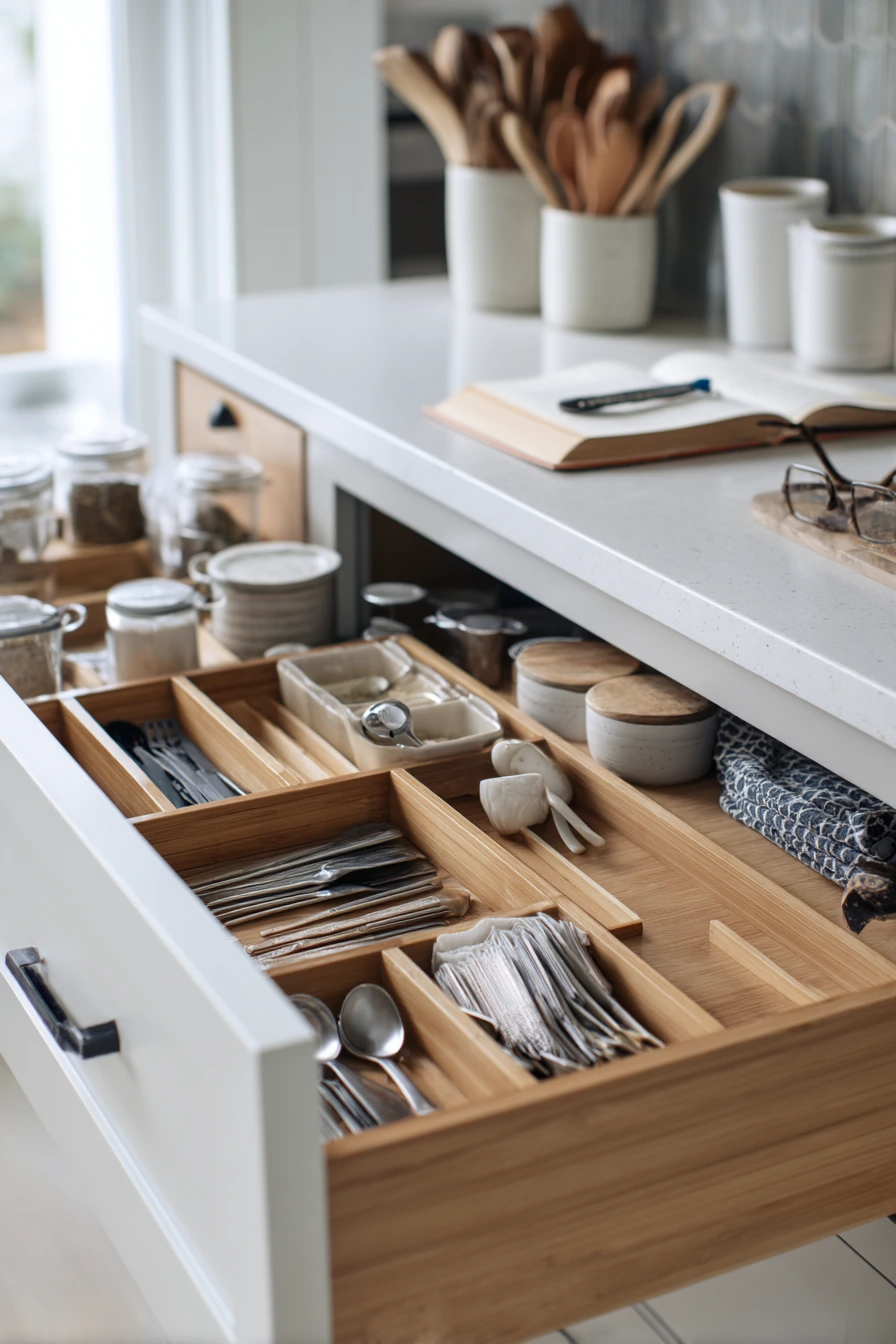
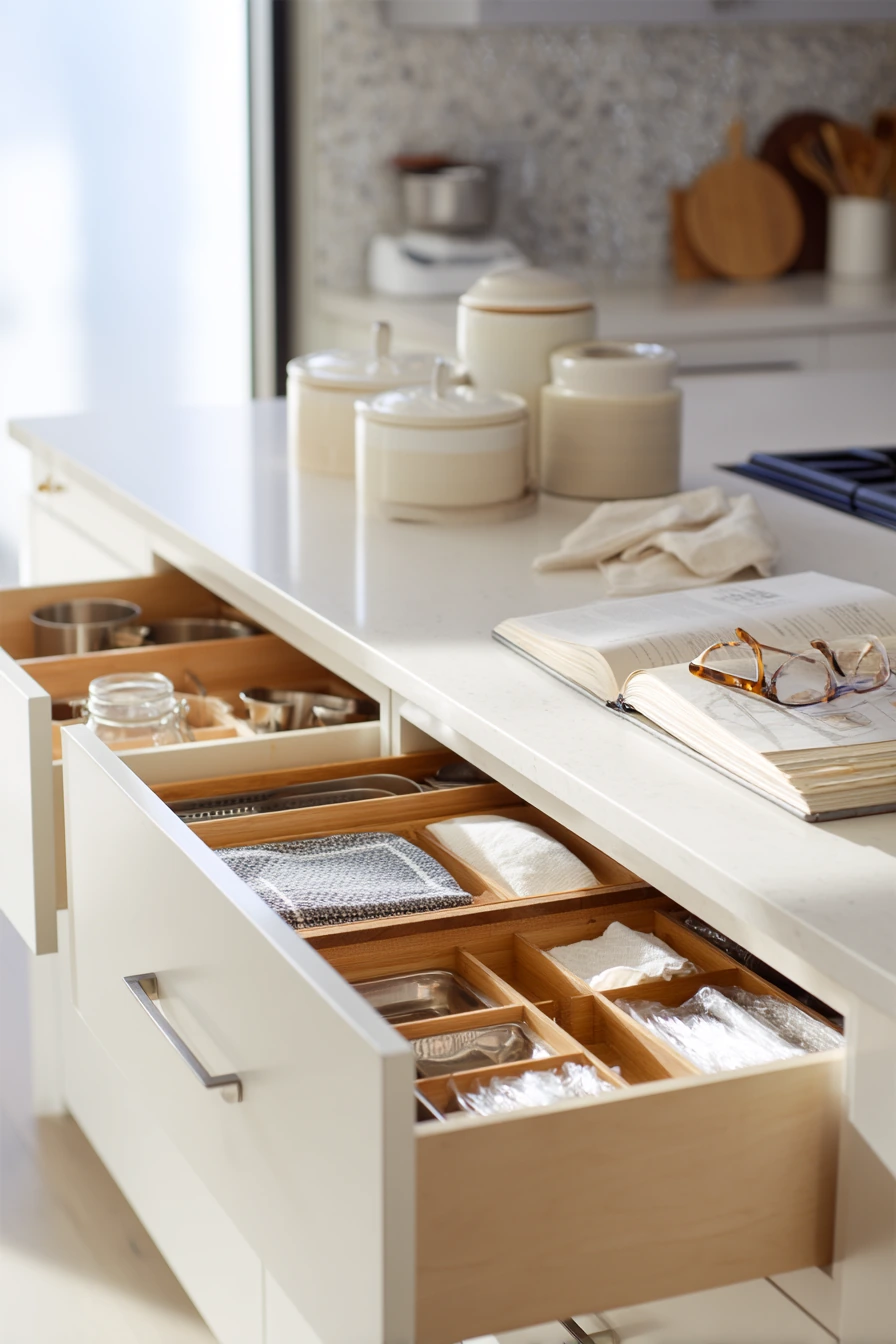
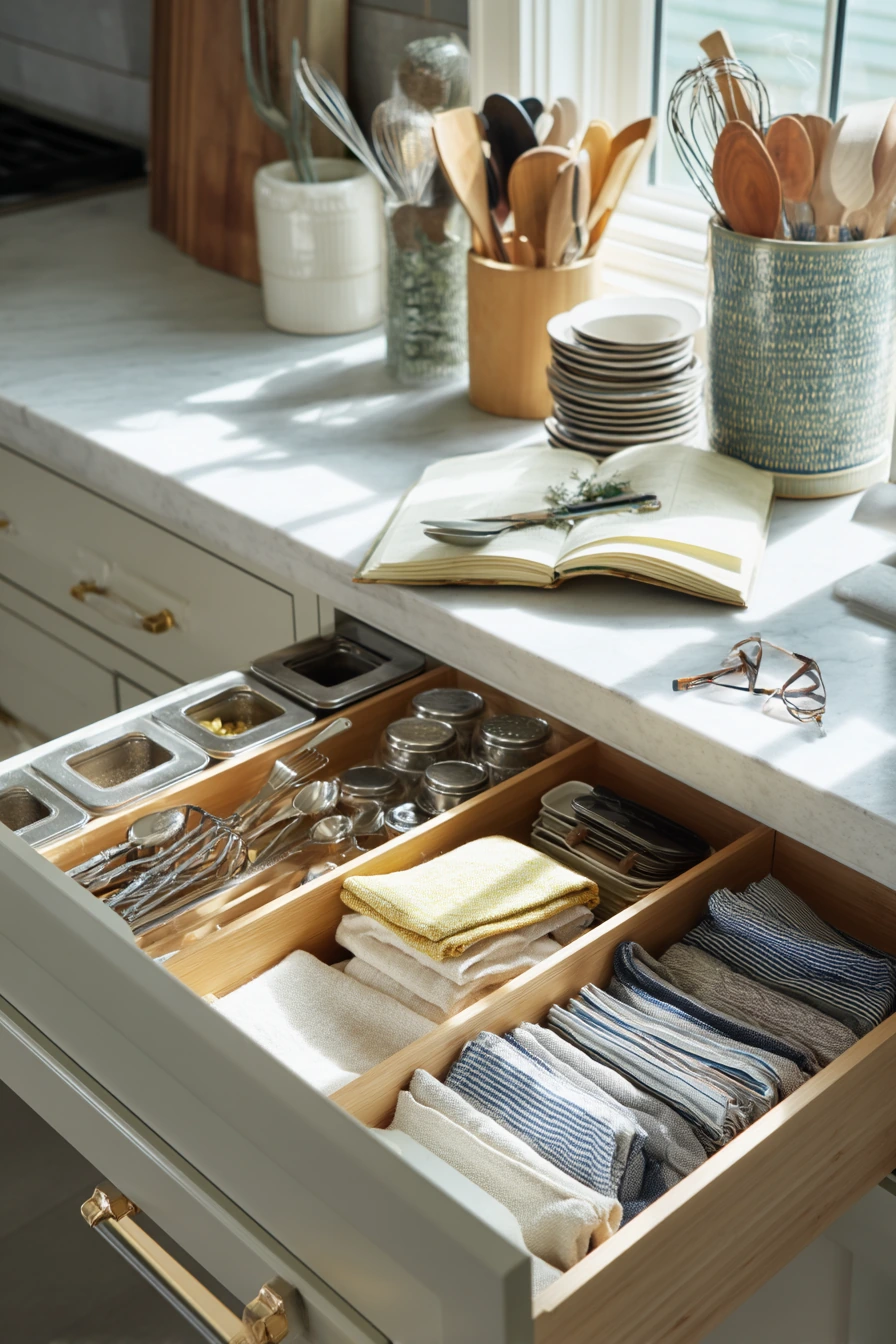
Deep drawers can hold a lot, but they only work well with dividers. Bamboo dividers help utensils stay sorted, and they look clean inside a modern kitchen. Set up one section for daily tools, one for measuring spoons and cups, and one for small gadgets. Add an organizer for foil and wrap so boxes do not crush and tear.
Fold tea towels and place them in a tight stack so you can pull one without messing up the rest. Keep ceramic canisters on the counter for items you use all the time, like coffee or flour, but do not add too many. If you like to cook from books, leave one open cookbook on a stand and store reading glasses in a small dish nearby so they do not get lost.
A kitchen should feel human. If subtle crumbs show up near the prep area, put a small handheld brush in the drawer so you can sweep them quickly. For styling, match divider tones to your cabinet or flooring, and keep drawer items lined up. It makes even a busy drawer look calm when you open it.
- Use bamboo dividers to create clear sections for each tool type.
- Group measuring spoons and cups together so baking is faster.
- Add a foil and wrap organizer to stop torn boxes.
- Fold towels into rectangles and stack them like files.
- Keep a small crumb brush in the drawer for quick resets.
Pro Design Tip: Organize by task, not by item, so all prep tools live together and you waste less time opening drawers.
Budget Considerations: Adjustable dividers are cheaper than full custom inserts and still give a built in look.
9 9. Coffee and Tea Nook Organization Idea
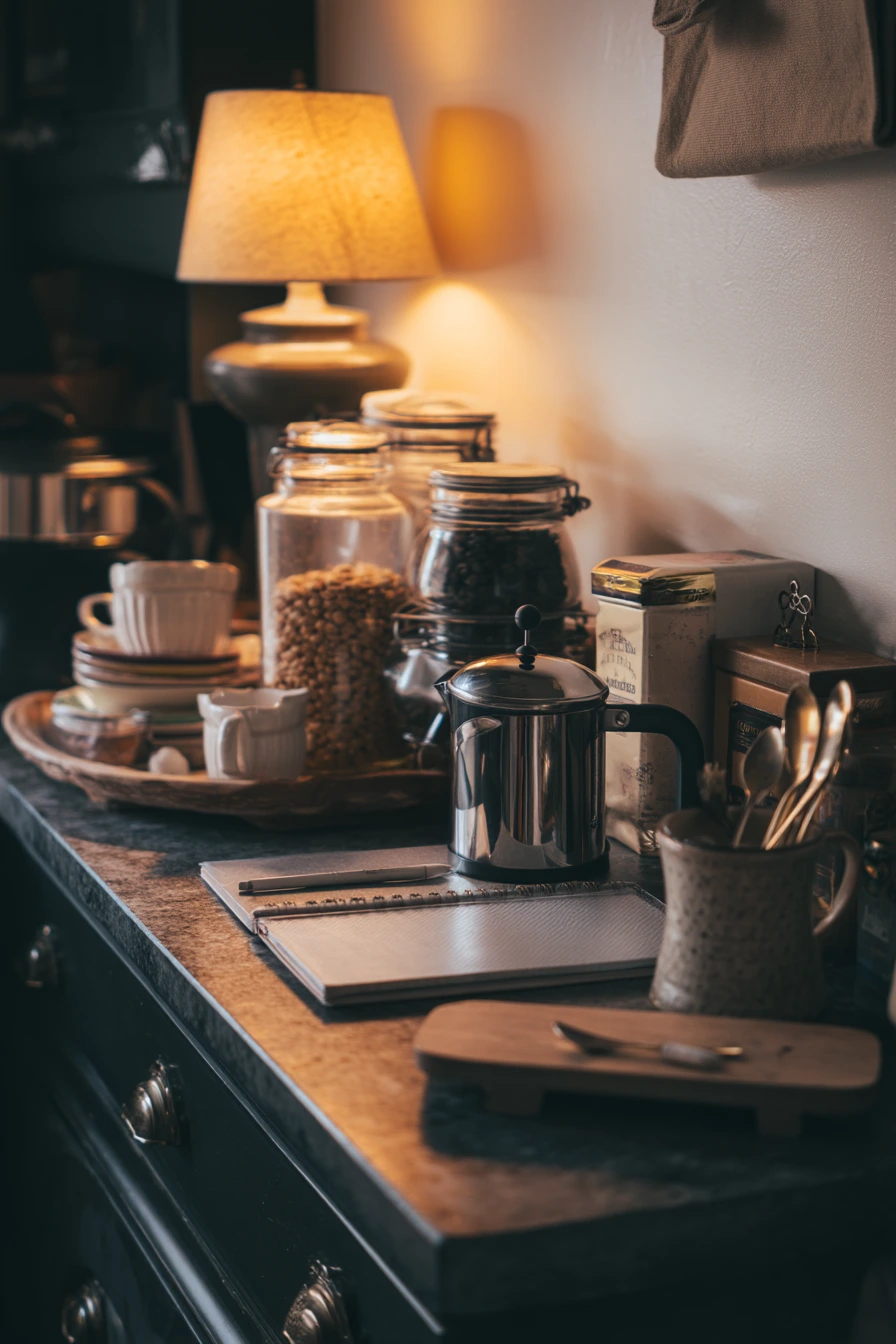
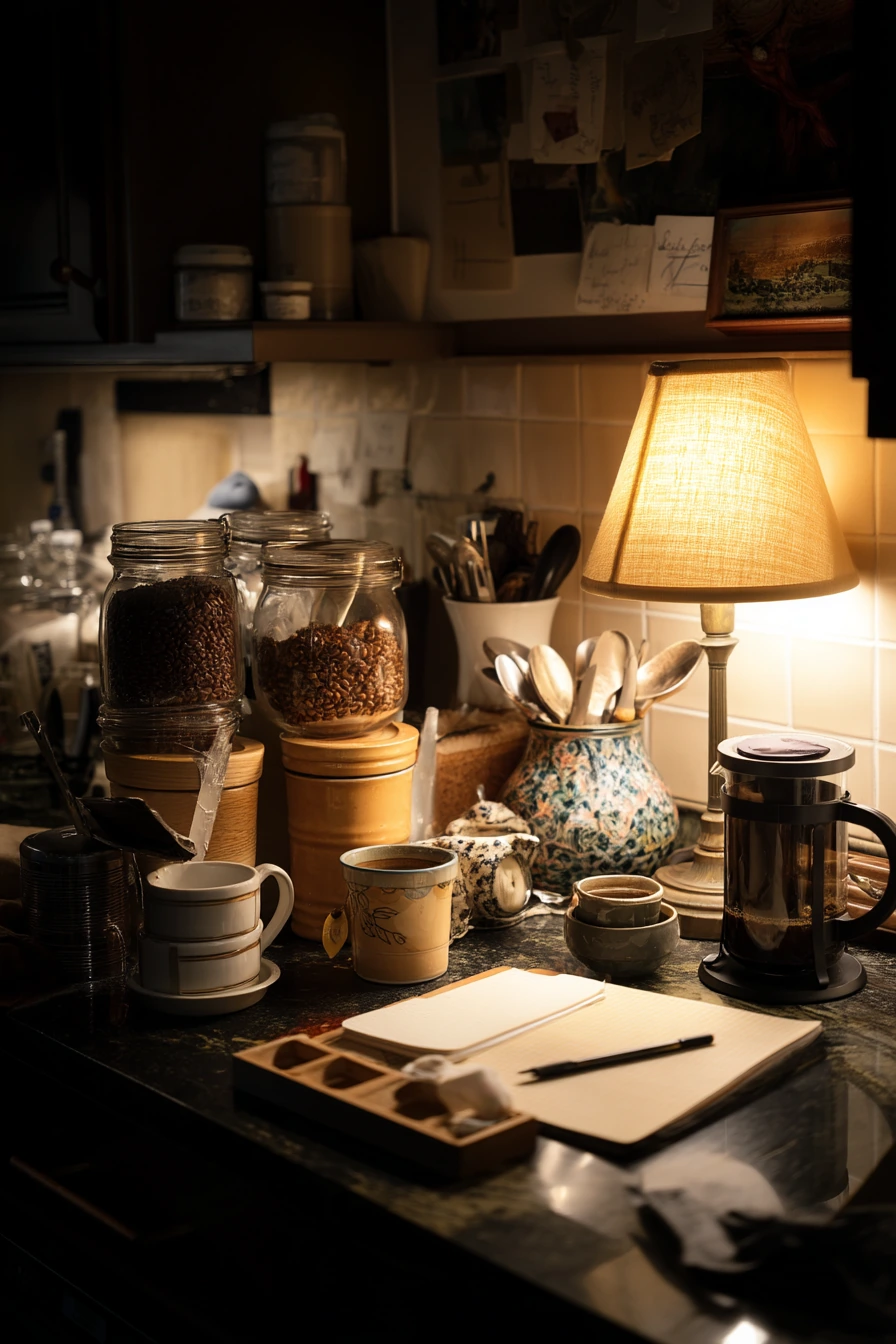
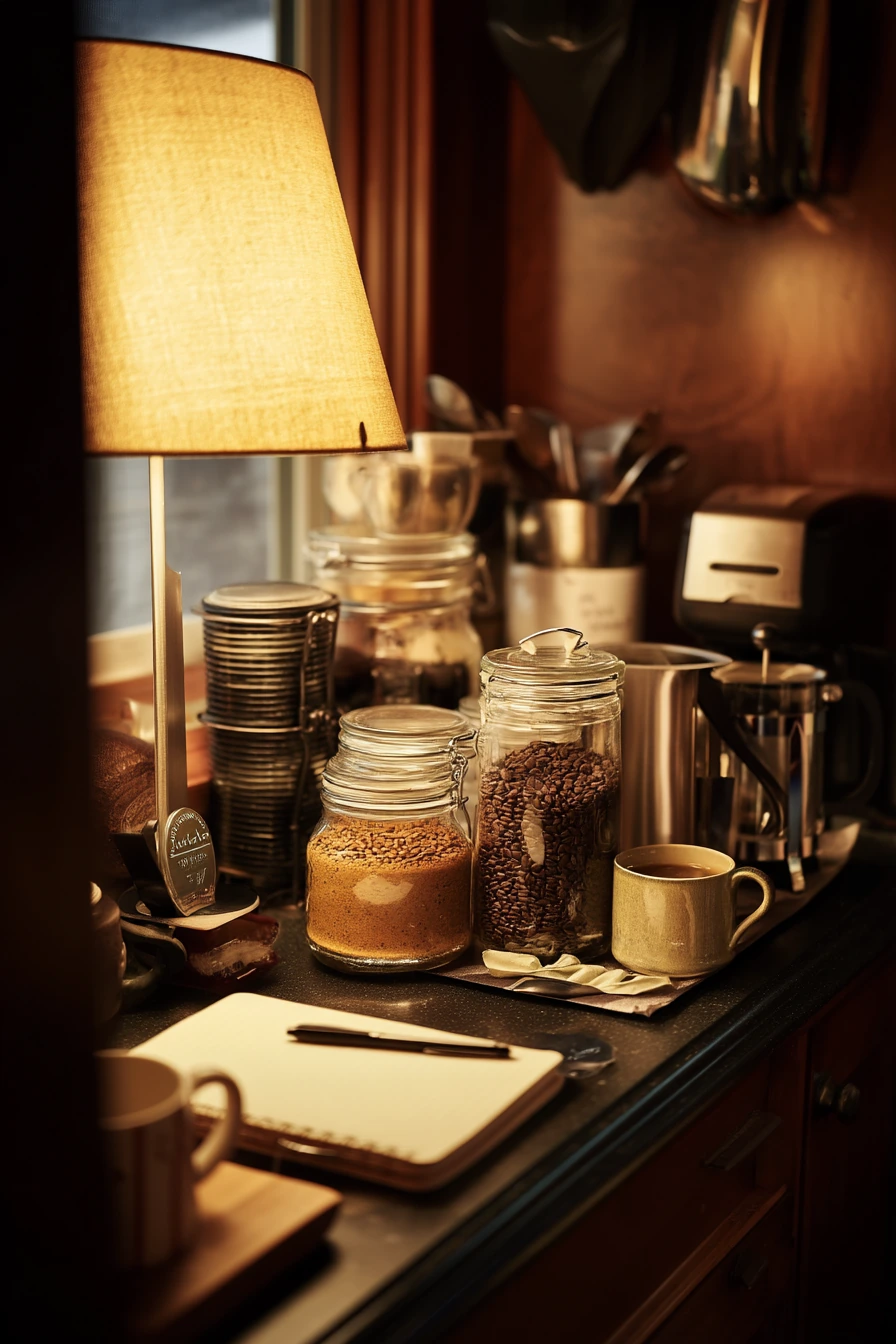
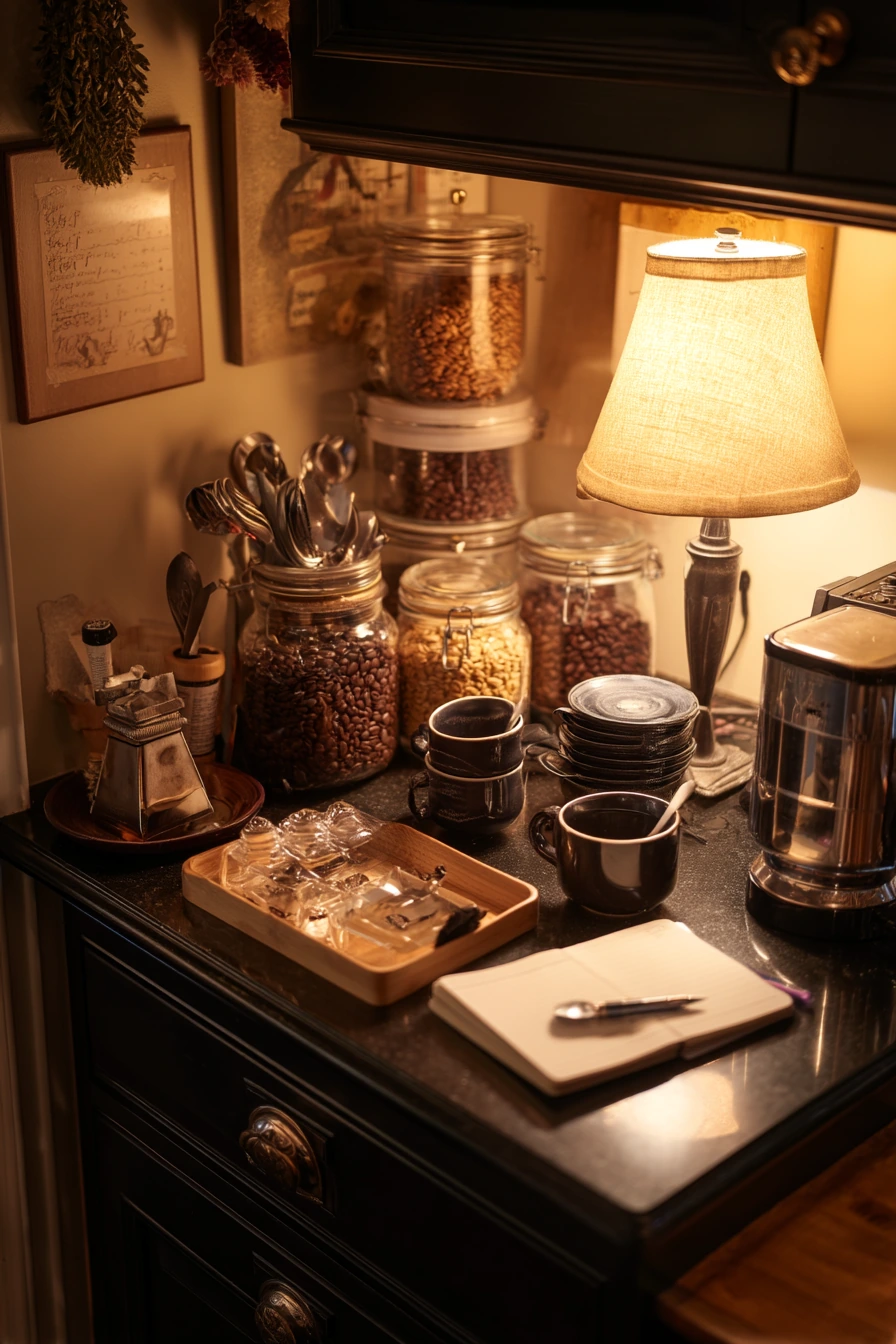
A coffee and tea station keeps mornings smooth and stops mugs and spoons from spreading across the kitchen. In a cozy breakfast nook, start with a tray or small shelf that holds the daily essentials. Store beans in a jar with a tight lid, and keep a tea tin nearby for your main tea. Stack mugs in one spot so they do not take over the counter.
Give each item a home. A French press can sit on a small mat, and a sugar bowl can live beside it. Add a spoon rest so the one spoon left out has a place, which keeps drips off the counter. Use a mini tray for filters, tea bags, or sweeteners. If you keep a notebook and pen nearby, you can jot grocery needs or morning thoughts without hunting for paper.
To style it, stick to a tight color palette, like warm neutrals and one dark accent. Let the lamp glow do the cozy work. Keep the counter behind the station mostly clear so the nook feels intentional, not crowded. Once a week, wipe the tray and refill the jars so the station stays ready.
- Use one tray to hold mugs, sugar, and tools in one footprint.
- Store coffee beans in an airtight jar to keep flavor longer.
- Keep a tea tin for your main tea and a small bin for extras.
- Add a spoon rest to protect the counter from drips.
- Use a mini tray for filters so they do not get crushed.
Pro Design Tip: Place the station near an outlet and keep cords tucked behind the tray so the setup looks neat from every angle.
Budget Considerations: A thrifted tray and matching jars can create a high end look without buying a full coffee bar unit.
10 10. Hidden Appliance Garage and Counter Reset
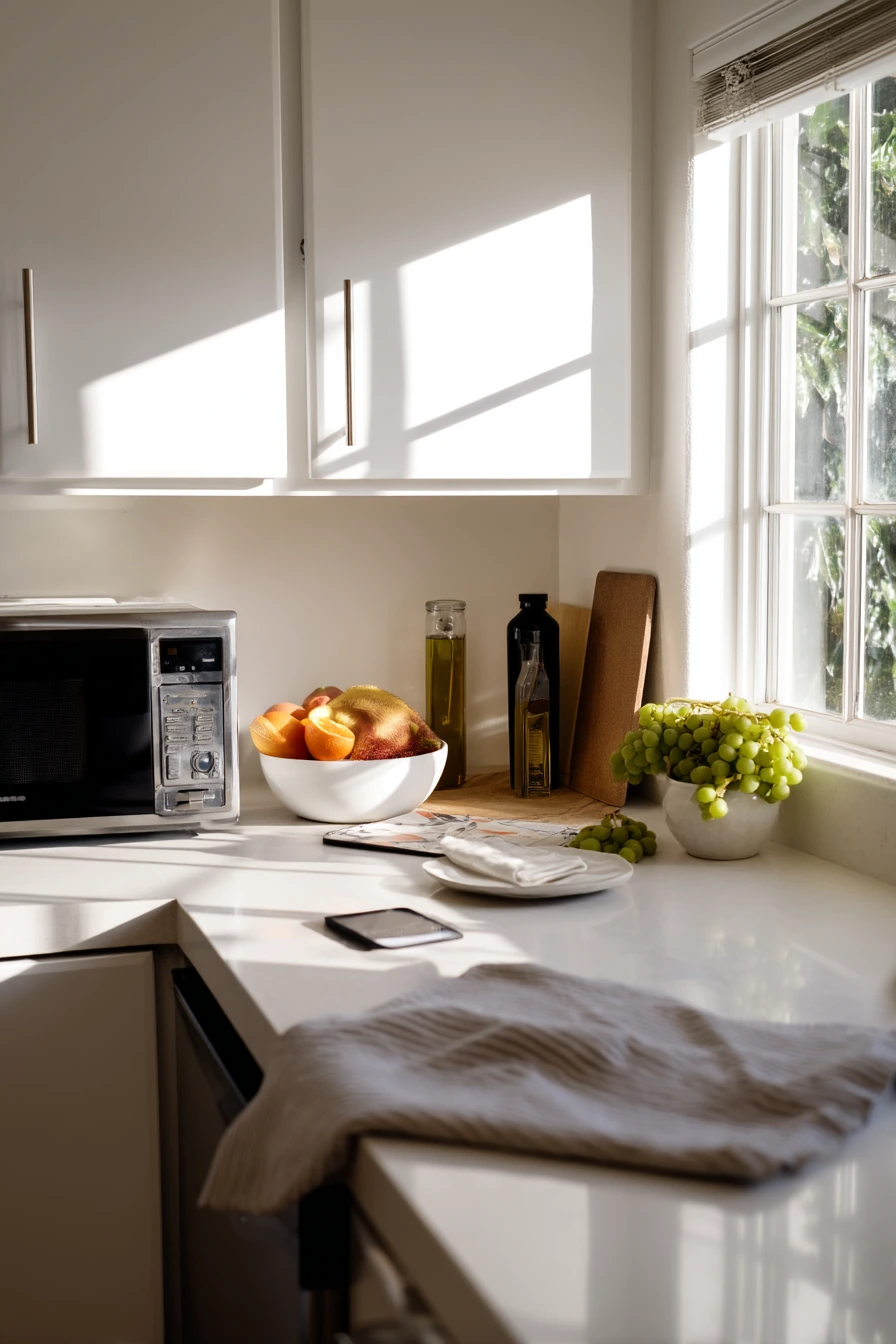
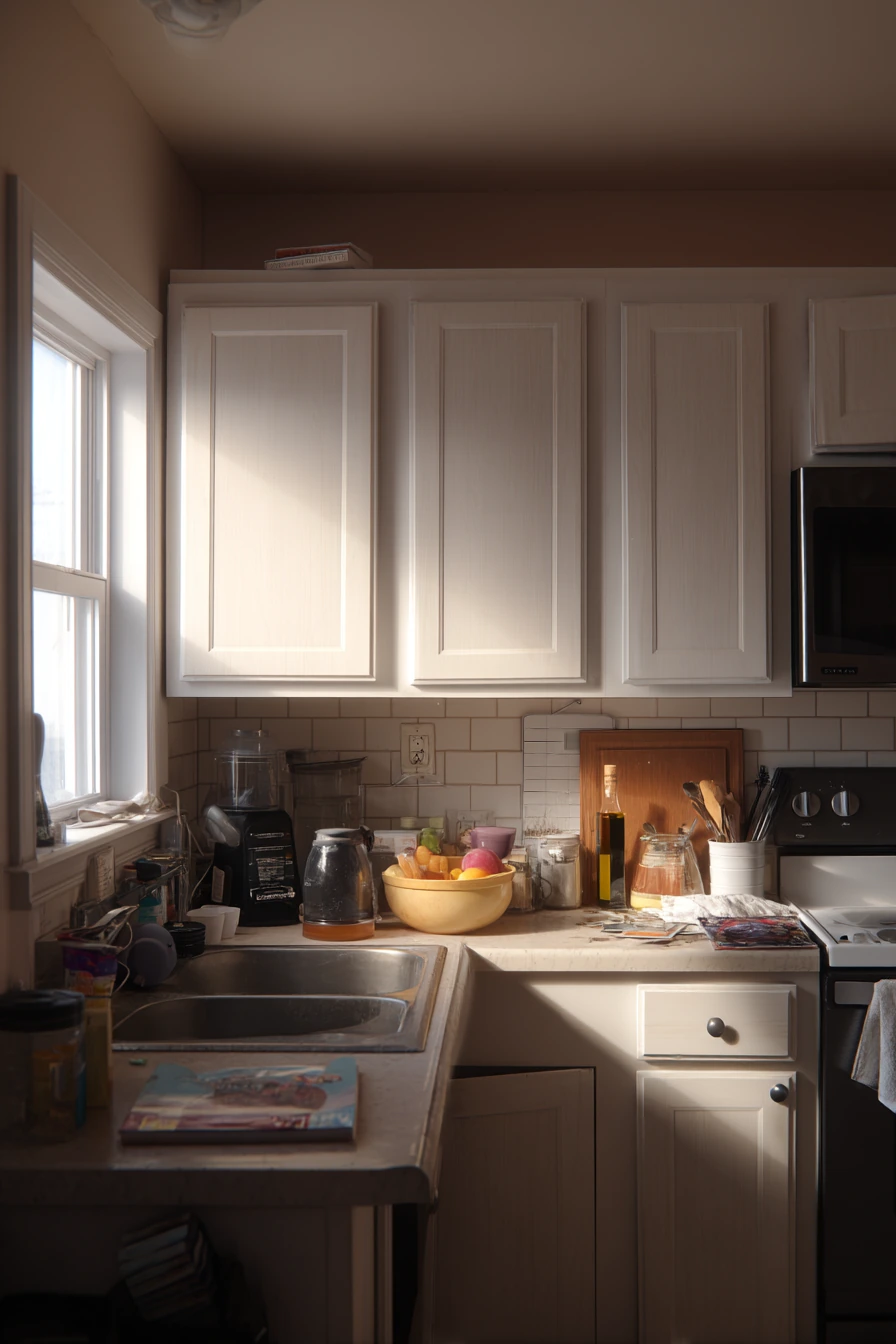
An appliance garage is a smart way to hide the toaster and blender so counters look clean. In a family kitchen, it also makes it easier to reset the space after meals. Keep the garage area simple with one power strip and enough room to slide appliances out safely. Close the door when you are done, and the kitchen feels calmer right away.
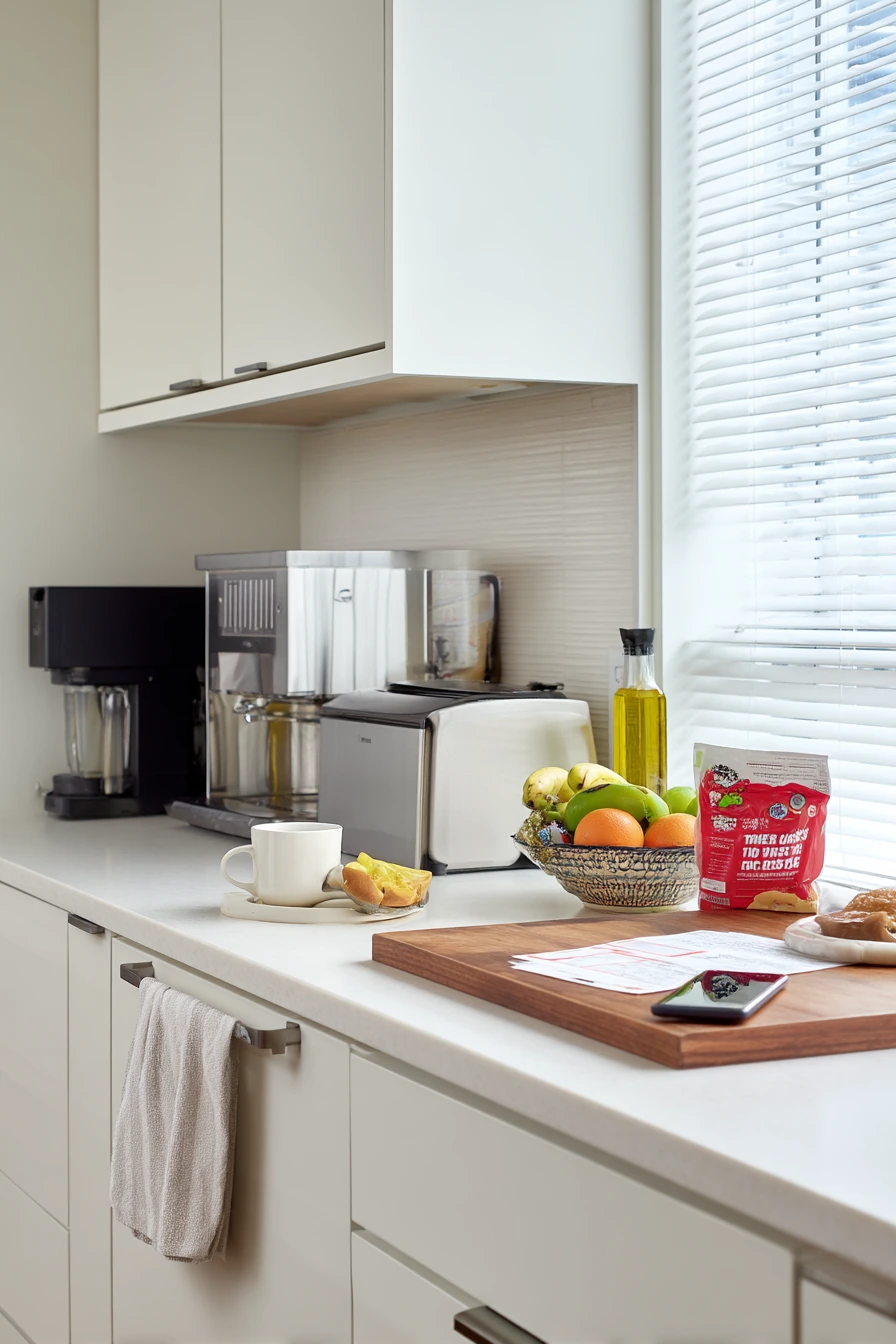
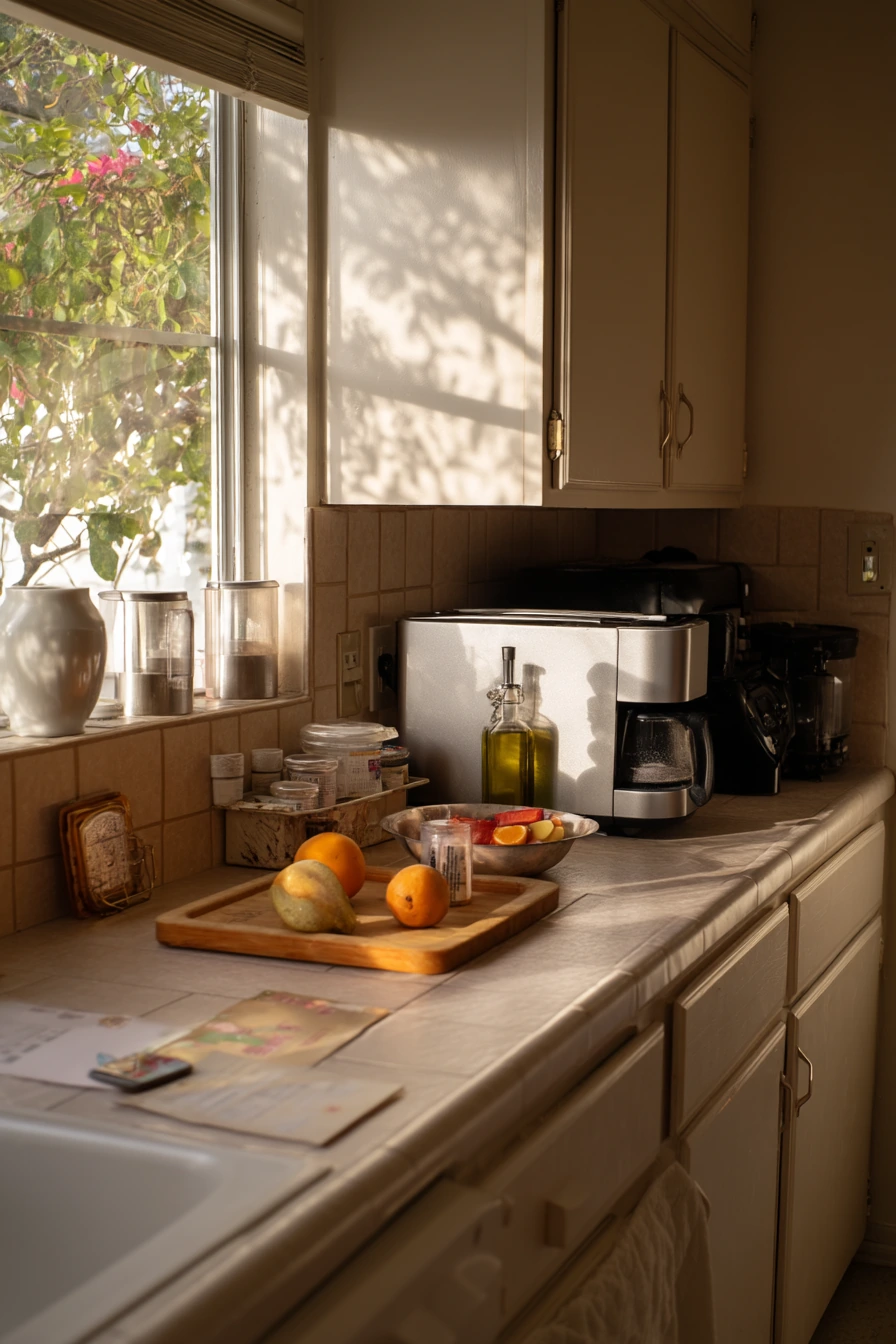
Create a basic counter reset. Keep a fruit bowl, one cutting board, and an olive oil bottle out if you use them daily. Choose a dish soap dispenser that matches the kitchen style so the sink area looks tidy. A dish towel can be slightly rumpled and still look fine if it has a clear hook or bar spot.
Real life details matter. Grocery receipts and a phone on charge often land on the counter. Add a small catchall tray near the outlet for receipts and keys, and use a short cable so it does not drag. Late afternoon light can make clutter stand out, so aim for clean lines and a few intentional items, not a blank counter that is hard to keep.
- Tuck the toaster and blender into an appliance garage to clear visual clutter.
- Keep only daily items out, like a fruit bowl and cutting board.
- Use a matching soap dispenser to make the sink zone look put together.
- Add a catchall tray for receipts, keys, and small papers.
- Set a quick reset routine that takes two minutes after each meal.
Pro Design Tip: Limit your counter decor to a few repeat shapes, like one bowl and one board, so the kitchen looks styled even on busy days.
Budget Considerations: If you do not have an appliance garage, use a simple sliding tray or a cabinet shelf so appliances can move in and out without a remodel.
Good kitchen organization ideas make your space easier to use, not harder to live in. Start with one zone like pantry drawers, the fridge, or under the sink, then build from there.
Use clear bins, simple labels, and dividers to cut down on search time and repeat clutter. Add small styling touches like a tray, a jar set, or one plant to keep it warm and lived in.
FAQ
1. What is the easiest place to start organizing a kitchen? Start with the area that bothers you most each day, like the snack cabinet, the fridge shelf, or the utensil drawer.
2. How do I organize a small kitchen with little storage? Use vertical shelving, wall rails with hooks, and drawer organizers. Keep counters clear by giving daily items one defined spot.
3. Are clear bins worth it? Yes, because you can see what you have and what is running low. They also stop small items from tipping and spilling.
4. How do I keep a family kitchen organized with kids? Create kid friendly zones like snack baskets and a lunchbox shelf. Add one paper spot for school notes and artwork.
5. What should I store under the sink? Store cleaning sprays, tabs, sponges, and gloves in bins and caddies. Add a leak mat and keep items away from pipes.
6. How can I make open shelves look neat? Use matching jars, short labels, and a few baskets. Leave some open space and group items by size and use.
7. How often should I reset my counters? A quick two minute reset after meals works well. Do a deeper wipe and restock once a week.