

Good kitchen storage ideas help you find what you need fast, keep counters clear, and make daily cooking feel easier.
This guide uses real-life setups like slim wall-mounted shelves, labeled glass jars, rolling carts, deep drawer dividers, and pull-out pantry cabinets. Each section shares simple steps you can copy in your own space.
You will also get small “how to style it” ideas, plus a pro design tip and a budget note for every kitchen scene.
If you came from Pinterest, save the ideas you like, then use the checklists to set up one zone at a time. Small changes add up.
1 Small Kitchen Wall Storage That Feels Effortless
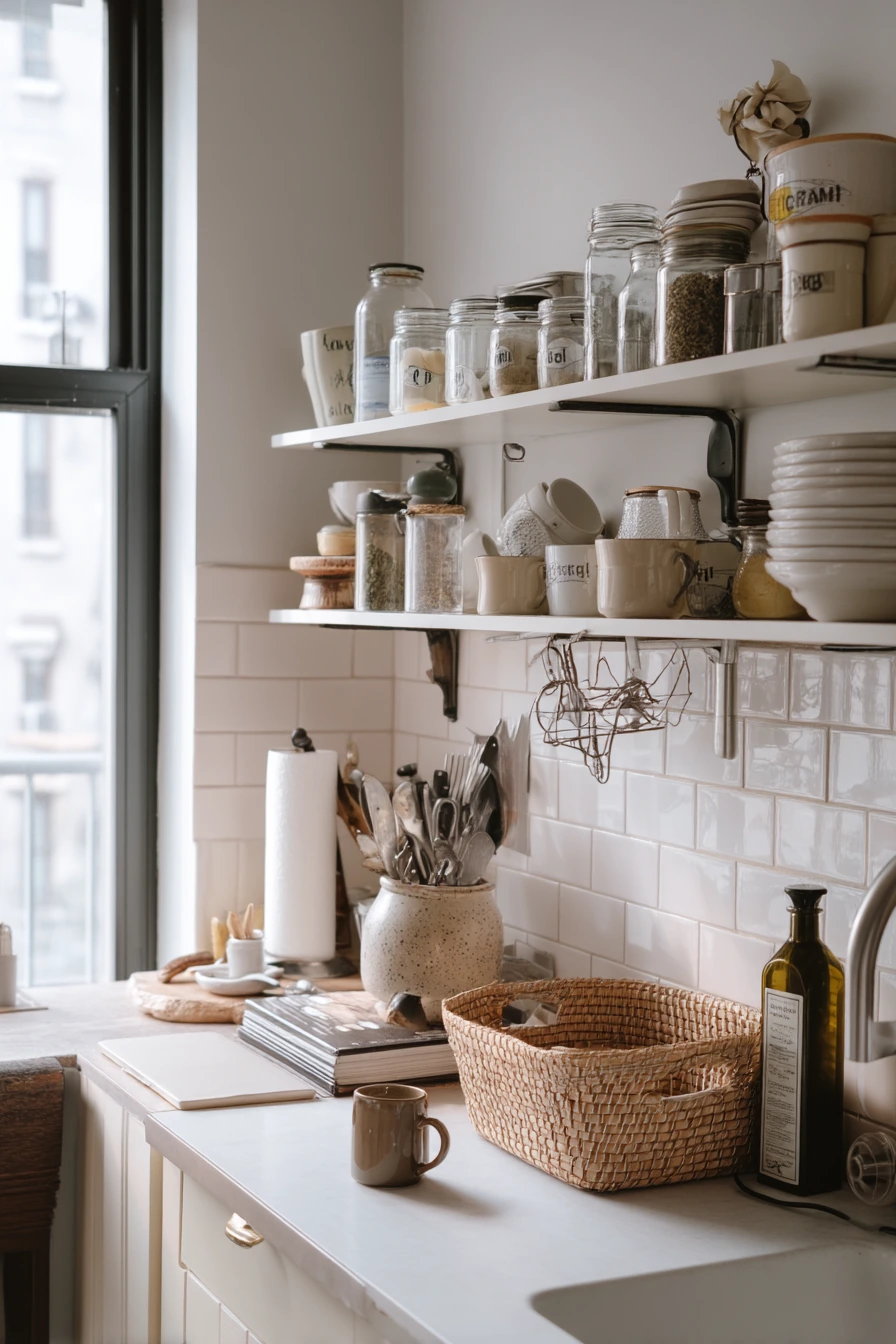
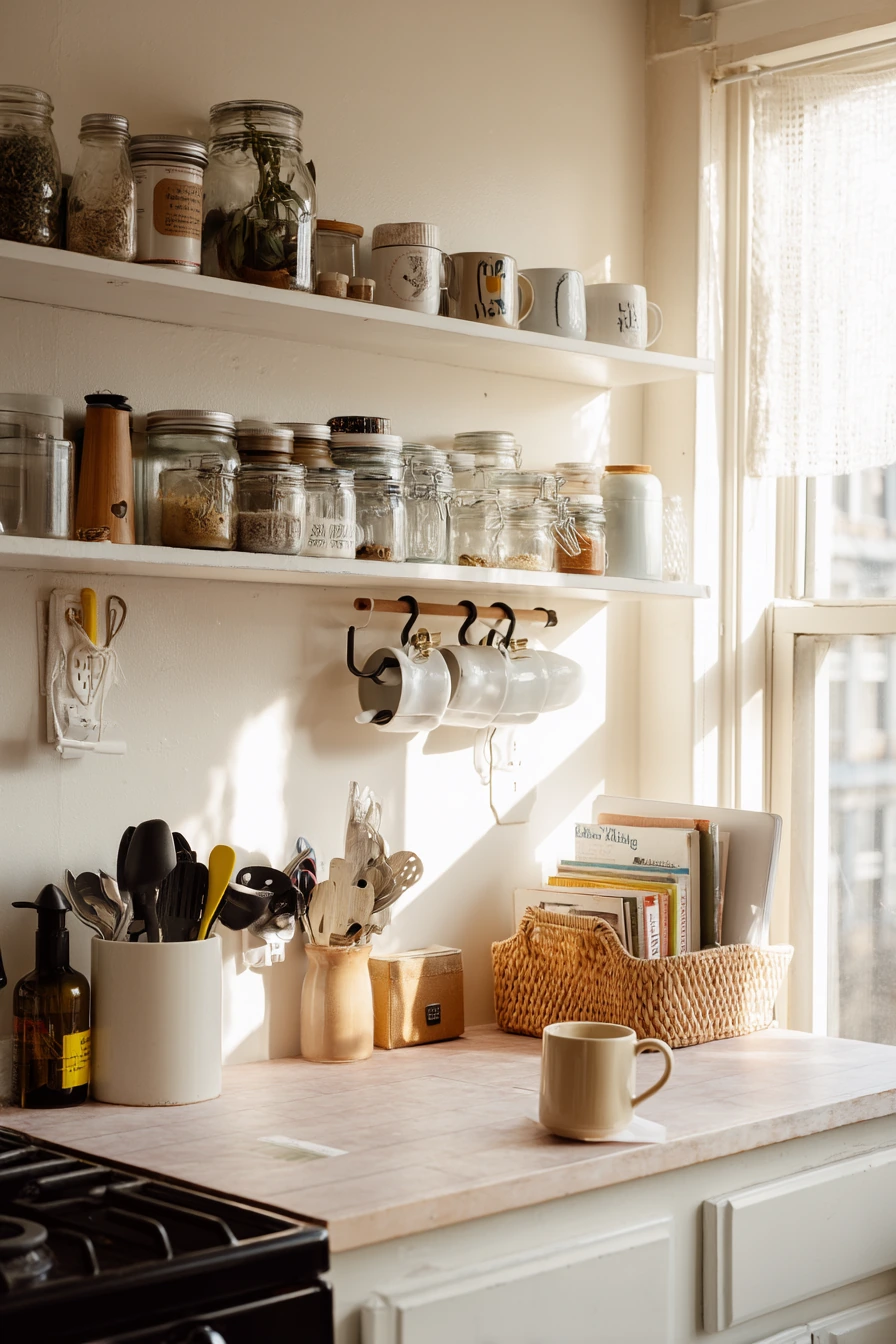
In a small apartment kitchen, storage needs to go up the wall. Slim wall-mounted shelves above a compact counter create space for the things you use every day, like mugs, a ceramic olive oil bottle, and a small cookbook stack. Add a peg rail with hooks for utensils so drawers do not get overfull. This keeps the counter open for prep, even when life is busy.
Use labeled glass jars for staples you reach for often, like sugar, oats, and tea bags. Labels make it easy for two people to keep the system the same, and clear jars help you see when you are low. An under-shelf paper towel holder is a simple add-on that frees up a whole corner of the counter. A woven bread basket also works as soft storage for rolls, fruit, or snack packs.
Make the space feel lived-in but still tidy. Keep one teaspoon by a mug if you make coffee or tea every morning, but limit it to one “ready to go” item so it does not turn into clutter. Keep a charging cable near the outlet, but clip it to the backsplash or shelf leg so it is not across your workspace. For styling, group jars in threes, and mix textures like glass, ceramic, and woven baskets for warmth.
- Hang mugs and utensils on a peg rail to free drawer space.
- Use slim shelves and leave some open wall for a lighter look.
- Store dry goods in labeled glass jars so refills are fast.
- Add an under-shelf paper towel holder to clear the counter.
- Use a woven basket to hold bread and small snacks in one spot.
Pro Design Tip: Keep the bottom shelf 16 to 18 inches above the counter so you can use tall jars, but still reach everything without bumping your head.
Budget Considerations: Basic peg rails and slim shelves cost less than new cabinets. If you rent, choose systems that use removable wall anchors or ask your landlord about small holes.
2 Rental-Friendly Kitchen Storage on a Tiny Budget
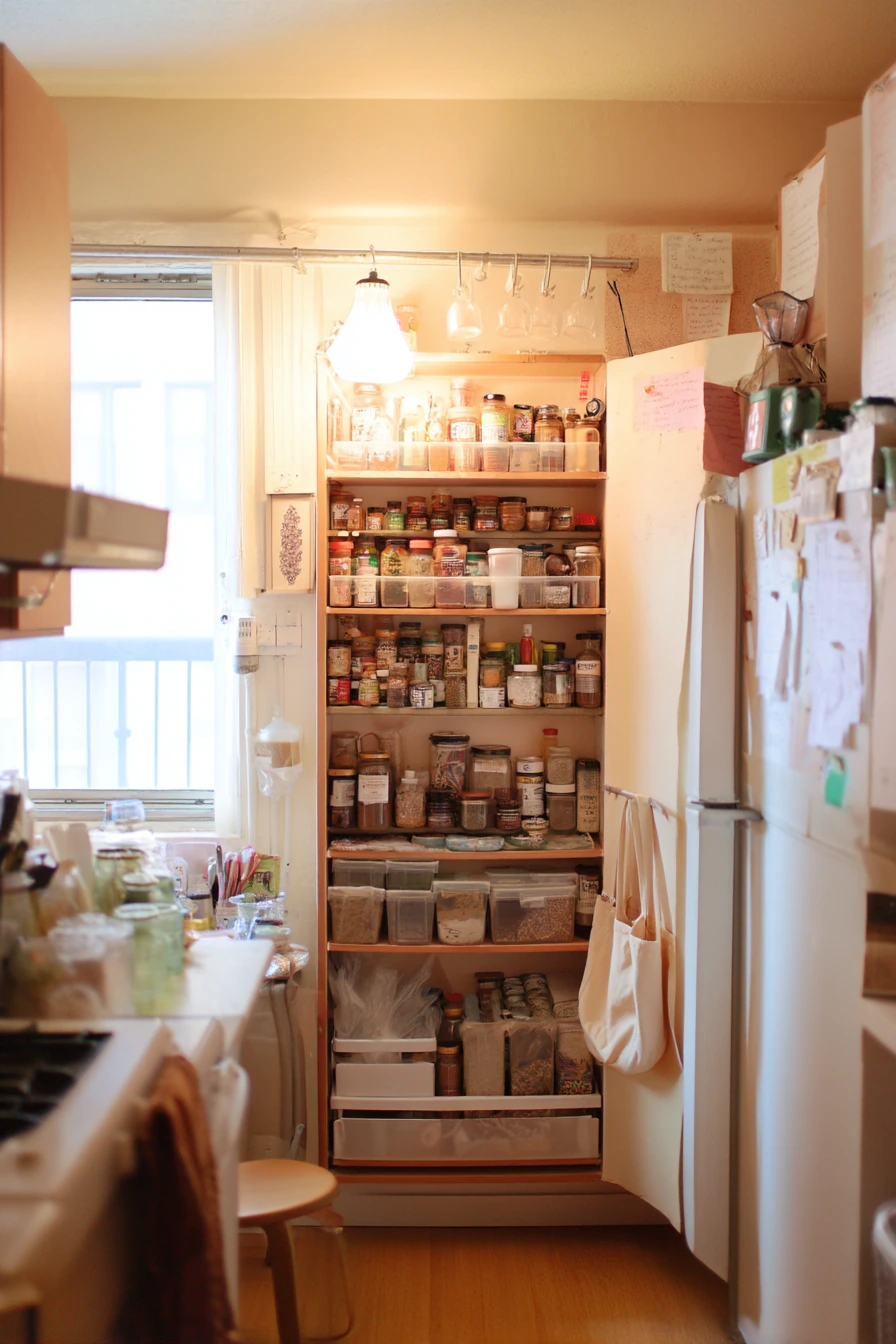
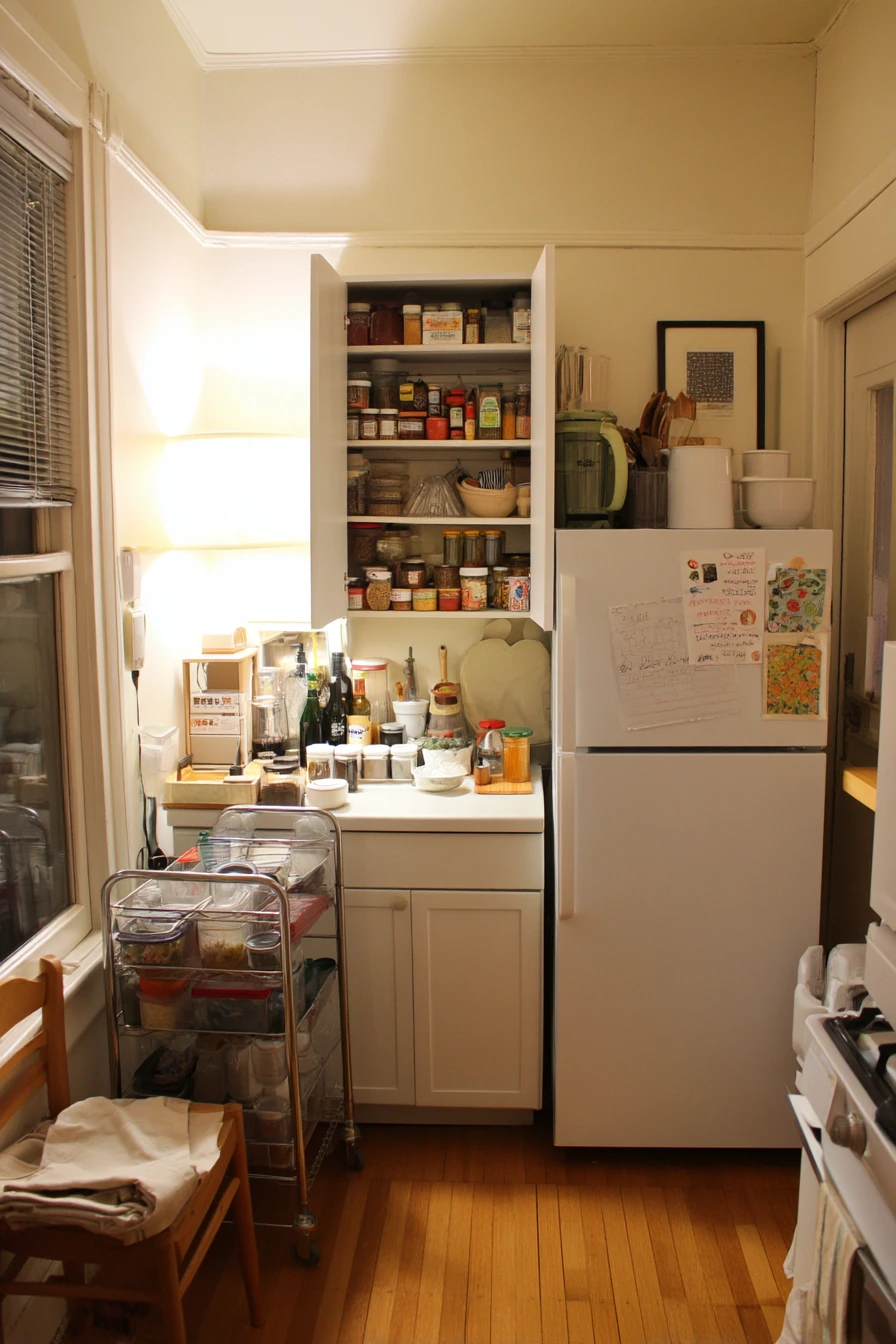
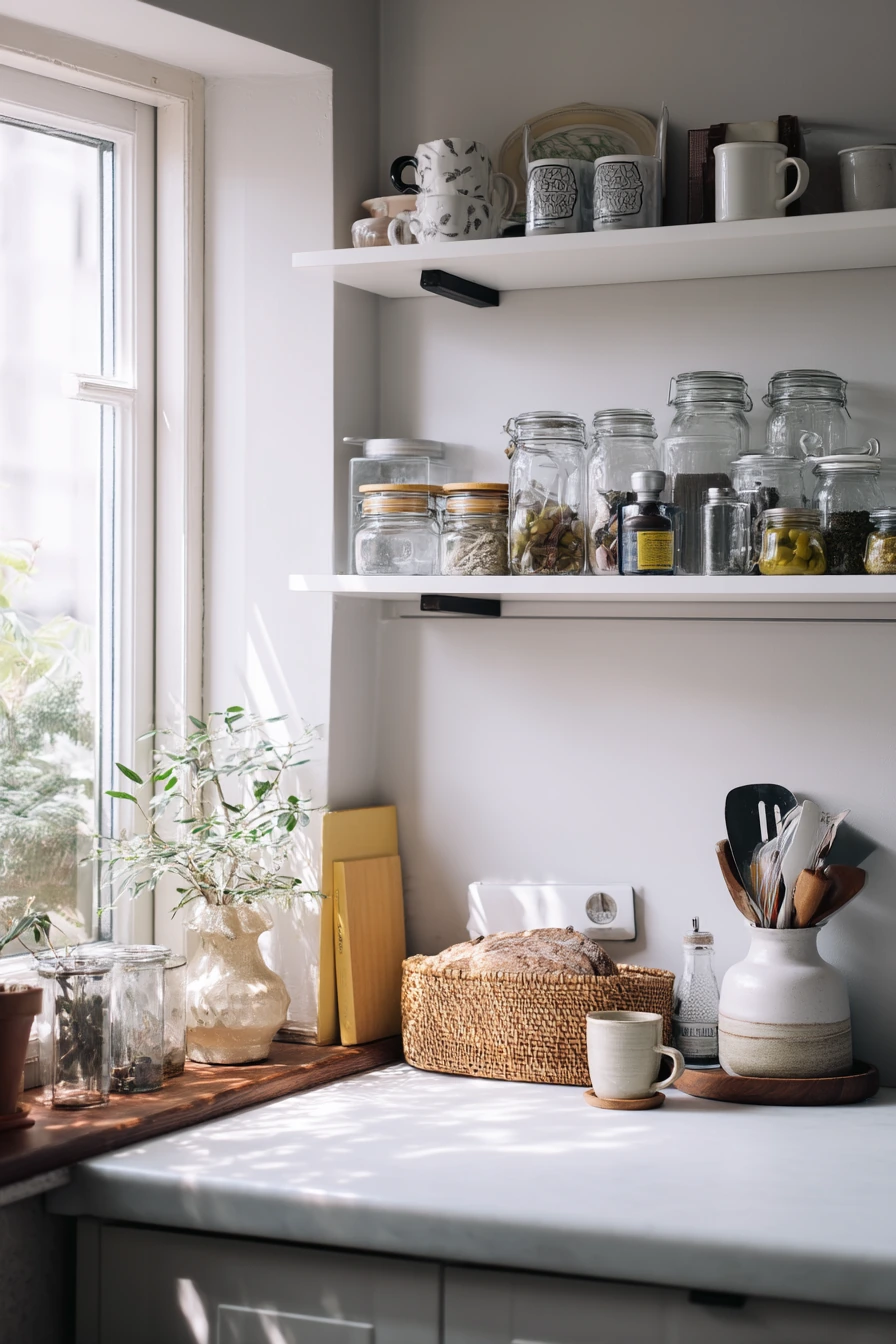
A small city flat often has odd cabinets and not enough drawers. A tension rod organizer inside an open cabinet can create a second level for cutting boards, baking sheets, or even a row of spray bottles. It is renter-friendly because it does not need screws. Add adhesive hooks for measuring cups and small tools so they are visible and easy to grab.
A slim rolling cart beside the fridge is a strong storage helper in tight kitchens. Use the top tier for everyday items like oils, salt, and a small prep bowl. Use the middle for stackable bins with snacks or breakfast items. Use the bottom for backstock like pasta, canned goods, or paper towels. If you keep spice jars in neat rows, place them in a shallow bin so you can pull the whole set out when cooking.
Make it work with real life. Pin a grocery list to the inside of a cabinet with tape so you can add items as soon as you notice you are out. Keep a reusable tote on a chair hook or the cart handle for quick store runs. A dish towel can be slightly wrinkled, but give it a home, like one hook near the sink, so it does not end up on the counter. For styling, match bin colors, then add one warm wood item like a small tray to soften the look.
- Use a tension rod to divide cabinet space without drilling.
- Add adhesive hooks for measuring cups and small tools.
- Park a slim rolling cart by the fridge for extra “drawer” space.
- Sort items into stackable bins by meal time or category.
- Keep spices in a shallow bin so you can pull them out as a set.
Pro Design Tip: On a cart, keep the heaviest items on the bottom and add a non-slip liner on each shelf so jars do not slide when you roll it.
Budget Considerations: Tension rods, hooks, and bins are low-cost. If a rolling cart is too much, use a sturdy crate stack or a narrow bookshelf you already own.
3 Family Kitchen Storage That Survives Real Life
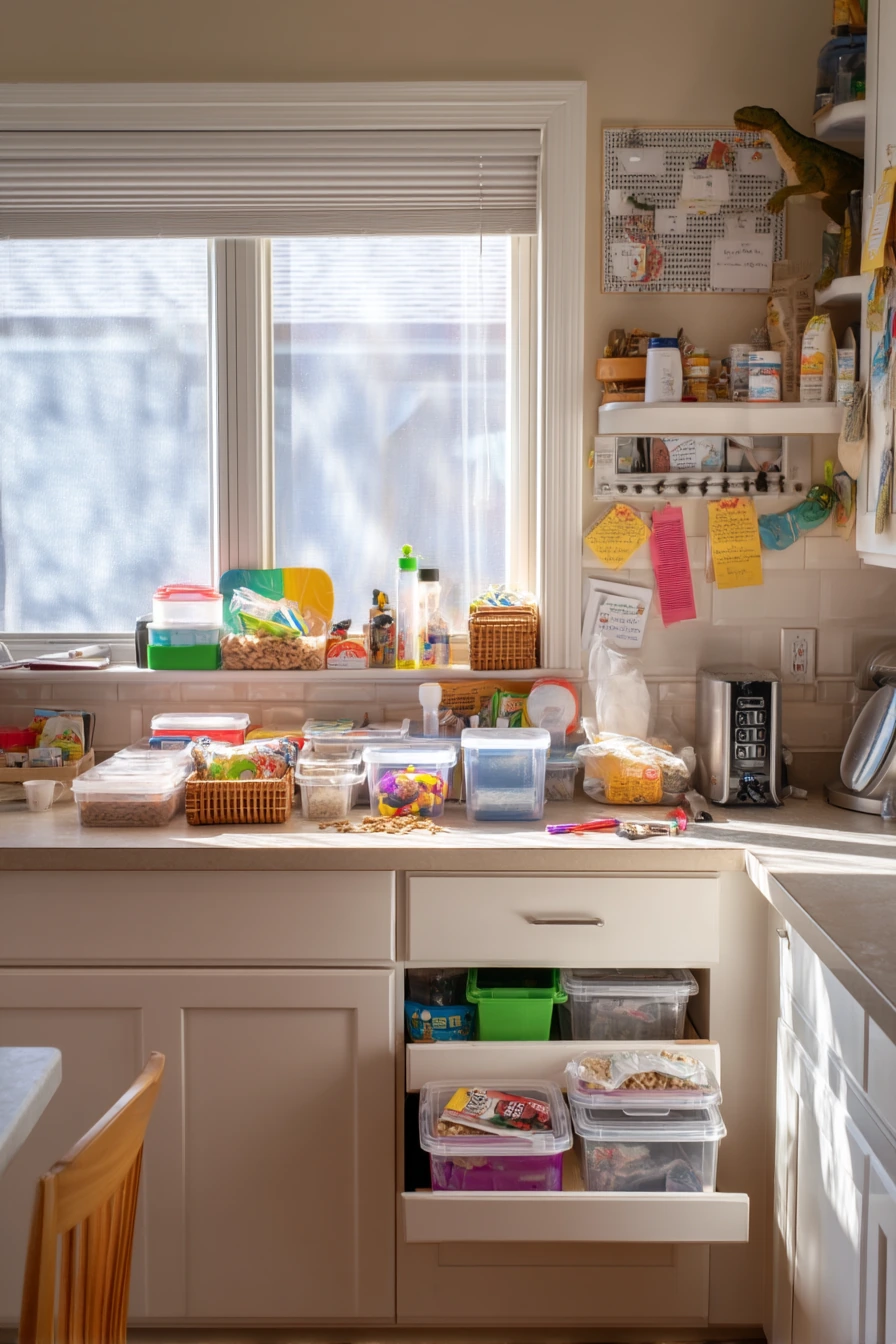

In a suburban family kitchen, the best kitchen storage ideas make it easy for kids to help without making a mess. Open lower drawers with clear snack bins let children see options and choose without digging. Put the bins in simple groups like “after school,” “lunch box,” and “sports.” This also helps you restock fast when you shop.
Labeled lunch containers can live in one deep drawer, with lids stored upright in a divider. A low basket for kids’ water bottles keeps them from rolling around in cabinets. Add a turntable for sauces so you can spin and grab ketchup, soy sauce, or hot sauce without pulling everything out. A magnetic knife strip is a smart safety move when it is placed higher than kids can reach, and it opens up counter and drawer space.
Build in a small command center on the side wall. Use a simple board or clip area for a school permission slip, a calendar, and a pen. This prevents paper piles on the counter. Real life will show up, like cereal crumbs or a toy dinosaur peeking from a chair, so plan for quick resets. Keep a small handheld vacuum or crumb brush in a nearby drawer. For styling, choose two label styles only, and use matching clear bins so the room feels calm even when busy.
- Use clear snack bins in lower drawers for easy kid access.
- Store lunch container lids upright in a divider to stop lid chaos.
- Place water bottles in a low basket near the fridge or pantry.
- Add a turntable for sauces so nothing gets lost in the back.
- Create a wall command center for papers and daily notes.
Pro Design Tip: Make “kid zones” low and “adult zones” high. This cuts traffic during cooking and reduces spills near the stove.
Budget Considerations: Clear bins and simple dividers are affordable. If you already have baskets, add labels with painter’s tape and a marker before buying new sets.


4 Pantry Storage in a Busy Home Chef Kitchen

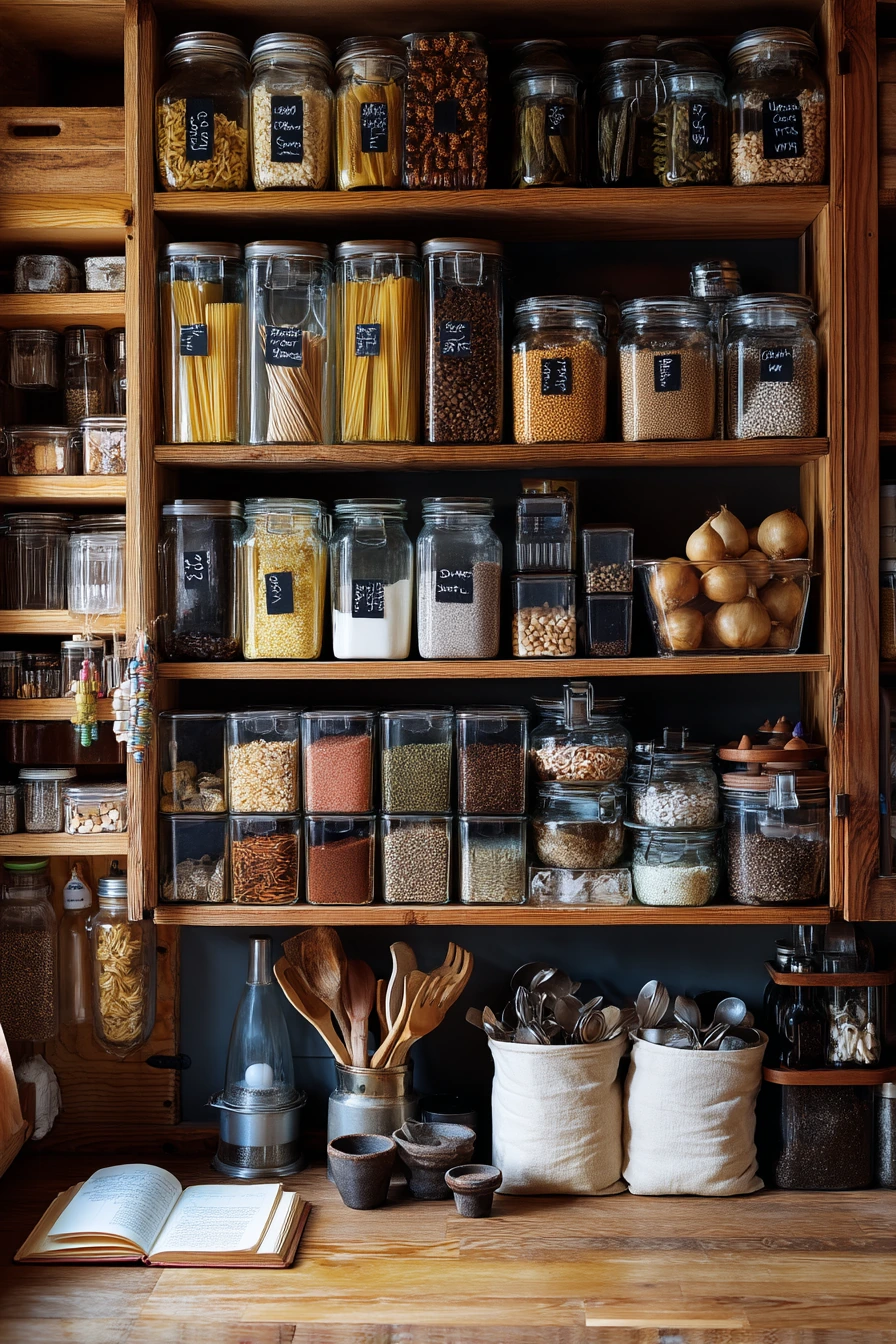
A pantry wall for a serious cook works best when every shelf has a job. Floor-to-ceiling shelves can hold clear canisters, pasta jars, and linen bins while still looking orderly. Start by grouping items into zones: baking, grains, snacks, canned goods, and oils. Then place the zones by frequency, with everyday staples at eye level.
Clear canisters help you spot low stock and keep food fresh. Add chalk labels so you can change them if you swap items. Keep an olive oil tray under bottles to catch drips, and place it near where you cook. Store stacked sheet pans vertically or on a strong lower shelf so they are easy to slide out. If you hang onions, do it in a cool, airy spot so they last longer and do not touch the counter.
Leave room for real cooking. If a recipe book is open on the side and measuring spoons are left out, the pantry is still doing its job. Keep a small “active cooking” bin for items you use this week, like breadcrumbs, chocolate chips, or a new spice. That keeps the rest of the shelves neat. For styling, mix linen bins with clear containers for a softer look, and keep label color the same across the wall for a clean line.
- Set pantry zones by task: baking, grains, oils, snacks, and cans.
- Use clear canisters to reduce half-open bags on shelves.
- Add chalk labels so you can update names as needed.
- Store sheet pans and cutting boards in a vertical stack area.
- Use a tray under oils to protect shelves from drips.
Pro Design Tip: Keep 10 to 15 percent of shelf space empty. The “breathing room” makes restocking easier and stops overflow clutter.
Budget Considerations: Matching canisters can add up. Start with one shelf of containers for your most-used dry goods, then build the set over time.

5 Open Shelving Storage with Everyday Texture


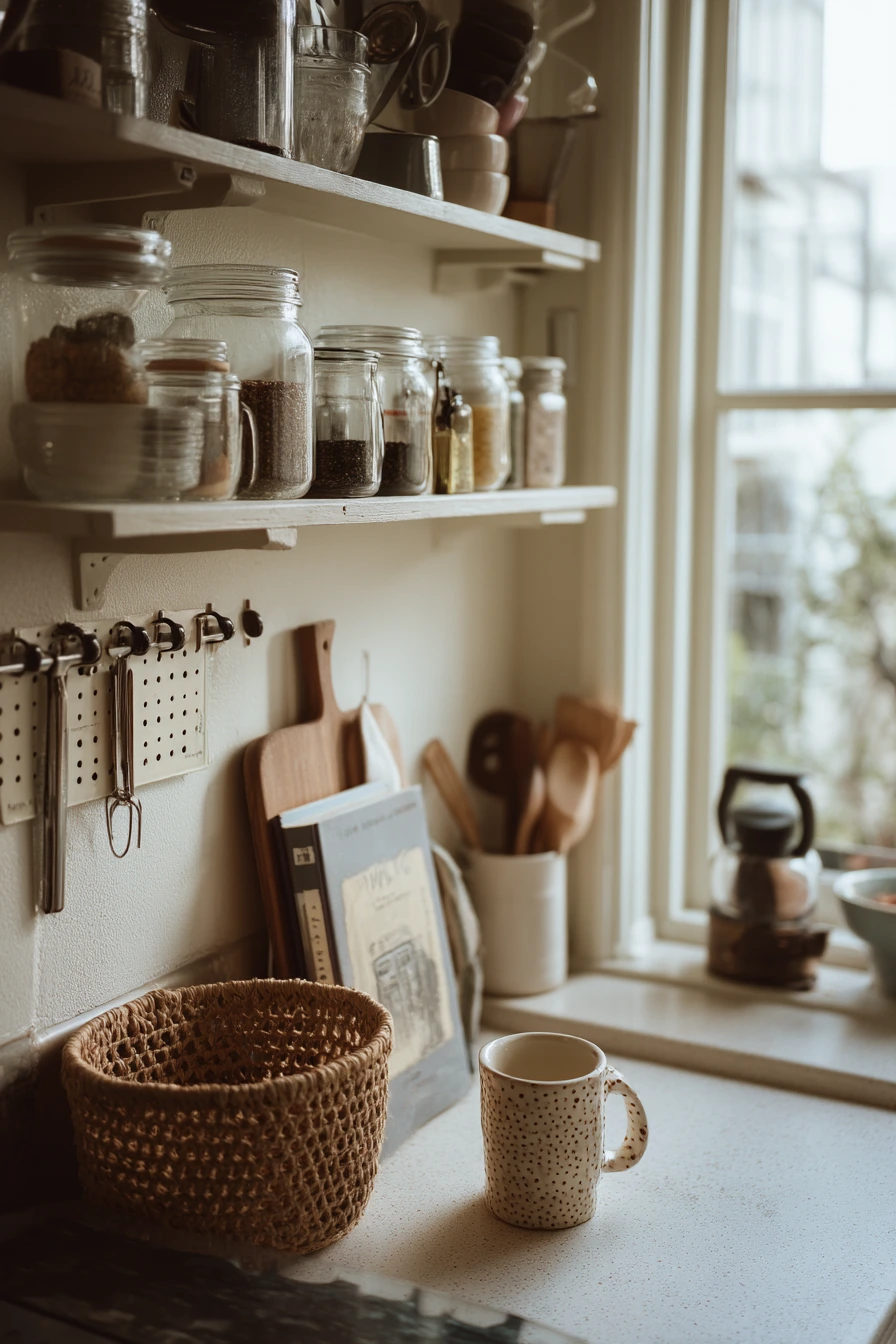
Open wood shelves can be both storage and decor when you keep them simple. Stack bowls by size, and store mismatched mugs in a small cluster so they look collected, not messy. Vintage canisters are great for hiding tea bags, coffee, or baking packets while adding charm. A salt cellar near the stove makes cooking faster and reduces the need to pull out a big container.
Use the corner to add a few personal items without turning it into clutter. A framed recipe card, reading glasses beside a cookbook, and one glass of water on the counter can make the space feel real. The trick is to limit the number of small objects. Keep the shelf edges clear so it is easy to wipe down. Add a woven tray to hold loose items like honey, jam, or sweetener so it stays contained.
Bring in softness with a small plant trailing down from the top shelf. Plants also help open shelving look finished. For styling, keep a simple color plan: pick two main colors for dishes, then let wood and woven textures add warmth. If you have patterns, group them together instead of spreading them out. This makes the shelves look calm even with mixed items.
- Stack bowls by size and keep daily dishes within easy reach.
- Group mismatched mugs in one area so it feels planned.
- Use vintage canisters to hide small pantry items on open shelves.
- Place a woven tray on the counter to contain spreads and sweeteners.
- Add one trailing plant for a soft, styled finish.
Pro Design Tip: On open shelves, repeat shapes. For example, use two or three canisters of the same height to create a clean visual line.
Budget Considerations: Shop thrift stores for canisters, trays, and frames. If shelves are new, basic pine boards with sturdy brackets can look great once sealed.


6 Under-Counter Storage for a Streamlined Studio Kitchen


In a compact studio kitchen, every drawer has to work hard. Deep drawer dividers help you separate tools, wraps, and small gadgets so you do not waste time digging. Nested pans save space, and vertical plate slots stop dishes from sliding and chipping. If you can, use a pull-out trash setup so the bin is not taking up walking space.
A hidden appliance garage is a smart way to keep the counter clear while still using your blender, toaster, or coffee gear often. Store the appliance with its cord wrapped and ready. A slim spice rack near the cooktop keeps flavors close without taking over the counter. Reusable containers stack better than mixed plastic, so pick a few sizes you use the most and keep them together with lids sorted in one section.
Plan for the items that show up in real life, like a tote bag on the floor or a laptop charger trailing near the counter. Add a hook near the entry for the tote, and use a cord clip so the charger stays against the wall. If you get coffee cup rings beside a cutting board, keep a small wipe cloth in a drawer right below. For styling, choose one neutral container color and one wood tone, then keep the rest simple so the kitchen feels bigger.
- Add deep drawer dividers to separate tools and food storage items.
- Store pans nested and lids upright to save space.
- Use vertical plate slots to protect dishes in tight drawers.
- Hide appliances in a garage to keep counters open.
- Clip charging cords to the wall so they do not cross prep space.
Pro Design Tip: Give each drawer one purpose, like “prep tools” or “containers.” Mixed-use drawers fill up fast in small kitchens.
Budget Considerations: Adjustable dividers and cord clips are low-cost. If an appliance garage is not possible, use a tray to group appliances and make the counter look calmer.


7 Glass Jar Pantry Styling That Actually Works


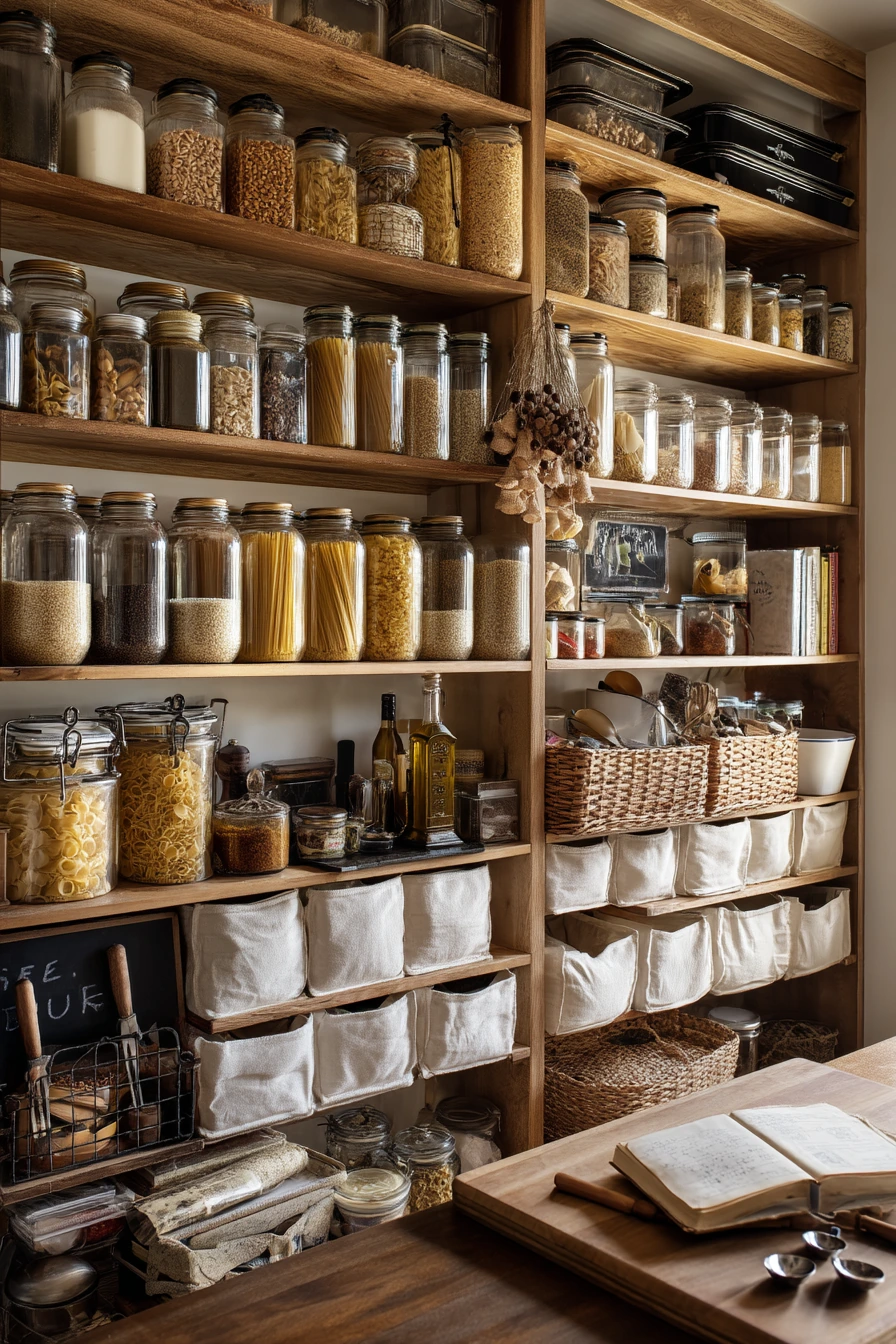
A practical pantry feels clean but still human. Matching glass jars for grains, dry goods, and baking staples create a clear system that is easy to maintain. Use woven bins on lower shelves for items in bags, like chips, snack packs, or baking mixes. Bins also help when you need to pull a whole category out at once.
Keep a clipboard shopping list inside the pantry so you can write down what runs out. A step stool tucked to the side makes high shelves usable without climbing on chairs. If you store potatoes, use a breathable paper sack or a basket with airflow and keep it away from heat. A dish towel draped loosely can still have a home, like one hook on the pantry wall for quick cleanup.
Small details matter, like flour dust near a canister or one spoon resting in an open jar. Add a small “mess kit” in the pantry: a mini brush, a dustpan, and a wipe cloth. It makes resets quick. For styling, keep labels consistent and place jars in height order. Put the tallest jars on the ends and medium jars in the middle for a neat line.
- Use matching jars for grains and baking staples for easy spotting.
- Store bagged items in woven bins on lower shelves.
- Keep a clipboard list in the pantry for fast restock notes.
- Tuck a step stool nearby to use top shelves safely.
- Set up a small cleanup kit for flour and crumbs.
Pro Design Tip: Store the same item in the same spot every time. A fixed “home” is what keeps a pantry organized long term.
Budget Considerations: Buy jars slowly and reuse what you have. Clean pasta sauce jars work well, and you can upgrade lids later for a matching look.


8 Corner Storage Ideas for a Narrow Galley Kitchen


A narrow galley kitchen needs storage that does not block movement. A corner carousel cabinet is perfect for awkward corner space because you can spin and reach items without crawling inside. Use it for pots, mixing bowls, or small appliances you use weekly. Keep the heaviest items on the lowest level so the cabinet feels stable.
On the walls, a wall-mounted knife strip and a hanging rail for pans can free up large drawer space. Place the knife strip away from kid reach and not right over the sink. Hang pans you use most and store the rest in the carousel or a lower cabinet. Add a compact spice ledge near the cook area, but limit it to daily spices so it does not become a dust shelf.
Small kitchens collect paper fast. If mail stacks at the edge of the counter, set a thin wall file or a tray near the entry to catch it. A slim bin for recycling can slide next to a cabinet or under a small table. Store a cutting board leaned upright in a divider so it dries well and does not warp. For styling, let plant shadows on the backsplash be the “decor,” and keep soap and tools simple. Even a dish soap bottle that is slightly tilted looks fine when the rest of the area is clear.
- Use a corner carousel cabinet to turn dead space into storage.
- Install a wall rail to hang pans and open up cabinet space.
- Add a knife strip to keep blades off the counter and safer.
- Keep spices on a slim ledge, limited to daily use items.
- Create a mail tray so paper does not live on the counter.
Pro Design Tip: In a galley layout, keep counters as empty as possible. Wall storage works best when it holds tools you use daily, not backstock.
Budget Considerations: Rails and knife strips vary in price. If you need a cheaper option, use adhesive hooks for a few lightweight pans and store heavier ones in cabinets.


9 Pull-Out Cabinet Storage in a Quiet Morning Kitchen


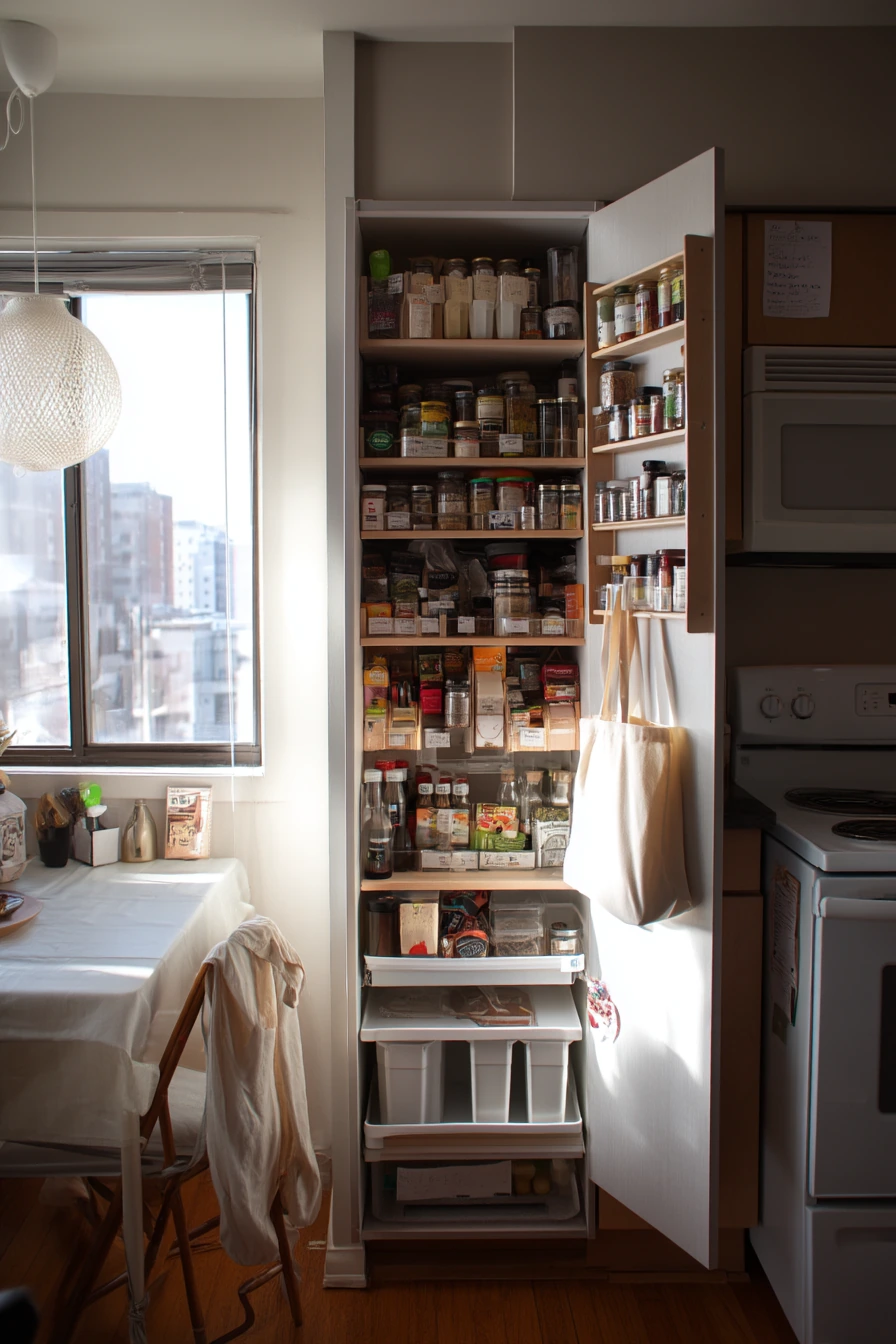
A modern family kitchen often has more storage options, but it still needs a plan. A pull-out pantry cabinet is one of the best ways to use a narrow space because everything slides out and stays visible. Use labeled baskets for snacks, baking supplies, and cleaning cloths so each item has a clear home. This also makes it easier for other family members to put things away correctly.
Use drawer inserts for utensils so you can fit more without tangles. Keep your most-used tools in the front section, and store specialty tools in the back. A tucked-away coffee station keeps mugs, filters, and sweeteners together and reduces counter scatter. If you like a fresh loaf of bread on a board, give it a consistent spot so it looks styled, not random. A single mug by the sink is fine, but avoid letting it turn into a pile.
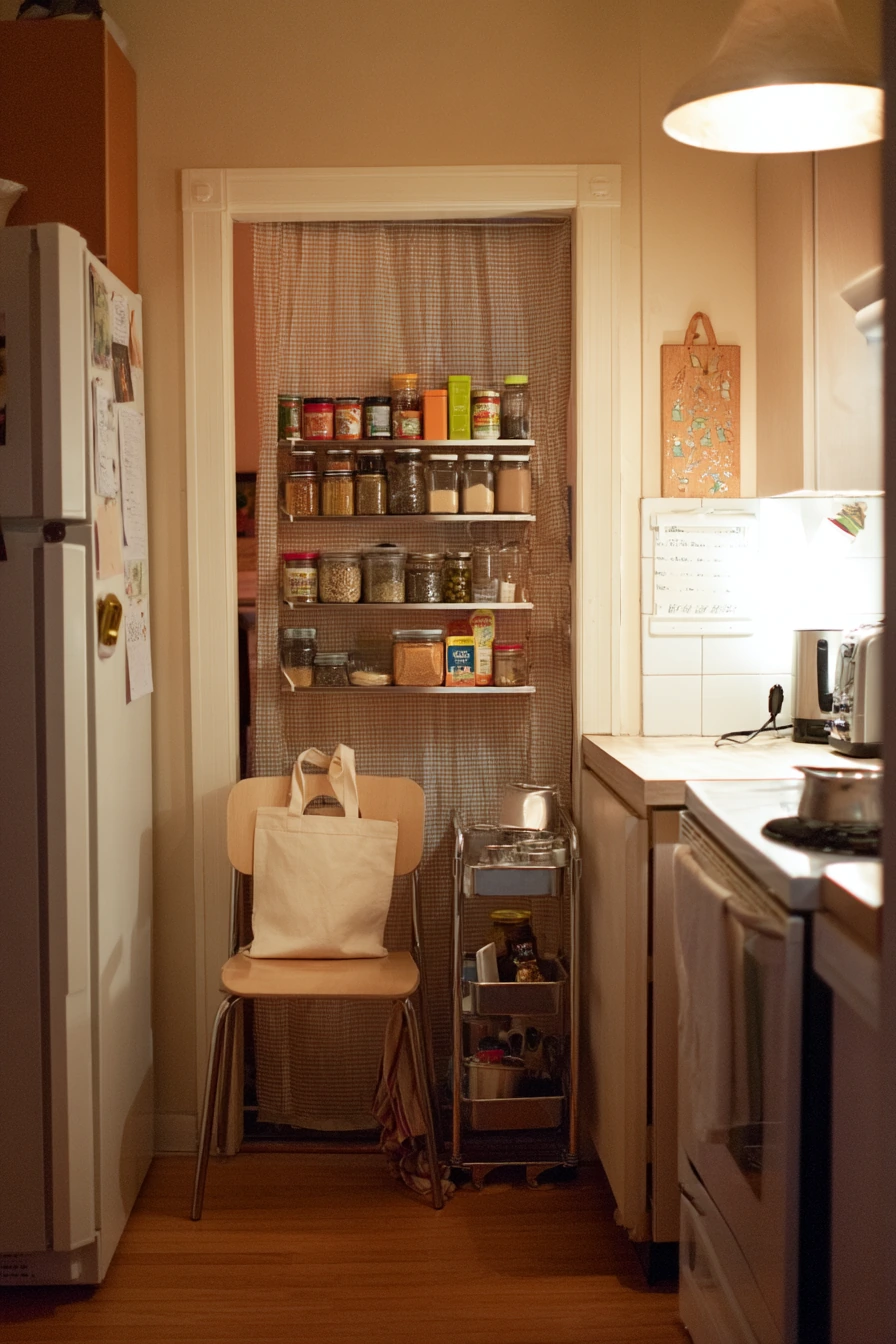
Plan for small paper clutter like a folded grocery receipt. Add a tiny “inbox” cup or clip inside a cabinet door, then clear it once a week. A linen curtain can soften the light and make the space feel calmer, but keep it short enough that it does not brush the counter. For styling, match basket labels and use a few neutral tones so the pull-out pantry looks clean even when it is full.
- Use a pull-out pantry cabinet so all items stay visible and reachable.
- Sort pantry goods into labeled baskets by category.
- Add drawer inserts to keep utensils separated and easy to grab.
- Create a coffee station zone with mugs, filters, and sweeteners.
- Use a small receipt clip or inbox to stop paper piles.
Pro Design Tip: Label baskets by use, not just by item. For example, “school snacks” is easier to follow than “bars.”
Budget Considerations: Pull-out systems can be pricey. If you cannot add one, use slide-out bins on a shelf or a handled basket that you can pull forward.


10 DIY Kitchen Organization Moment After the Grocery Run


Right after restocking is the best time to set up storage that lasts. Start with open drawers and add dividers so each category stays in place. Put everyday tools in the front and backups in the back. Stack meal-prep containers by size, and keep lids in one upright section so you can grab a full set fast.
Labeling does not have to be perfect on day one. If spice labels are in progress, keep them in a small box with your tape and scissors so the project stays contained. Mason jars are great for grains, nuts, and snacks, but do not switch everything at once. Pick one shelf or one drawer and finish it before moving to the next. Reusable mesh bags can live in a bin near the produce bowl so you remember to use them.
Real homes have real mess, like one child’s snack wrapper near the chair. Add a small trash cup or a wipe basket in the eating area to catch wrappers and crumbs quickly. Keep a label maker, tape, and marker together in a small caddy so you can update labels when you bring in new items. For styling, keep the counter mostly clear and let the produce bowl add color. A few jars lined up neatly looks calm without trying too hard.
- Use drawer dividers to separate tools and keep resets quick.
- Stack meal-prep containers by size and store lids upright.
- Keep labeling tools in one caddy so the task stays simple.
- Store reusable mesh bags near the produce area for easy use.
- Add a small wrapper bin near the table to reduce counter clutter.
Pro Design Tip: Set a 10-minute weekly “restock reset.” Refill jars, clear one drawer, and toss old papers before they pile up.
Budget Considerations: A label maker is optional. You can use masking tape and a marker, then upgrade to printed labels once your system proves it works.


Good kitchen storage ideas are not about perfect shelves. They are about simple zones that match how you cook, eat, and clean.
Start with one area, like a drawer, a cart, or one pantry shelf. Add clear labels, easy-to-reach bins, and a small reset habit.
FAQ
1) What is the best way to organize a small kitchen with little cabinet space? Use wall storage like slim shelves, a peg rail, and a narrow rolling cart. Keep counters clear and store extras up high.
2) How do I keep open shelves from looking messy? Limit colors, stack like items, and use trays or canisters to contain small pieces. Leave some empty space on each shelf.
3) Are glass jars really worth it for pantry storage? They help you see what you have and reduce open bags. Start with your most-used staples so you do not overspend.
4) What is the easiest way to organize kids’ snacks? Use clear bins in a low drawer or low pantry shelf. Label by time or purpose, like “after school” and “lunch.”
5) How do I organize pots and pans in a tight kitchen? Nest pans, store lids upright, and hang a few daily-use pans on a rail. Use a corner carousel cabinet for bulky items.
6) How can renters add storage without drilling? Try tension rods in cabinets, adhesive hooks, over-shelf baskets, and freestanding carts. Always test adhesives in a hidden spot first.
7) How often should I reset my pantry and drawers? Do a quick reset weekly and a deeper clean every season. Small resets prevent big messes.